
Donation receipts let your donors deduct their donation from their income tax, and help your organization keep a record of each donation. Automate their creation and sending to save time.
Enter the donation receipt information
Go to Donations > Settings > Settings, in the General Settings section.
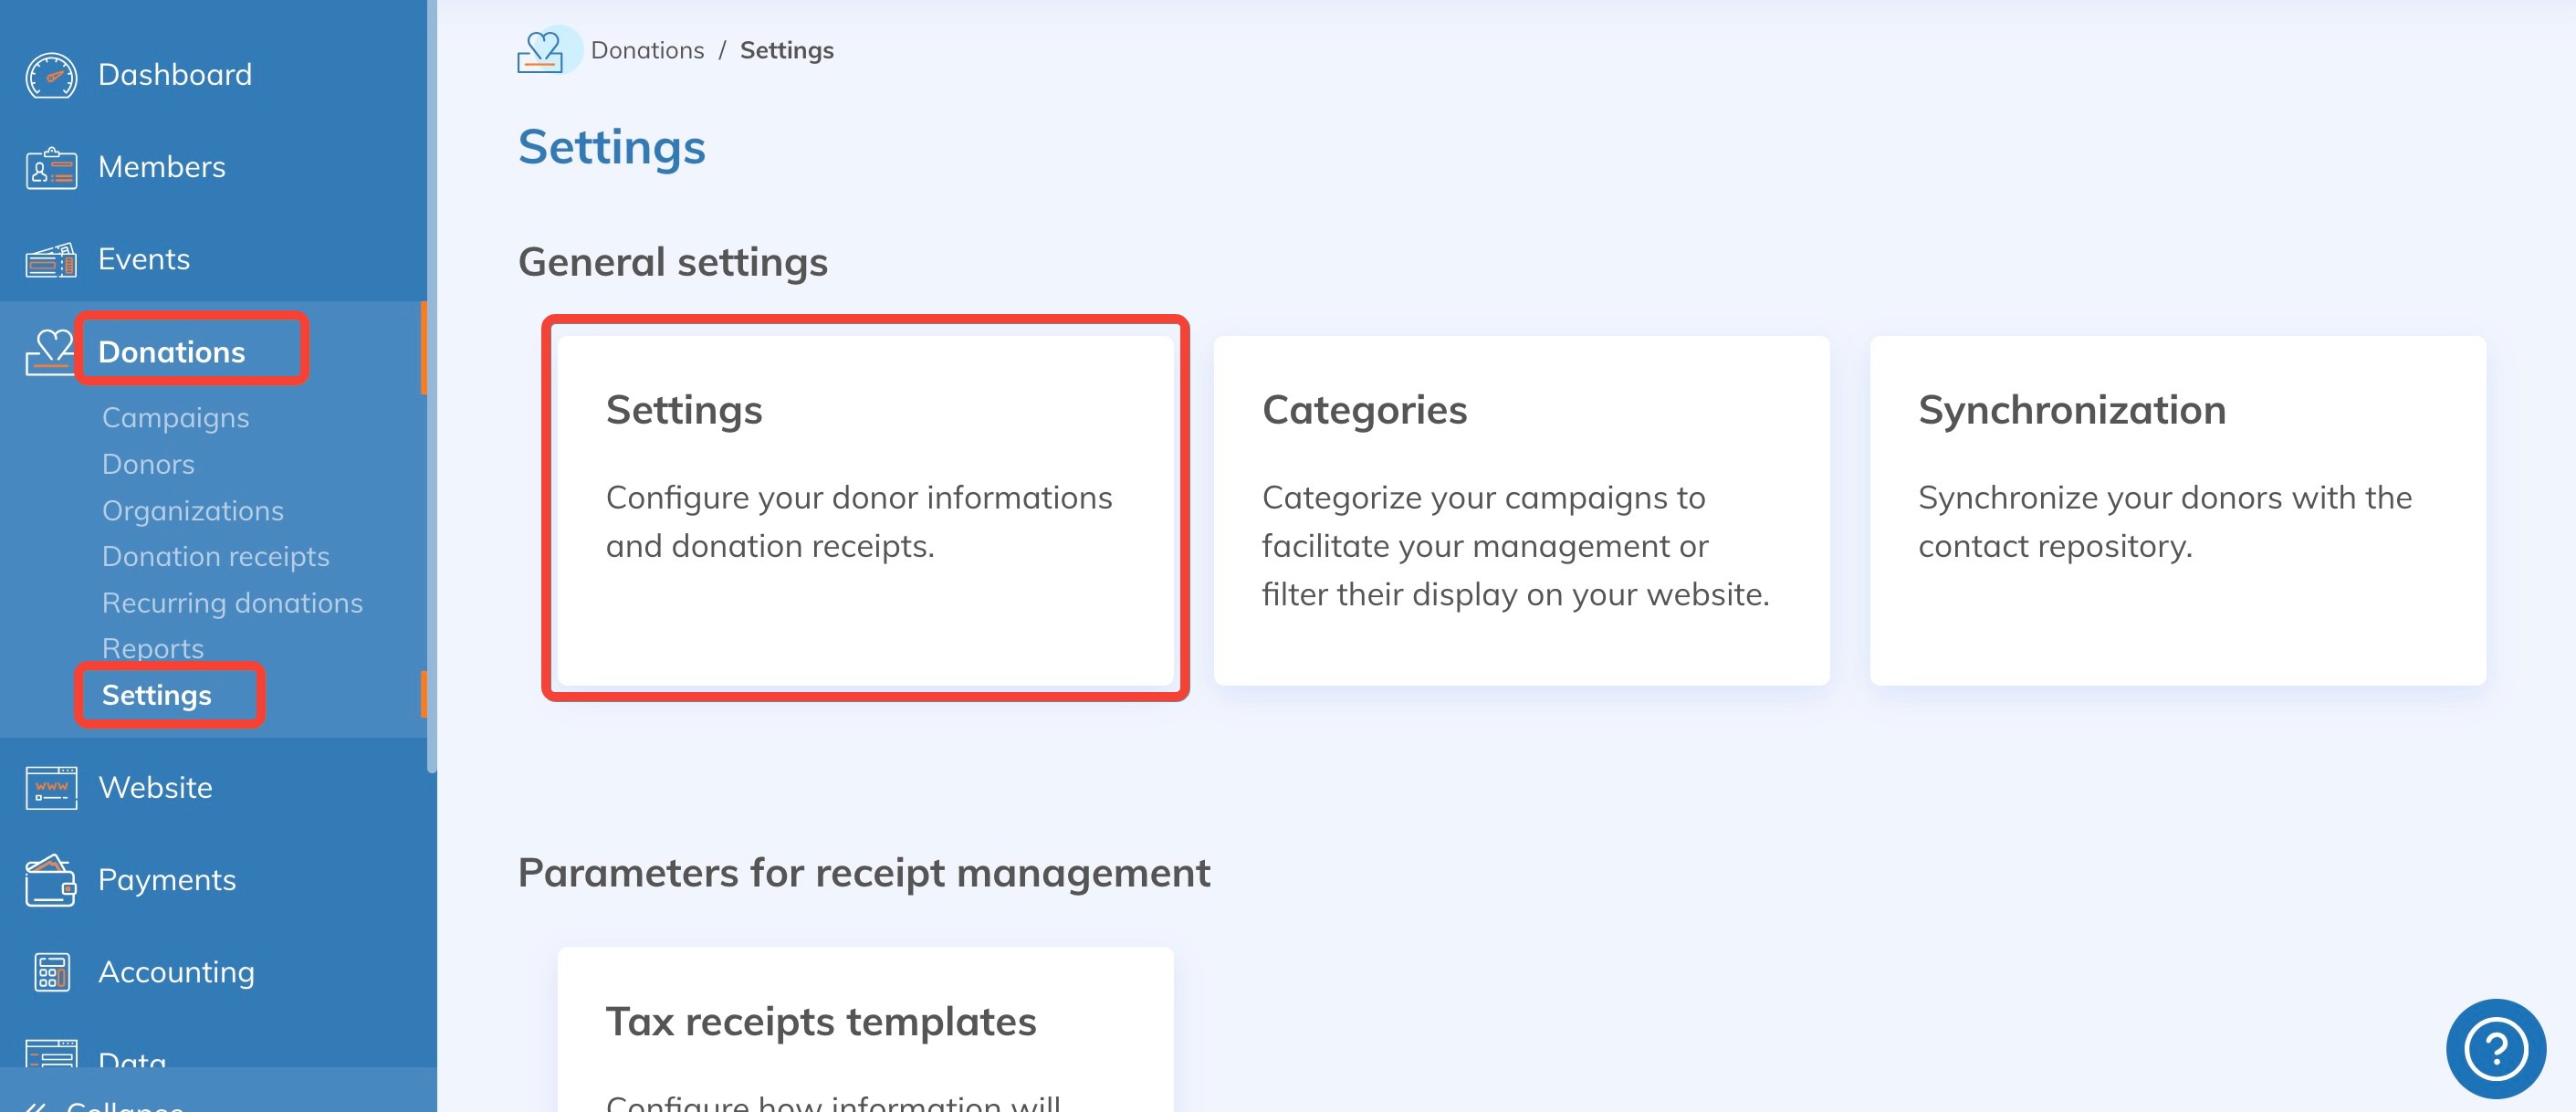
Fill in the fields shown and check that they contain no errors: this information appears on the receipts issued. Then click Save at the bottom of the page.
Automate the creation of donation receipts
Under Donations > Campaigns, open your campaign, then click the Donation receipts tile.
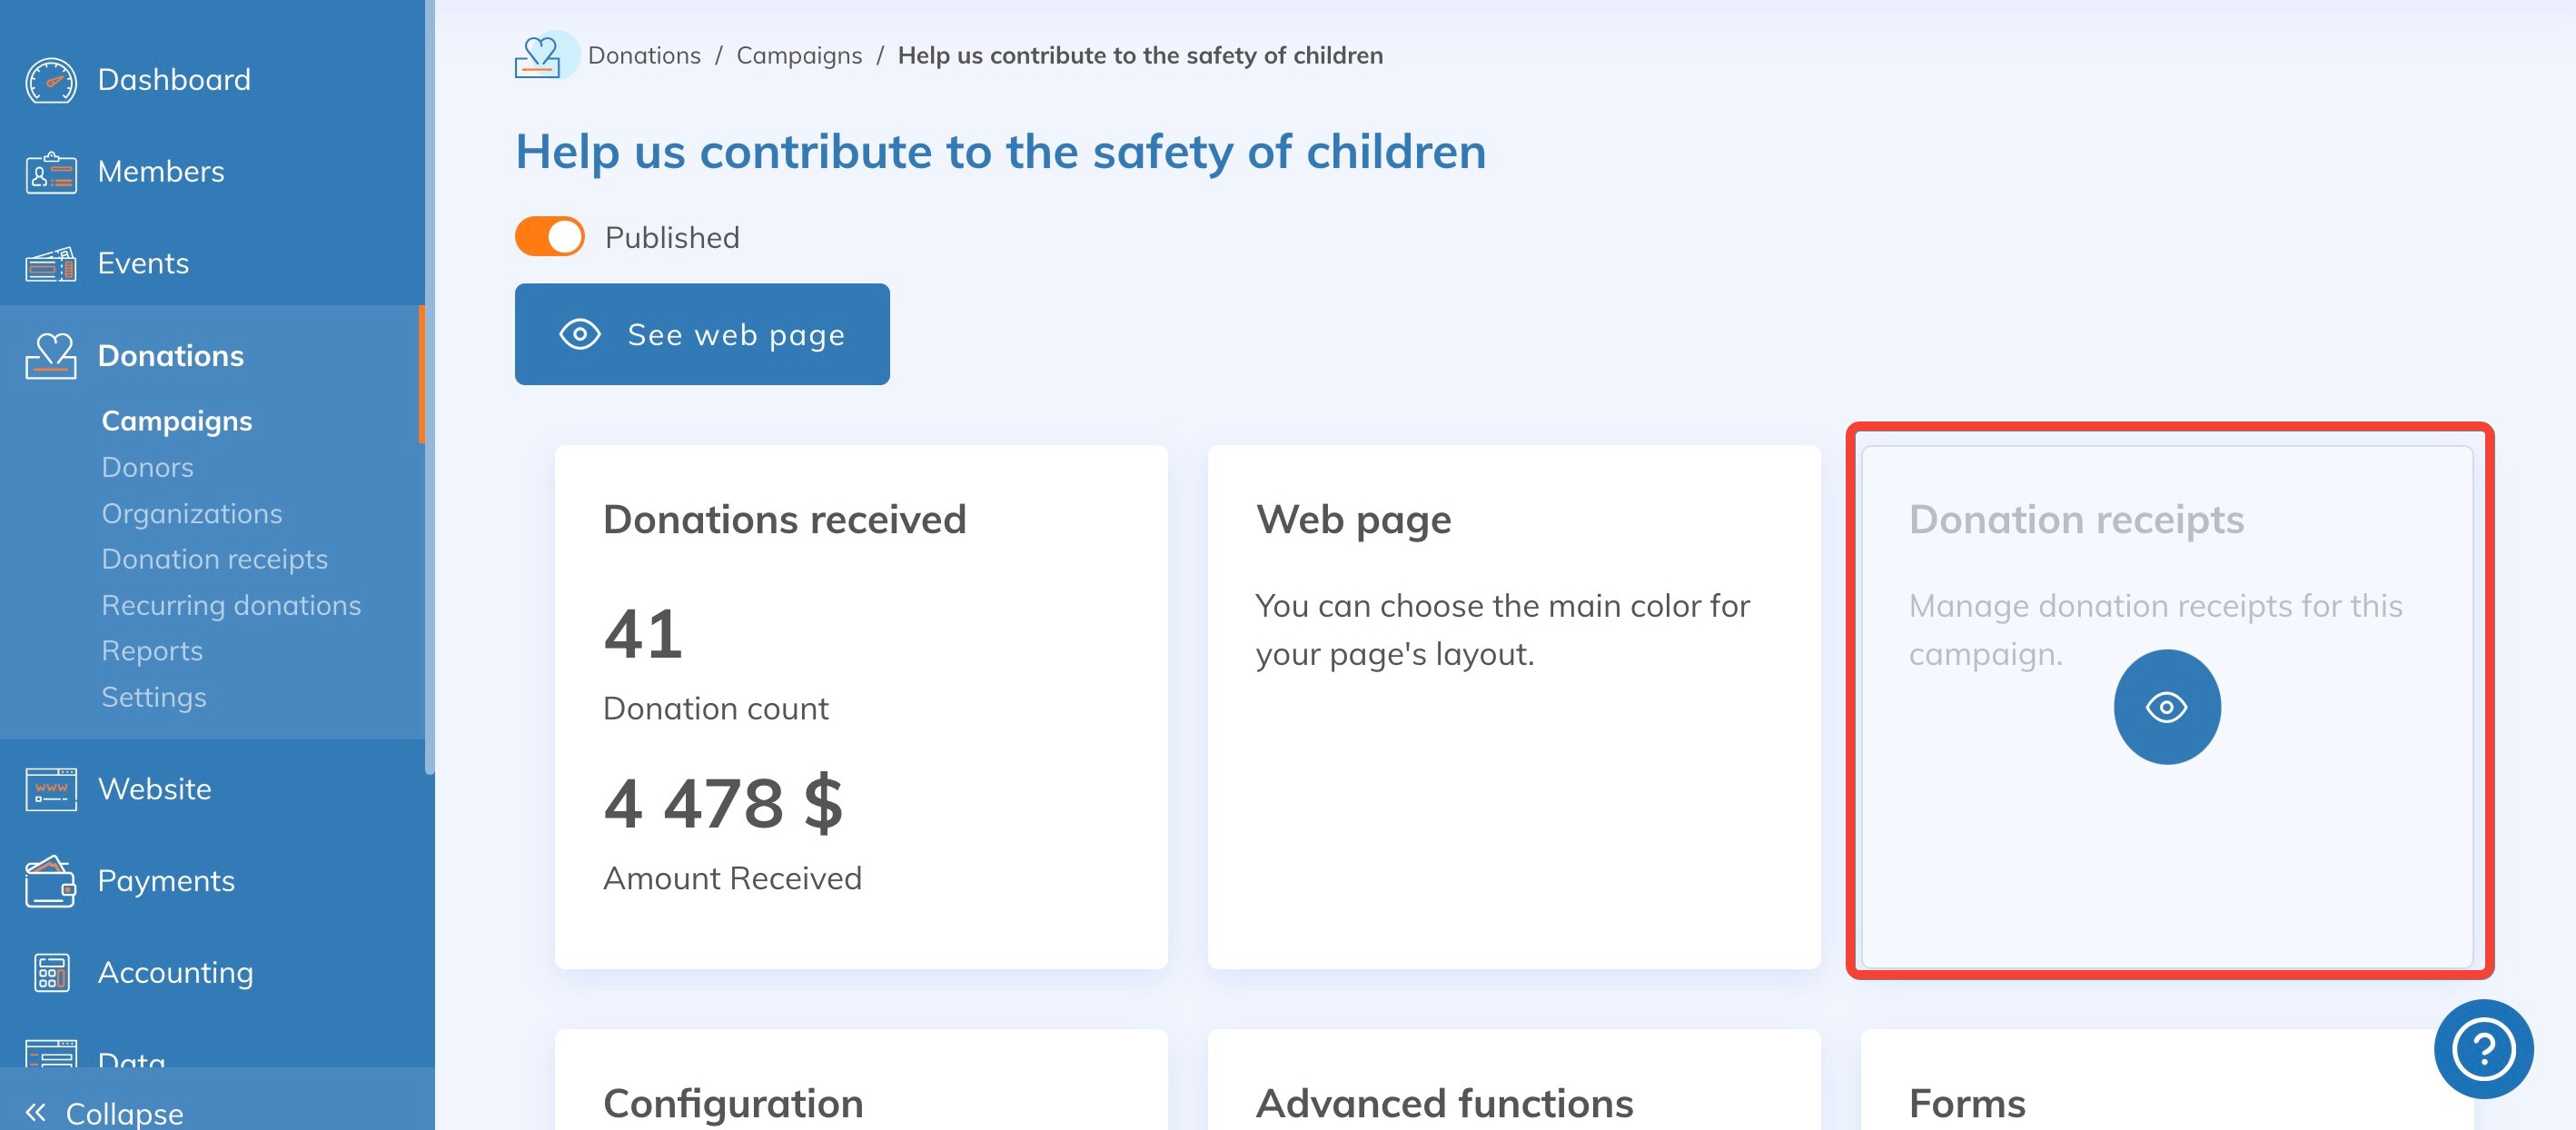
The Receipt tab lists your receipts and their status.
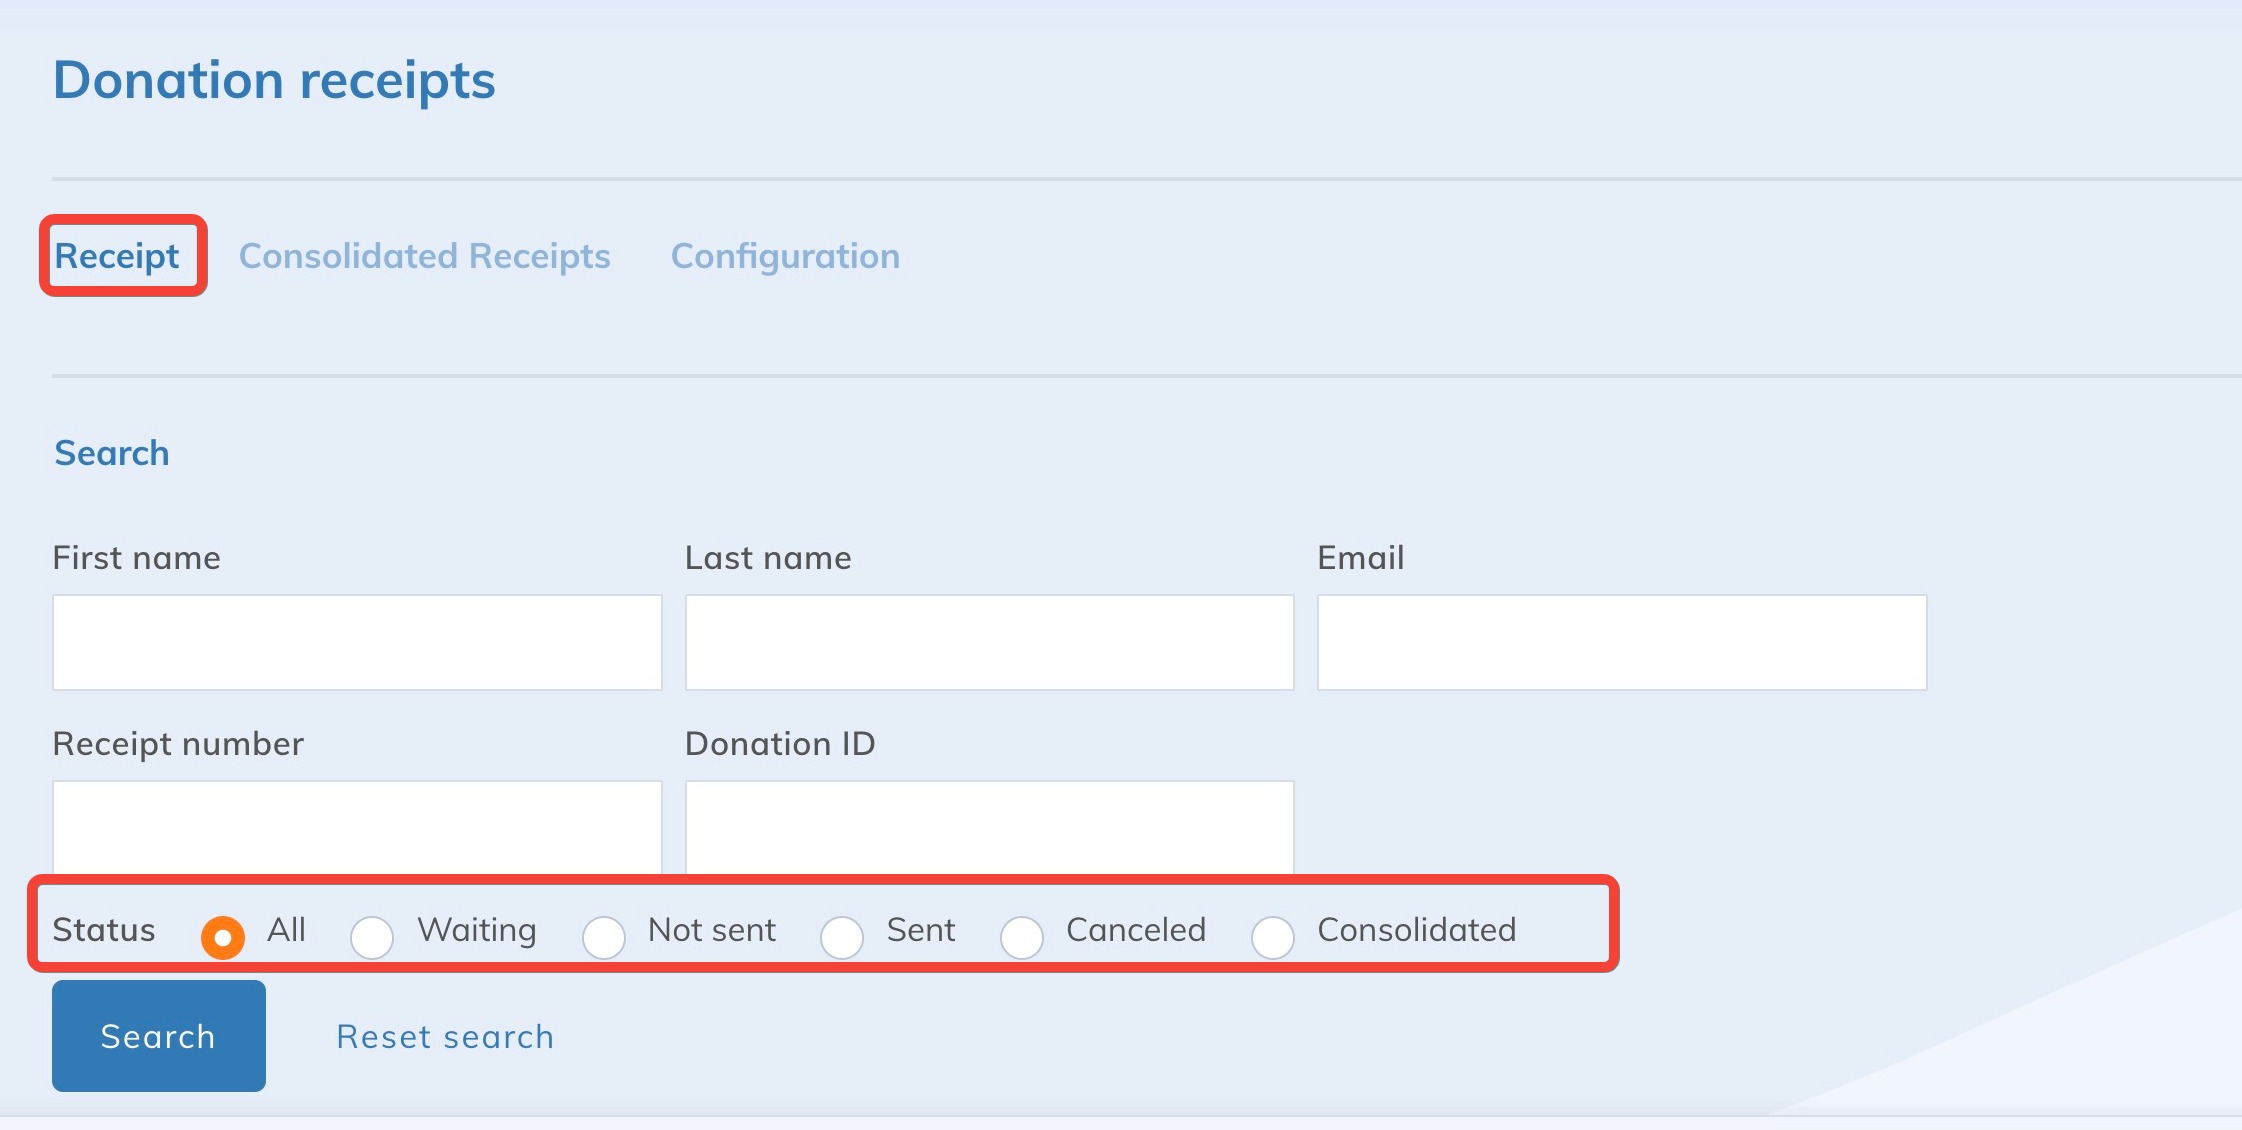
Click the Configuration tab.
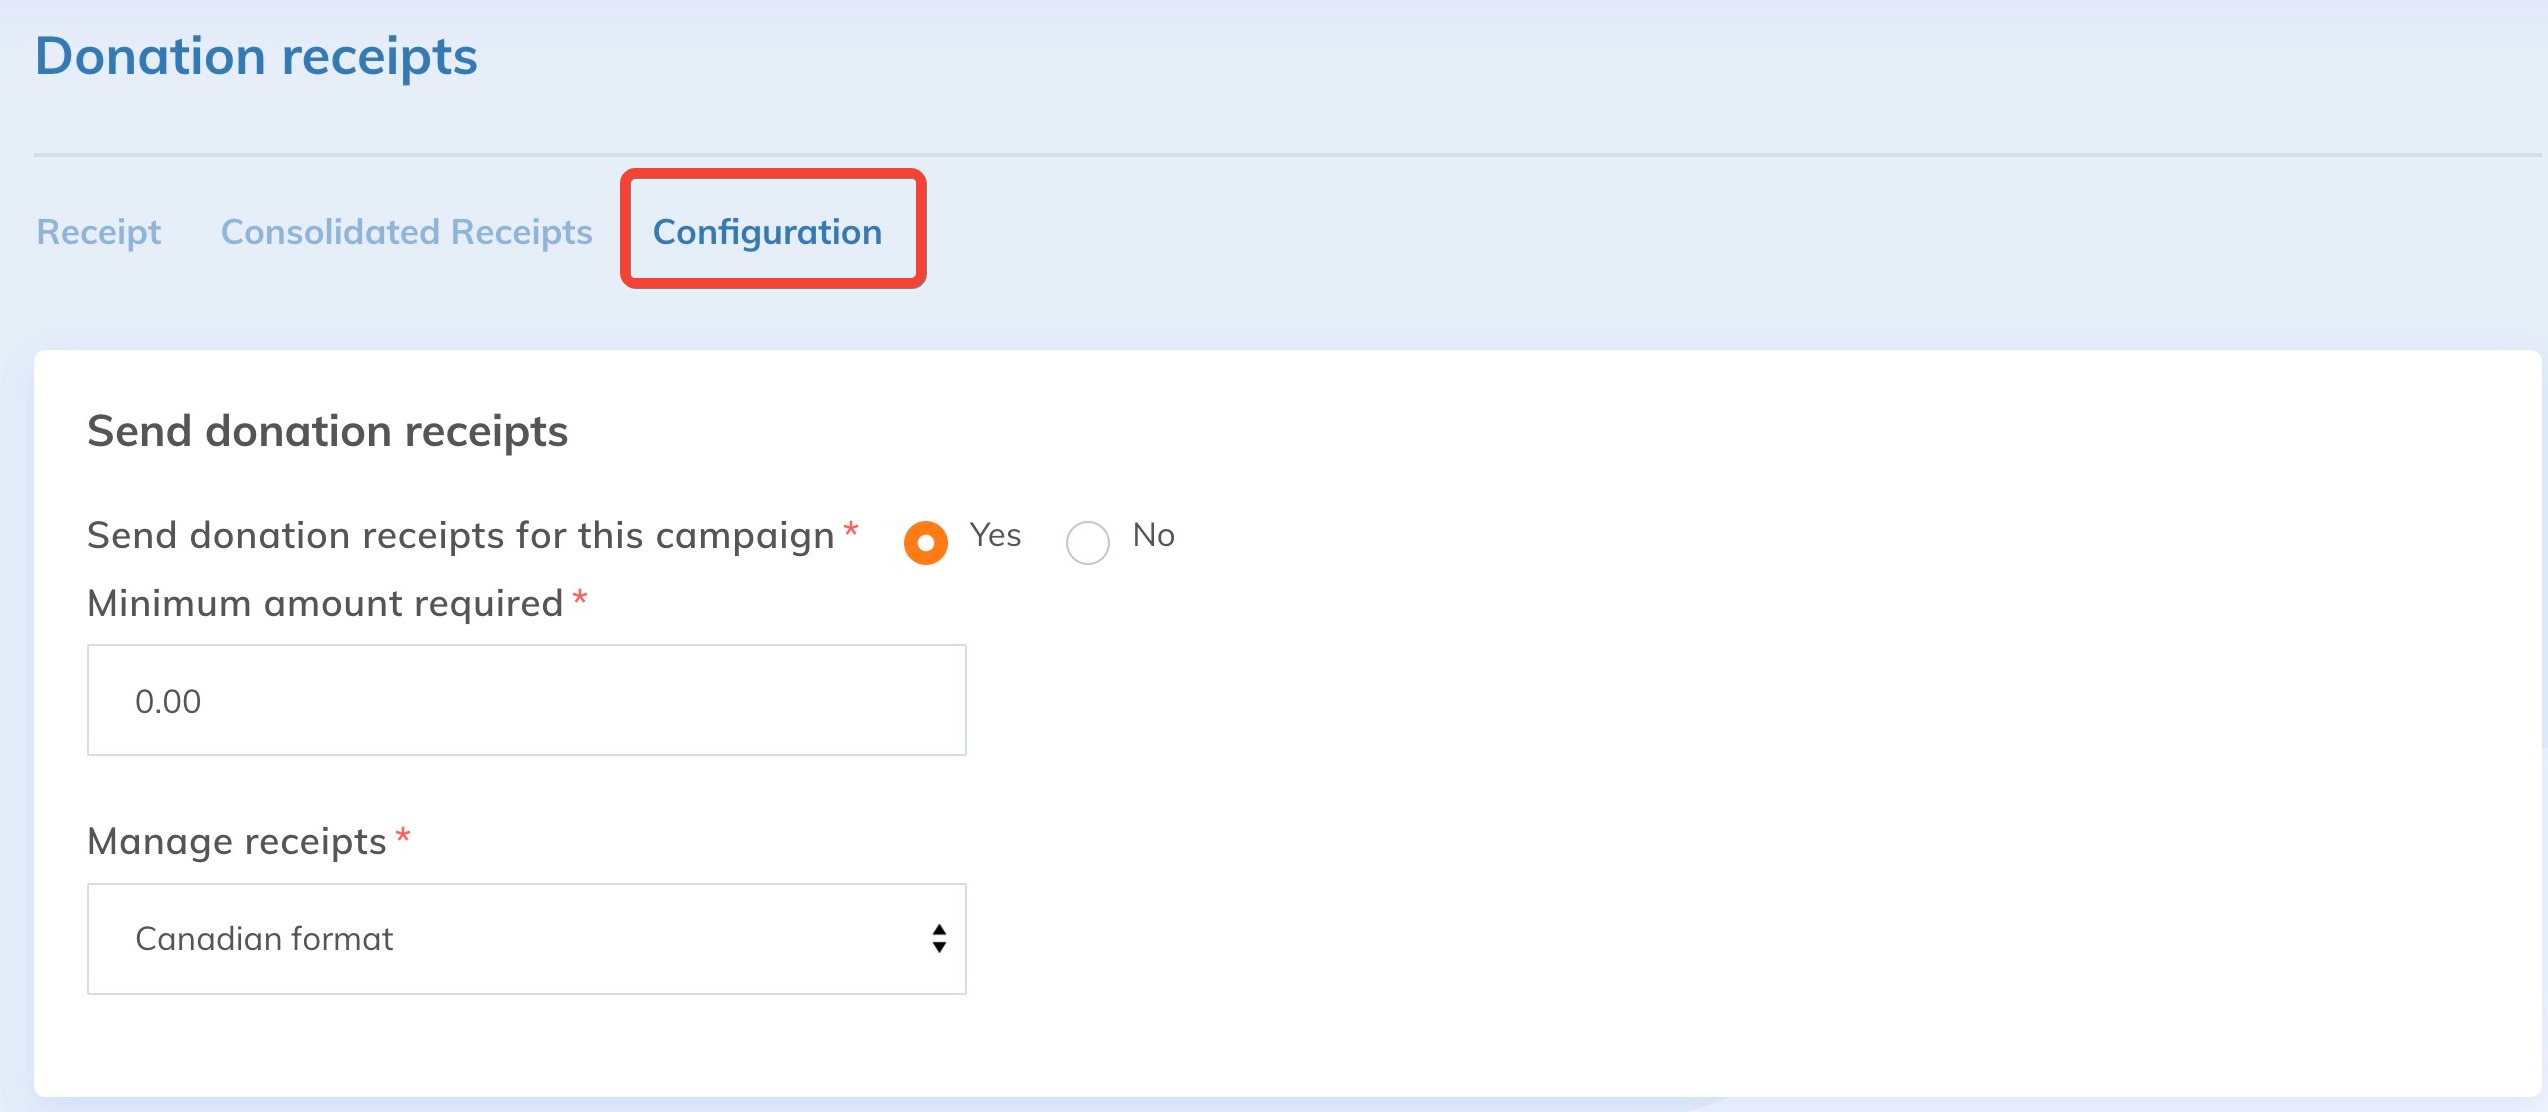
In the Send donation receipts section, check Yes. A receipt is then generated and automatically attached to your Issuing a Receipt communications.
If No is checked, no receipt is issued and no donation receipt can be generated. In addition, once Yes is checked, donations made before this change cannot receive a donation receipt.
Then enter the Minimum amount required and choose the template to use in Manage receipts.
The Management of the receipts for single donation section offers three options:
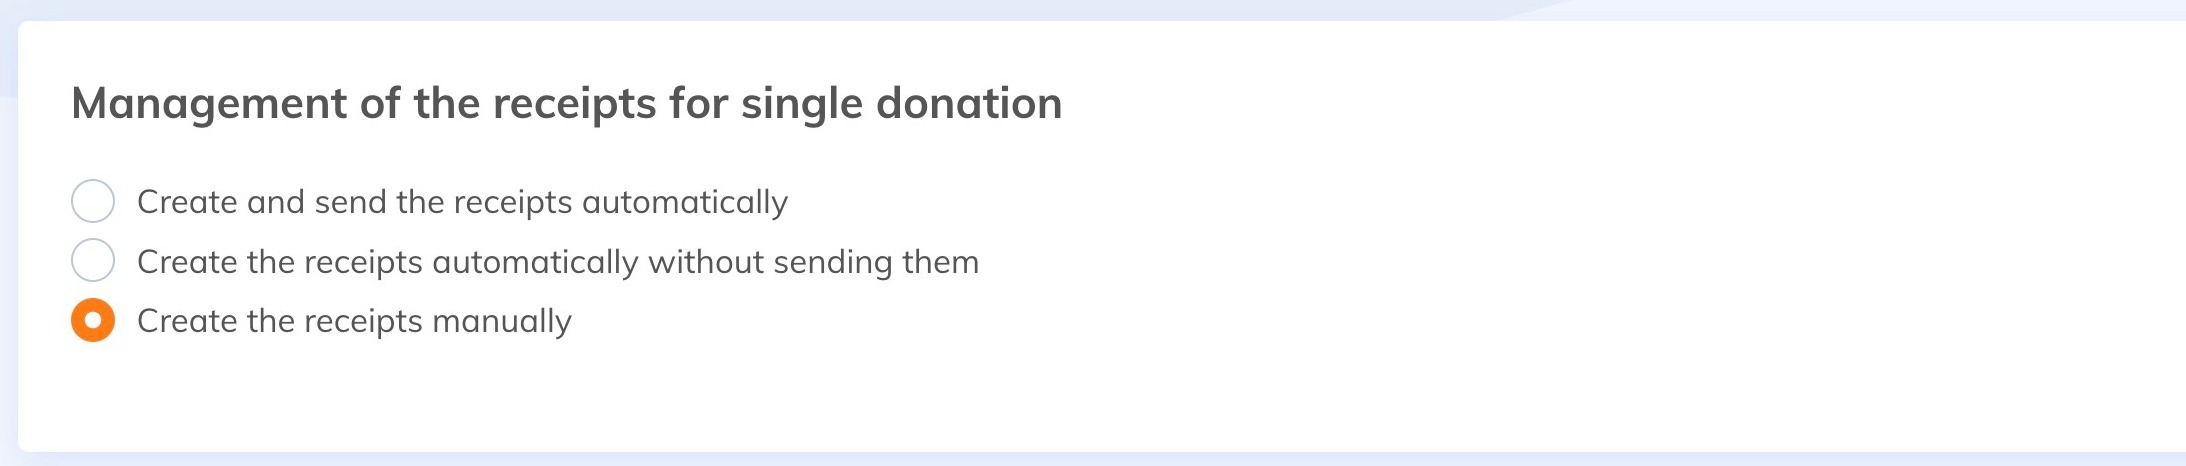
- Create and send the receipts automatically: your donors automatically receive the generated receipts as attachments.
- Create the receipts automatically without sending them: the generated receipts remain in the Not sent status. You can then send them by email or print them for mailing (see Send receipts in the Not sent status).
- Create the receipts manually: the receipt remains in the Pending status, and you choose for which donation to generate a donation receipt.
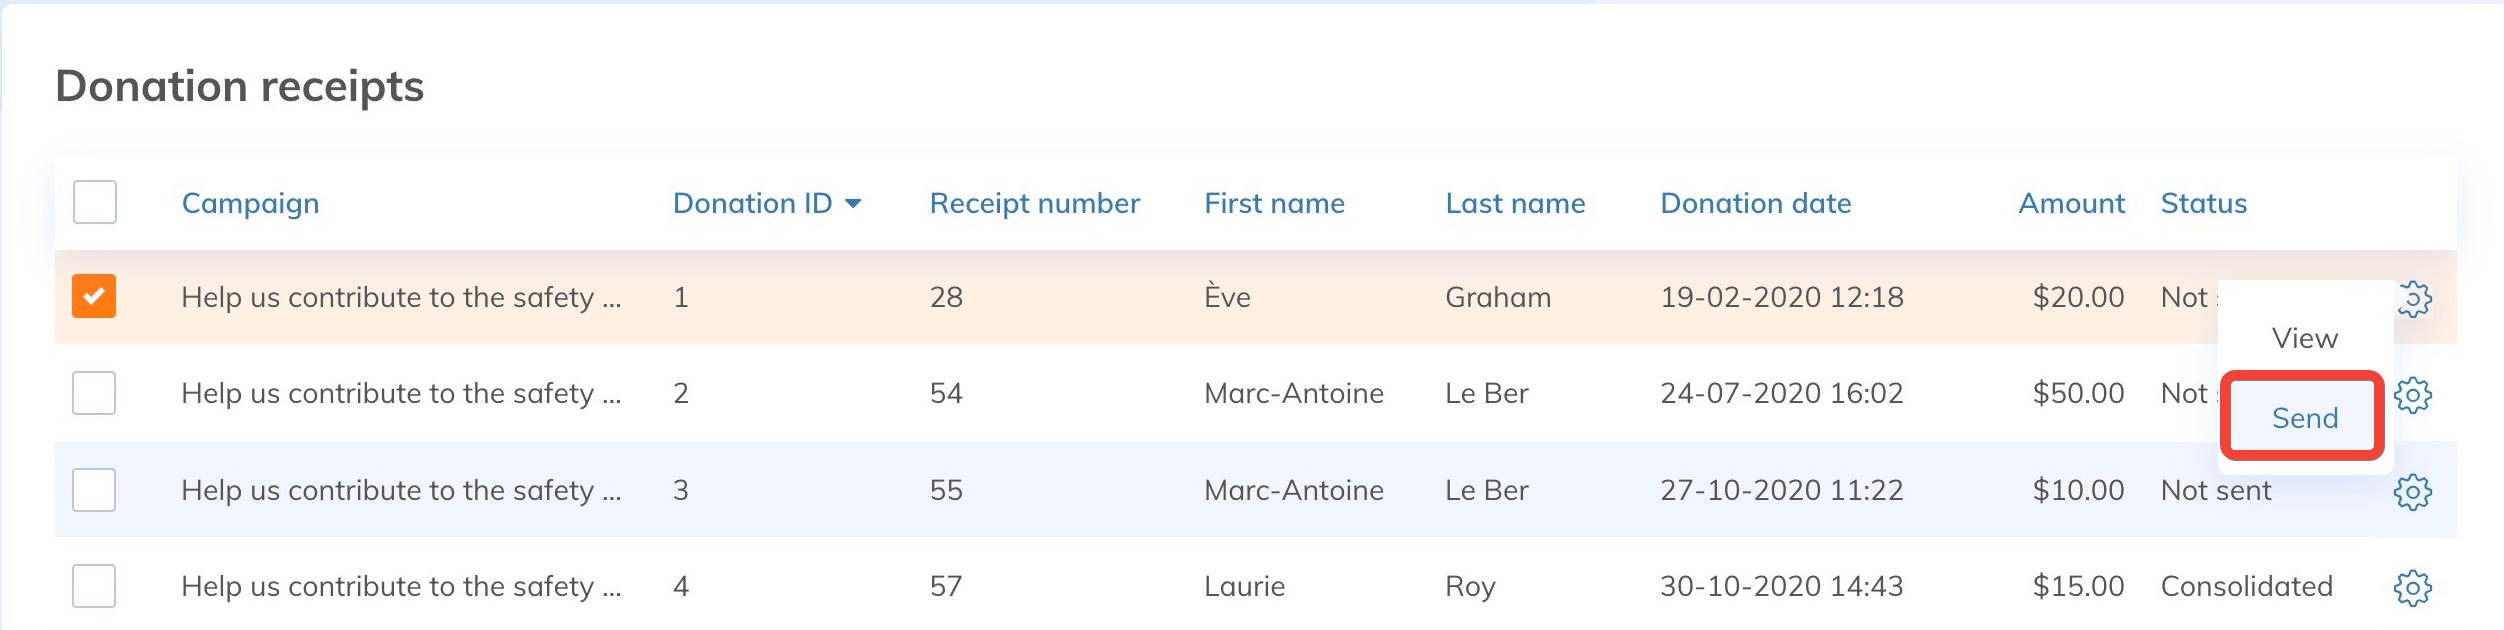
To generate a receipt manually, open the Receipt tab, click the cogwheel of the chosen donation, then select Send.
Send receipts in the Not sent status
In the Receipt tab of a campaign, or under Donations > Donation receipts for all your campaigns, click the cogwheel of a receipt in the Not sent status. The action offered depends on the donor's email address:
- Donation with an email address: Send emails the receipt to the donor.
- Donation without an email address: Mark as sent changes the receipt to the Sent status without sending an email. Use this action once the receipt has been mailed.
If the email field is not required in your campaign forms, some donors may not have entered an email address, for example for a donation by cheque. Their receipts remain in the Not sent status, even if the campaign sends receipts automatically. With automatic sending, the list of Not sent receipts therefore contains only receipts without an email address.
Process several receipts at once
Select the receipts, click Available actions, then choose an action:
- Send receipt: emails the receipts of donations with an email address. Receipts without an email address keep their status.
- Mark as sent: changes the receipts without an email address to the Sent status. Receipts with an email address keep their status. This action appears when the selection contains at least one receipt without an email address.
The confirmation window shows the number of receipts processed and the number of receipts whose status does not change.
First, email all receipts with an email address. Then print the receipts without an email address, or download them, for mailing, and mark them as sent as you go.
Change the receipt template of a campaign
The template chosen in Manage receipts applies to receipts generated after it is saved. To use a new template, create it under Donations > Settings > Tax receipts templates, select it in the Configuration tab of the campaign's donation receipts, then click Save.
A receipt already generated keeps the template it was issued with. If you change the campaign template, then click Update receipt on an existing receipt, the receipt information is refreshed, but its template stays the same.
To get a receipt already issued with the new template, open the donation, click Available actions > Cancel donation (see Cancelling and refunding a donation), then add it again manually to the campaign. The new receipt uses the template associated with the campaign and gets a new number. The old receipt changes to the Canceled status.
Go further
- Consolidate all of a donor's donations on an annual basis: offer a consolidated donation receipt to donors who make recurring donations.