
Bookmarks replace the old quick actions on your dashboard and let you save a shortcut to any page in Yapla directly from that page, so you can return to it in just one click from your dashboard.
Each user on an account manages their own bookmarks, independently from other users.
Add a bookmark
Navigate to the page you want to save. You will see a small bookmark icon (🔖) next to the page title.
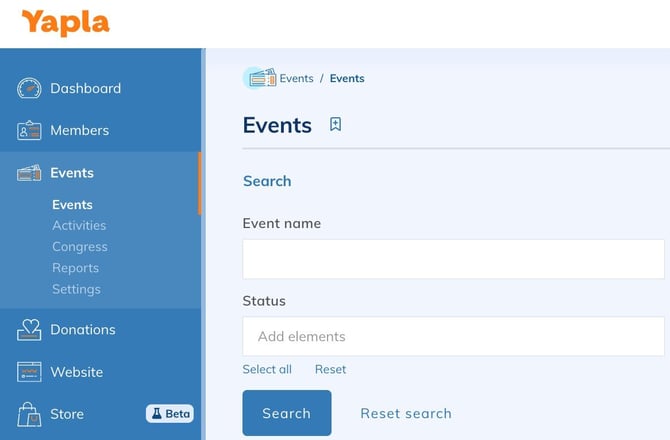
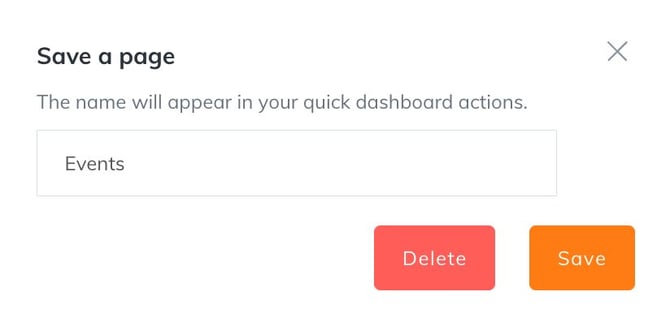
Click that icon. A dialog opens and suggests a name for the bookmark (by default, the page name).
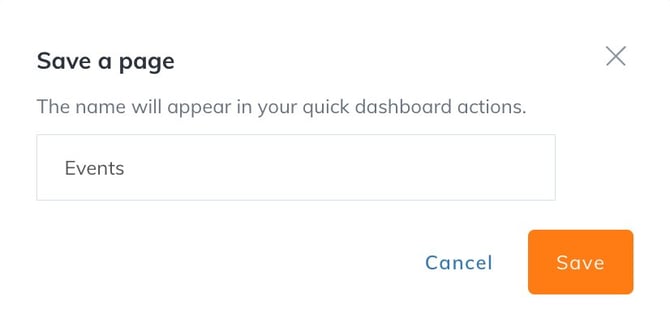
You can change the name as you'd like, then click Save.
Finding your bookmarks on the dashboard
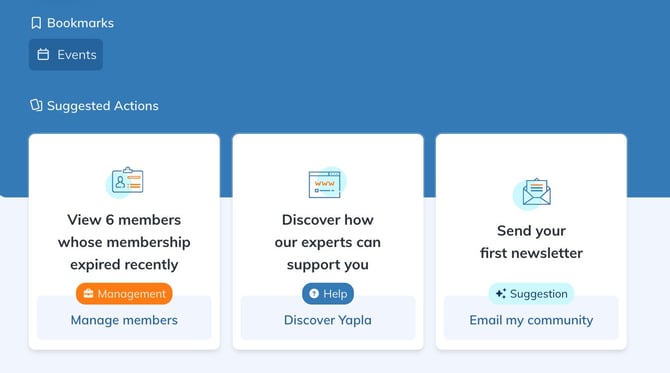
Once saved, your bookmark appears in the Bookmarks section at the top of your dashboard. Just click it to go directly to that page.
How to tell if a page is already bookmarked
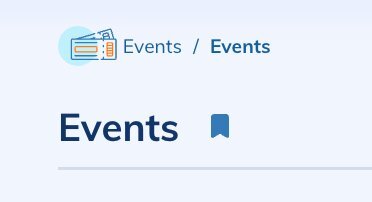
When a page has already been added to your bookmarks, the icon next to the title is filled in.
Editing or removing a bookmark
Click the bookmark icon again from the relevant page. The dialog reopens with two options:
- Save - to rename the bookmark
- Delete - to remove the page from your bookmarks
Things to keep in mind
- Bookmarks are personal: each user on the account has their own set, with no effect on others.
- You can bookmark any page in Yapla: a filtered list, a member record, a settings page, and so on.
- Bookmarks appear on the new dashboard. If you do not see them yet, your account will soon have access.
- Keep the number of bookmarks reasonable so your dashboard remains easy to read at a glance.