Yapla allows you to create a website in several languages. The language selector section in the Header module allows you to add a link to change the language of the site in the header of your website.
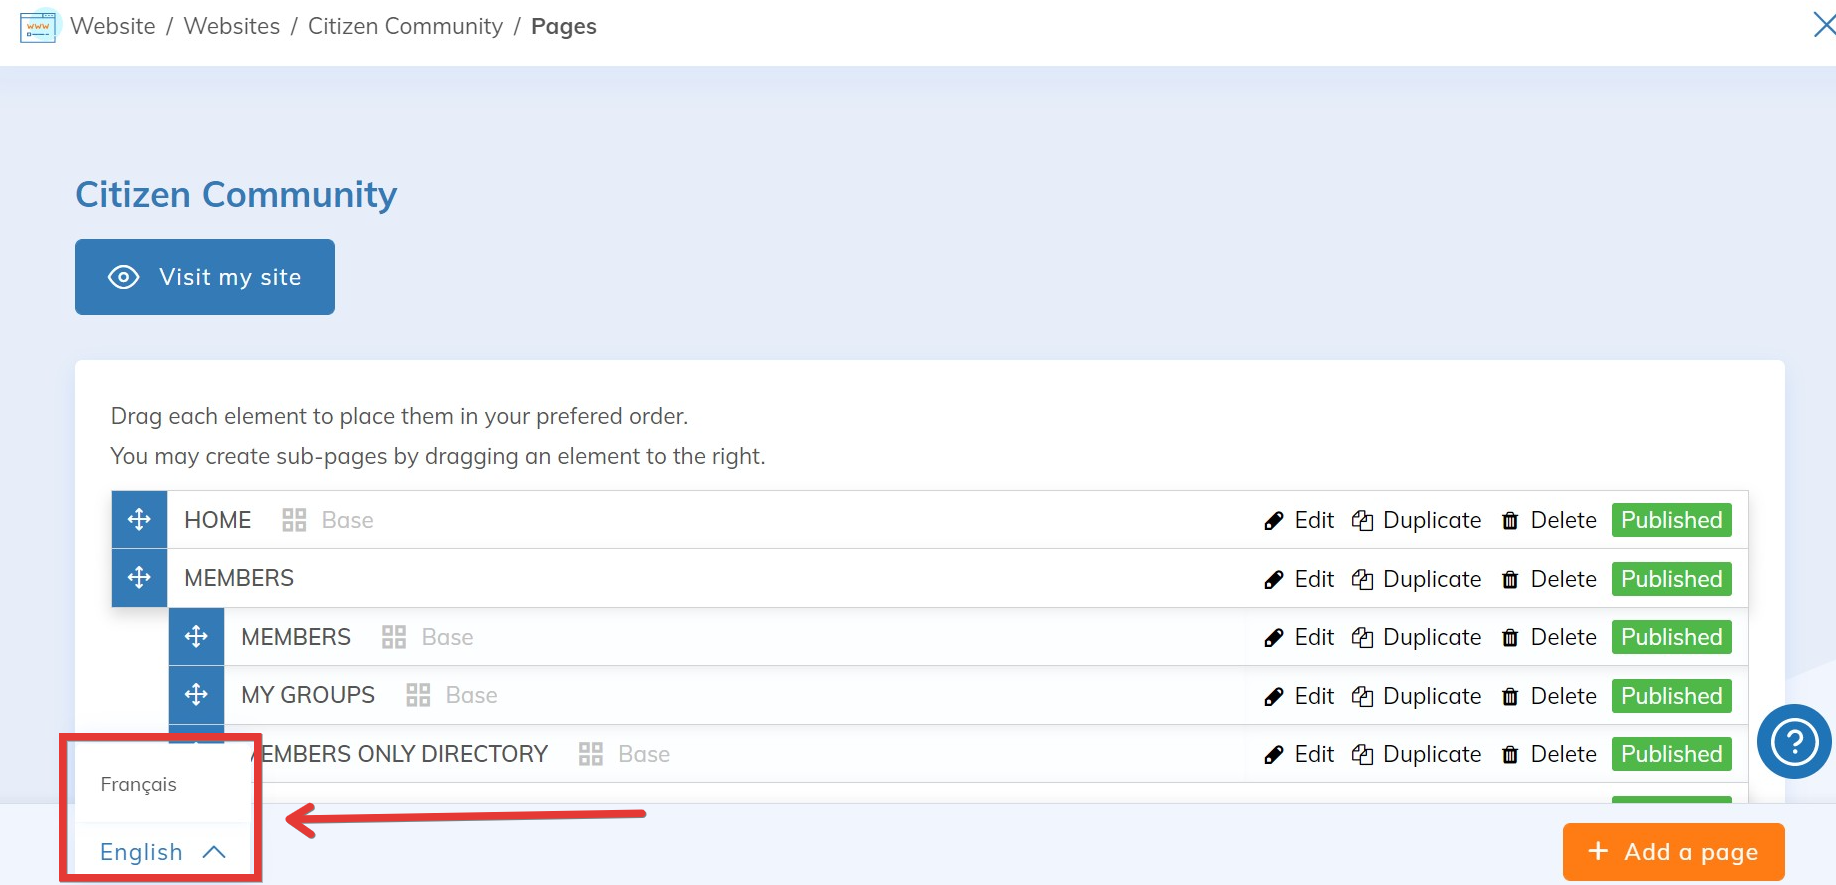
Before integrating the language option on your site, learn how to manage the languages of your Yapla account, you can then choose the languages of a specific website. To do this, select your site in the Website application and choose the Languages tile.

The section allows you to check the languages in which your site can be displayed as well as the default language.

*Note: The languages offered in this section correspond to those chosen in the configuration of your Yapla account. You must therefore choose the languages of your account before those of your websites.
Once you have chosen the languages for your website, go to the configuration of the Header module. In the configuration of the module, check the box "Display Language" in the Languages section.
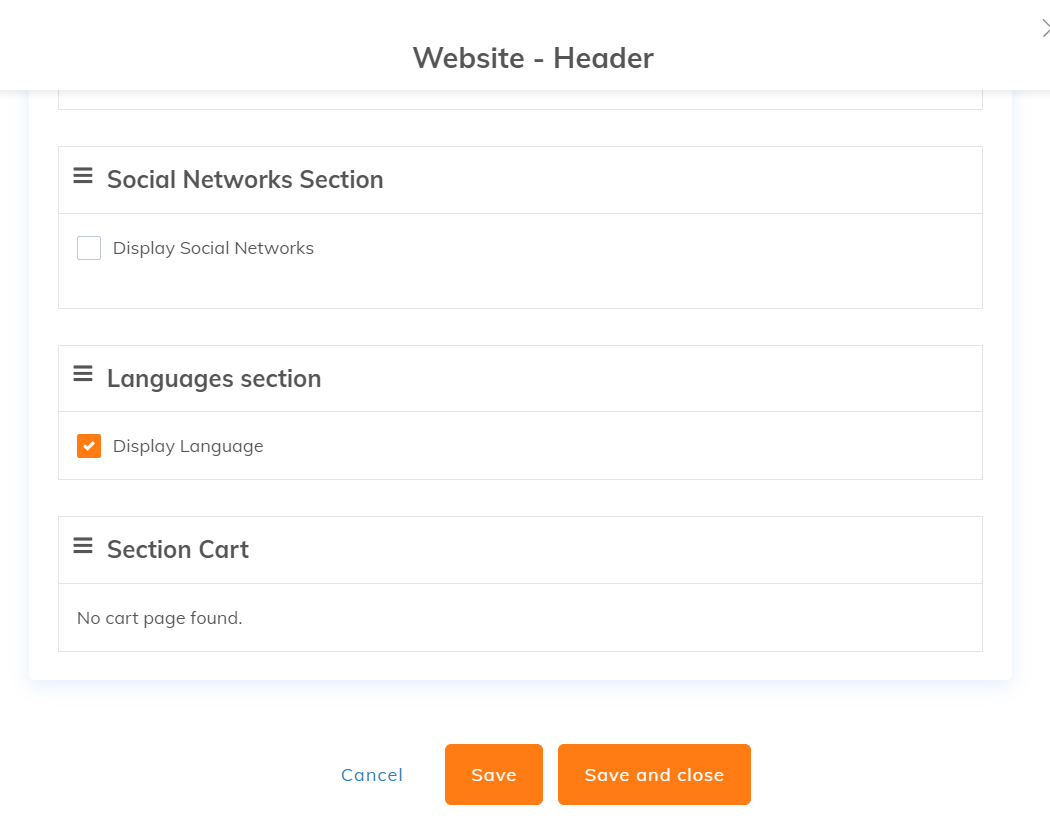
Thus, on the header of your site, a button to select the language of the site will be displayed.

To configure your site in different languages, change the language of the Yapla account. For example, when the Yapla account is in English, the changes made to the website will appear on the English site. You can choose different articles, titles and pictures for the different languages of your sites.
Then learn how to add your organization's logo in different languages.