You can create segments based on actions by tagging contacts. For example, if your subscribers click on certain links, you can mark them with one or more tags. These tags can later be grouped to form a specific segment of people to whom you want to send selected newsletters or follow-up or reminder communications in the same campaign. Segments, like contacts, can be associated with one or more tags.
In this article:
How to create tags
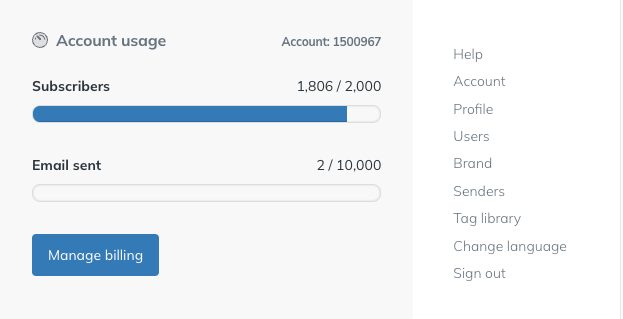
- Go to Newsletters, click on your username in the top right corner, and select Tag library from the dropdown menu.
- Enter the name of your new tag.
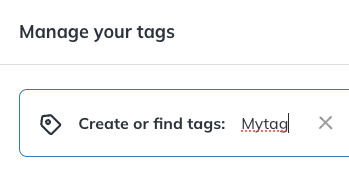
- Click Create Tag.
- Your tag is now created, close the menu.
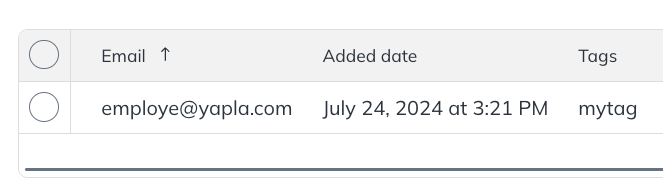
How to assign a tag to a contact
To use a tag:
- Select the Contacts tab.

- Select your contact list.
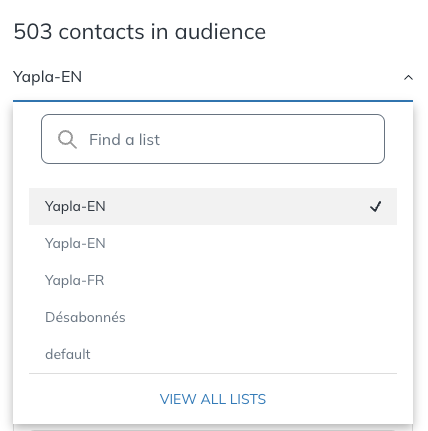
- Check the circle next to the desired e-mail addresses.

- A new menu will appear at the bottom of the page. Select Add or Remove Tags from the Actions menu.

- Choose the tag you want to use and click Tag. You can also create a tag directly from this menu.
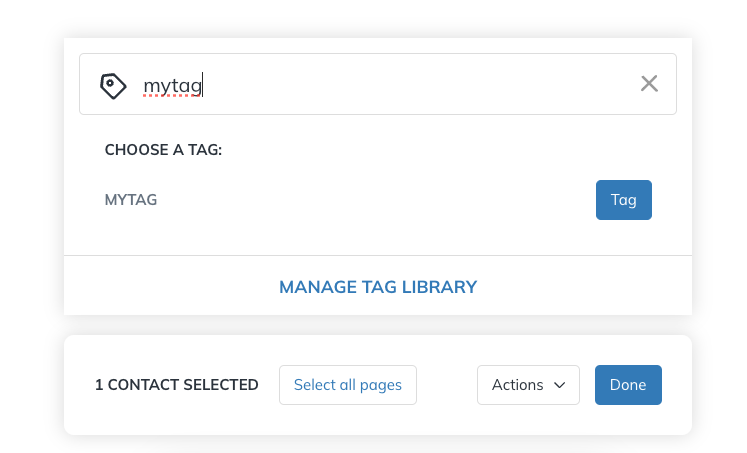
- When you have selected the tag, click Done. Your contact is now tagged.
About Contacts Synchronized from Yapla
Remember that your contacts in Yapla are automatically synchronized with Yapla Newsletters. All the groups in your account (system or custom) will be automatically imported as tags, which you can then use and group together to create segments. To learn more, read the article Create segments for your newsletters.
⚠️ Attention: Tags created in Yapla Newsletters are not synchronized with Yapla and will not create a custom group in Yapla. Moreover, during the automatic synchronization of your Yapla contacts with your Yapla Newsletters lists, any tags created in those lists will be deleted.
- For synchronized lists: If you are a Plus or Premium plan user, create a new group in Yapla. This will automatically create a new label in these Yapla Newsletter lists during the next synchronization. Otherwise, we recommend re-importing your contacts and assigning them one or more attributes to segment them. Learn how here.
- For non-synchronized lists: you can freely create tags directly in Yapla Newsletters — they will be kept in those lists.
To learn more about contact segmentation during import, refer to this article: Import external contact groups into Yapla Newsletters.