Using the Zapier web service, it is possible to automatically transfer information from your Yapla members to thousands of applications. Whether it is to create a personalized Excel report or to synchronize information with another website, you can use Zapier to exchange data between two applications.
Creating a Zapier account
First of all, in order to connect your Yapla members, you must create a Zapier account. When you create your account, you have access to a 14-day test period at no cost. Thereafter, free or paid packages will be offered to you.
To learn more about Zapier, see the online help article on this subject.
Connection between Yapla and Zapier
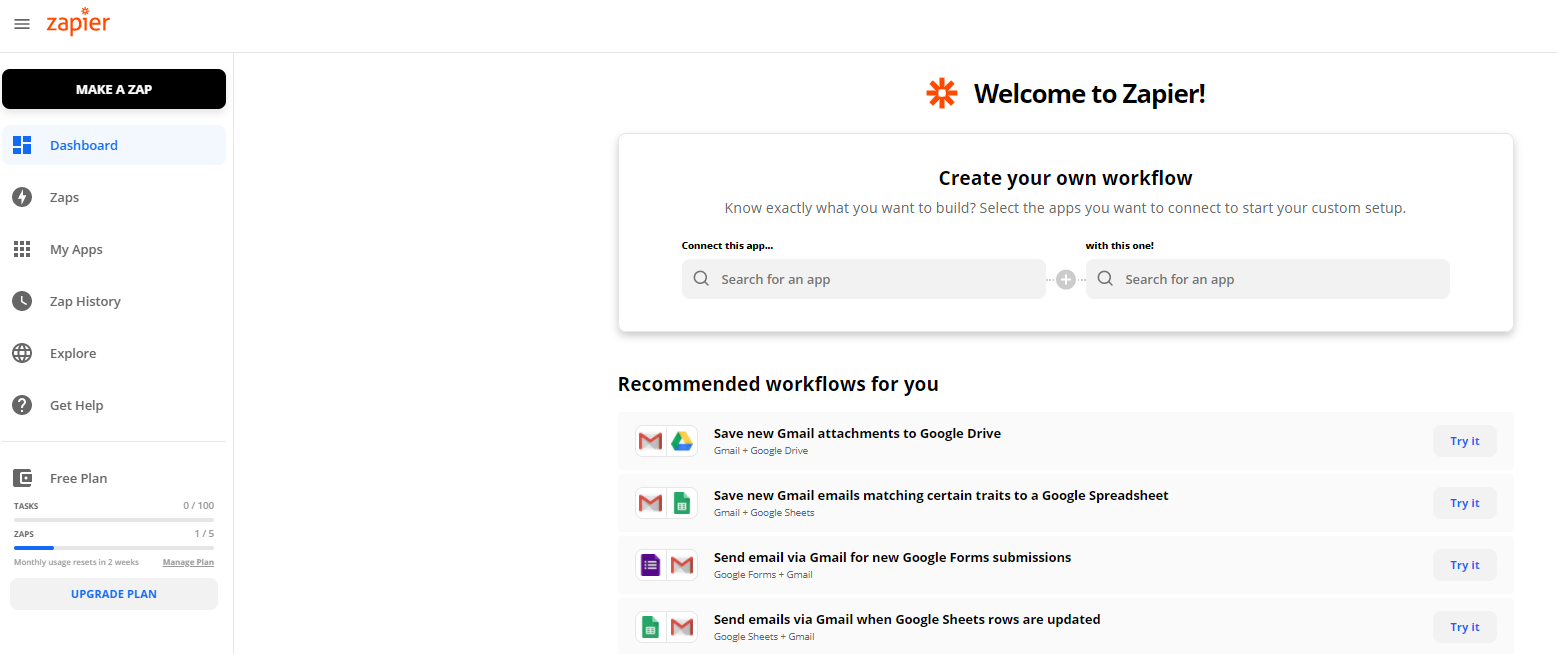
Once in your Zapier account, click on "Make a Zap" in the left menu.
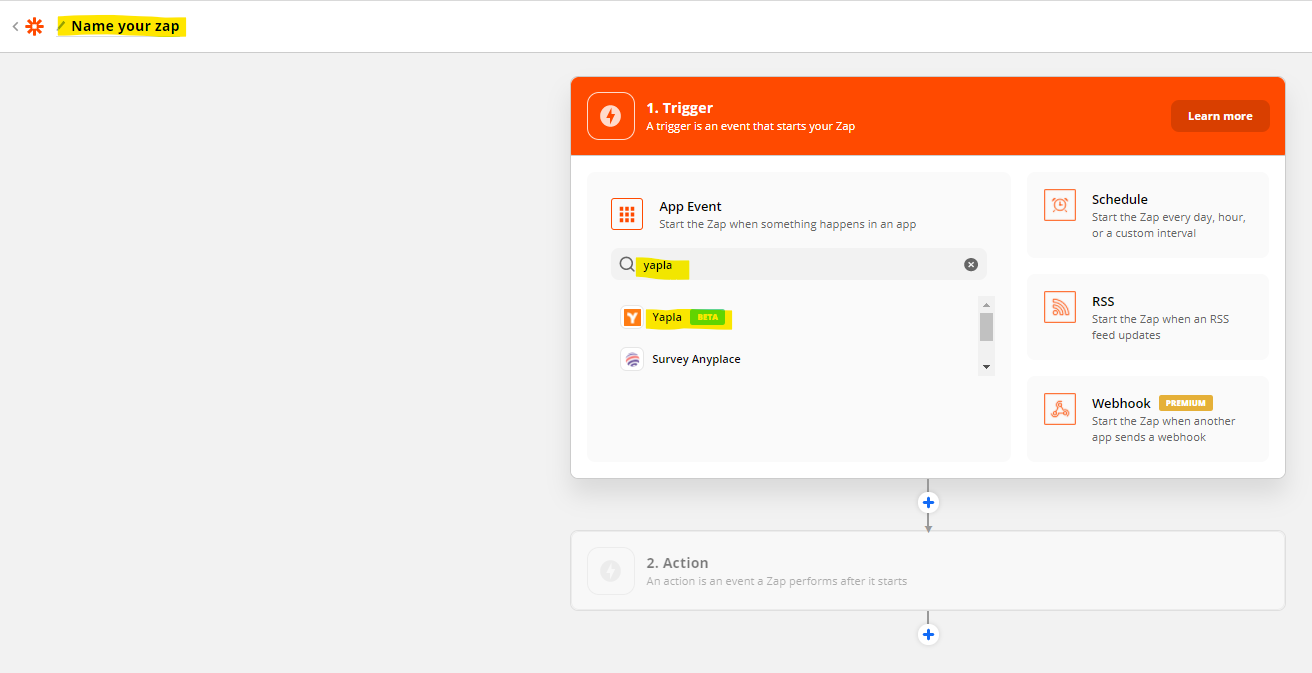
Then, name your Zap and in the search bar, write Yapla and select the application.
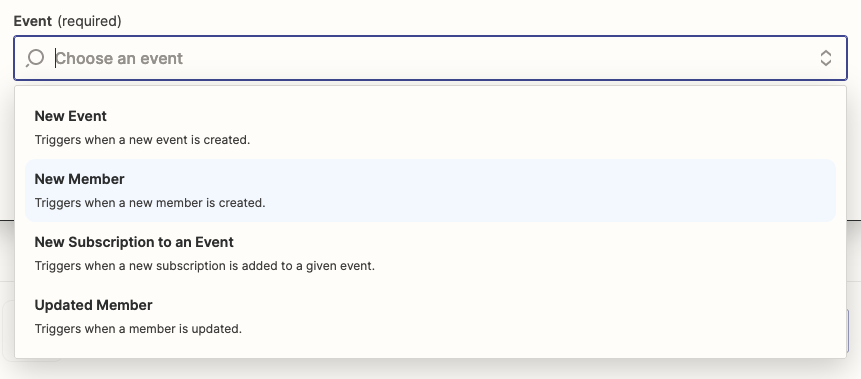
Then select the trigger: New member, to receive new members or Update member, to receive updates from existing members.
Click continue and the option to connect Zapier to your Yapla account will appear.
Connect my Yapla account to my Zapier account
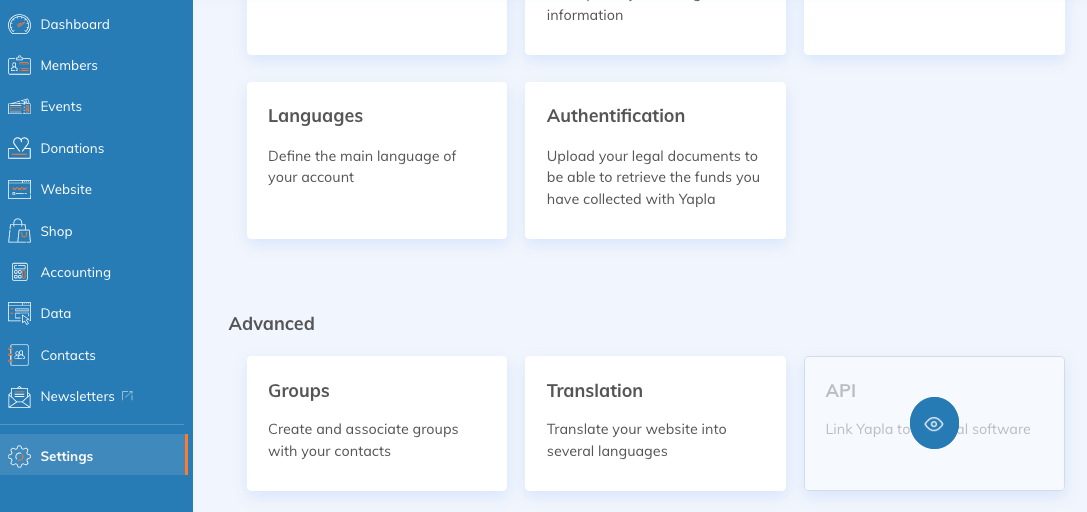
In order to make this connection, go to your Yapla account settings and select the API tile.
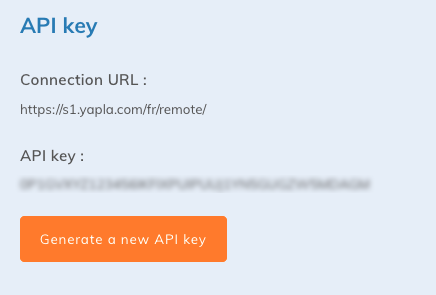
Then, back in Zapier, a new window will appear when you click on "Sign in to Yapla". This will allow you to paste the API key you just got from Yapla.
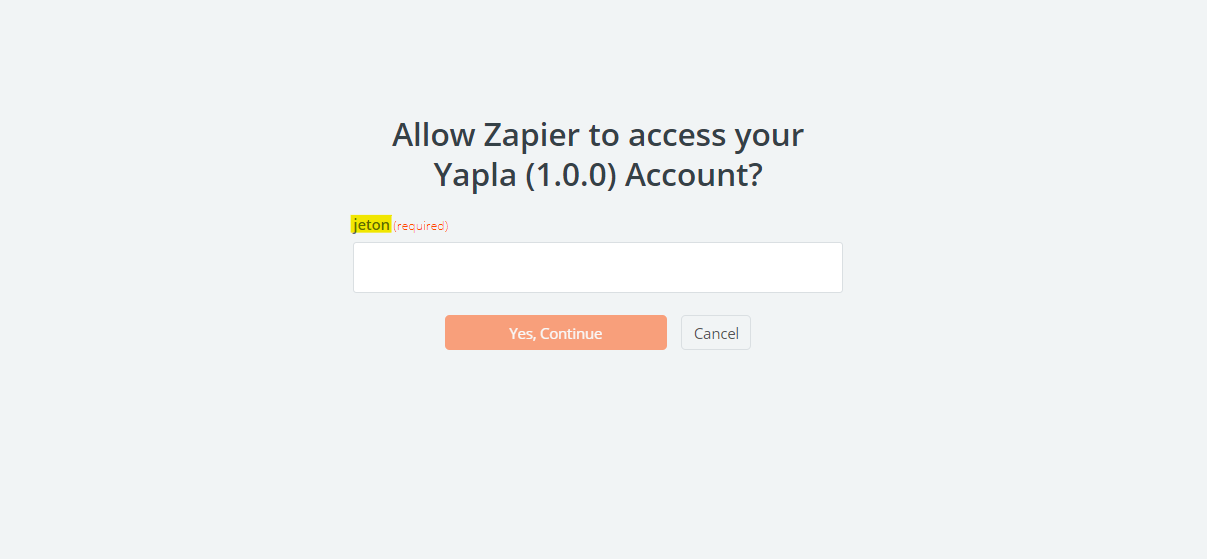
Once the key is added, click on Yes, Continue. In the "Set up trigger" section, you will have to specify the server where your Yapla account is located, the language in which you want to receive the information and the id of the membership campaign, if applicable.
You can find the name of your server in the url of your account (sx.yapla.com) and on the API token page.
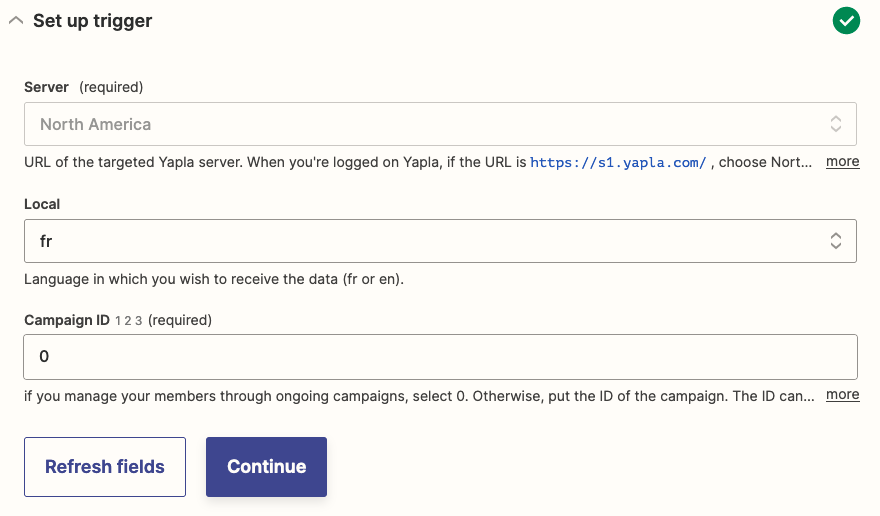
Once you have entered the information into Zapier, click "Continue". Now it's time to test your trigger.
By clicking on "Test trigger", Zapier will run a test to make sure the connection with your Yapla account works. Make sure you have at least one member for the test to work.

Once the test is done, you only have to complete section 2, which is the information regarding the application where you want to send your Yapla registrations. Here you can choose which information (fields) from Yapla you want to send to the application.