Before sending your campaign, you can properly test it by previewing it. This article outlines what you should check before sending.
The Importance of Testing your Campaign
To make sure you're sending the best possible version of your email, it is essential to test it carefully beforehand. Different browsers and platforms may display the content differently, which can affect your recipients' experience.
How to Preview and Test a Campaign
Preview: Click the eye-shaped icon at the top right of the email editor. This allows you to see how your email will appear on both desktop and mobile.

Test: Click the arrow at the top right of the email editor, then select Send test email.

Each time you make a change, make sure to send yourself a new test.
Checklist before sending
Review the content in the email editor. Here are the items to verify:
Preview: Check both desktop and mobile versions to ensure the information is displayed correctly.

Email body:
- Are all images displaying correctly? (It is not recommended to use images containing text. Use text or title blocks in the editor for better responsiveness and faster content loading).
- Do all links work properly?
- Do the links lead to the correct destinations?
- Are special characters displaying properly?
Footer:
- Is the unsubscribe link [UNSUBSCRIBE] present?
- Is the sender's address [CLIENT.ADDRESS] included?
Sending
Once your tests are complete, you can proceed to the next step by clicking Continue.
At this stage, it's a good idea to double-check the campaign summary and choose the right recipients:
- Campaign name: Give it a clear and descriptive name.
- Sender name and email: Make sure the sender is clearly identifiable.
- Recipients: Select the correct list.
- Email subject line: It should be clear and error-free.
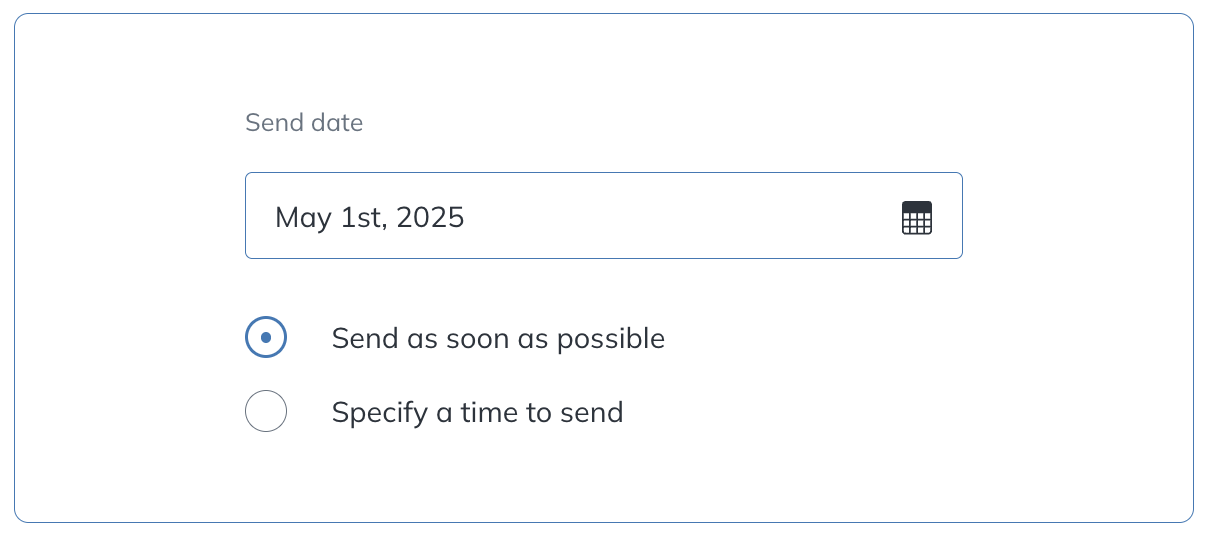
Choosing the date and time to send
Send as soon as possible: If you're ready to send immediately, select Send as soon as possible, then click Send.
Schedule for later: Select Specify a time to send, then enter a date and time. Campaigns can be scheduled up to two calendar years in advance (the current year and the following one).
Send your Campaign
By following this guide, you'll be ready to confidently click the green Send button.