Creating a newsletter subscription form in Yapla allows you to collect the contact details of your members or prospects to send them targeted communications. You can customize the fields of the form to collect the desired information about the subscriber. Once configured, the form can be integrated into your website or shared via a direct link.
In this article:
- Create a subscription form for your newsletters
- Set up or disable double opt-in for the form and its benefits.
- Embed your form into your website via an iFrame or a button
Create a subscription form for your newsletters
- Go to Newsletters, click the Create button, and select Form.

- Name your form, then select the contact list to which you will link this form.

- Choose the subscription method with or without email confirmation (consent).

You can then modify the form to add a description, fields, or change the button names.
- Select ... on the newly created form, then select Edit.

- Select Edit Form.

- Add or modify the desired elements of the form in the right menu, then save.

Set up or disable double opt-in for the form and its benefits.
Before making your choice, note that double opt-in is a recommended method that ensures higher quality contact lists by adding a confirmation step during subscription. When a user subscribes via a form, they receive a confirmation email containing a link they must click to validate their consent. This process verifies the validity of the email address and ensures that the user is genuinely interested.
Benefits:
- List quality: Eliminates typos and reduces invalid addresses.
- Increased engagement: Confirmed users are more likely to interact with campaigns.
- Regulatory compliance: Helps comply with data protection laws such as GDPR and CAN-SPAM.
Simple consent, on the other hand, allows your members to subscribe to your newsletters without having to confirm their address.
Embed your form into your website via an iFrame or a button
Once your form is configured, you can integrate it into your website either via a button redirecting to the subscription form URL (external window) or via an HTML code, which you can integrate into your website to display the form directly on the desired page.
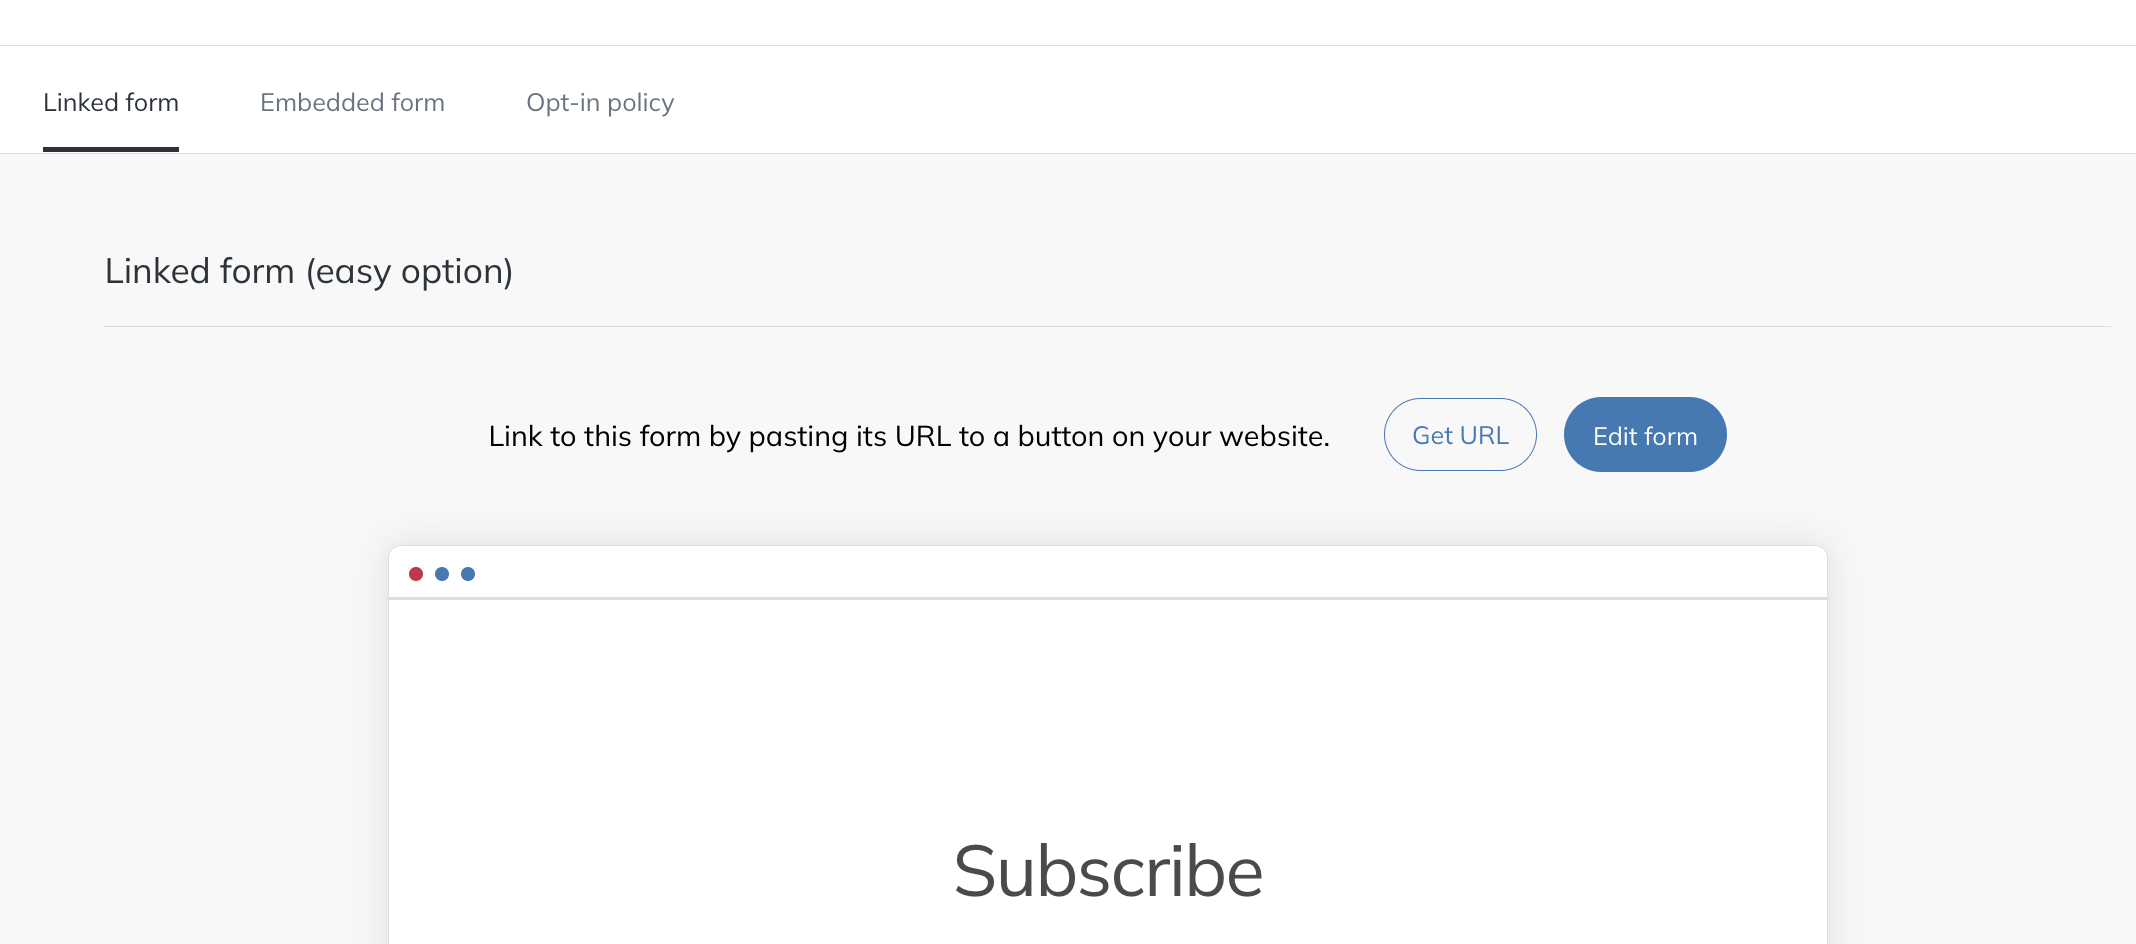
- Still in the form editing menu, the Linked Form tab will provide you with the URL you need to integrate it into a button. Click on Get URL, then assign it to a button in the desired location on your website.
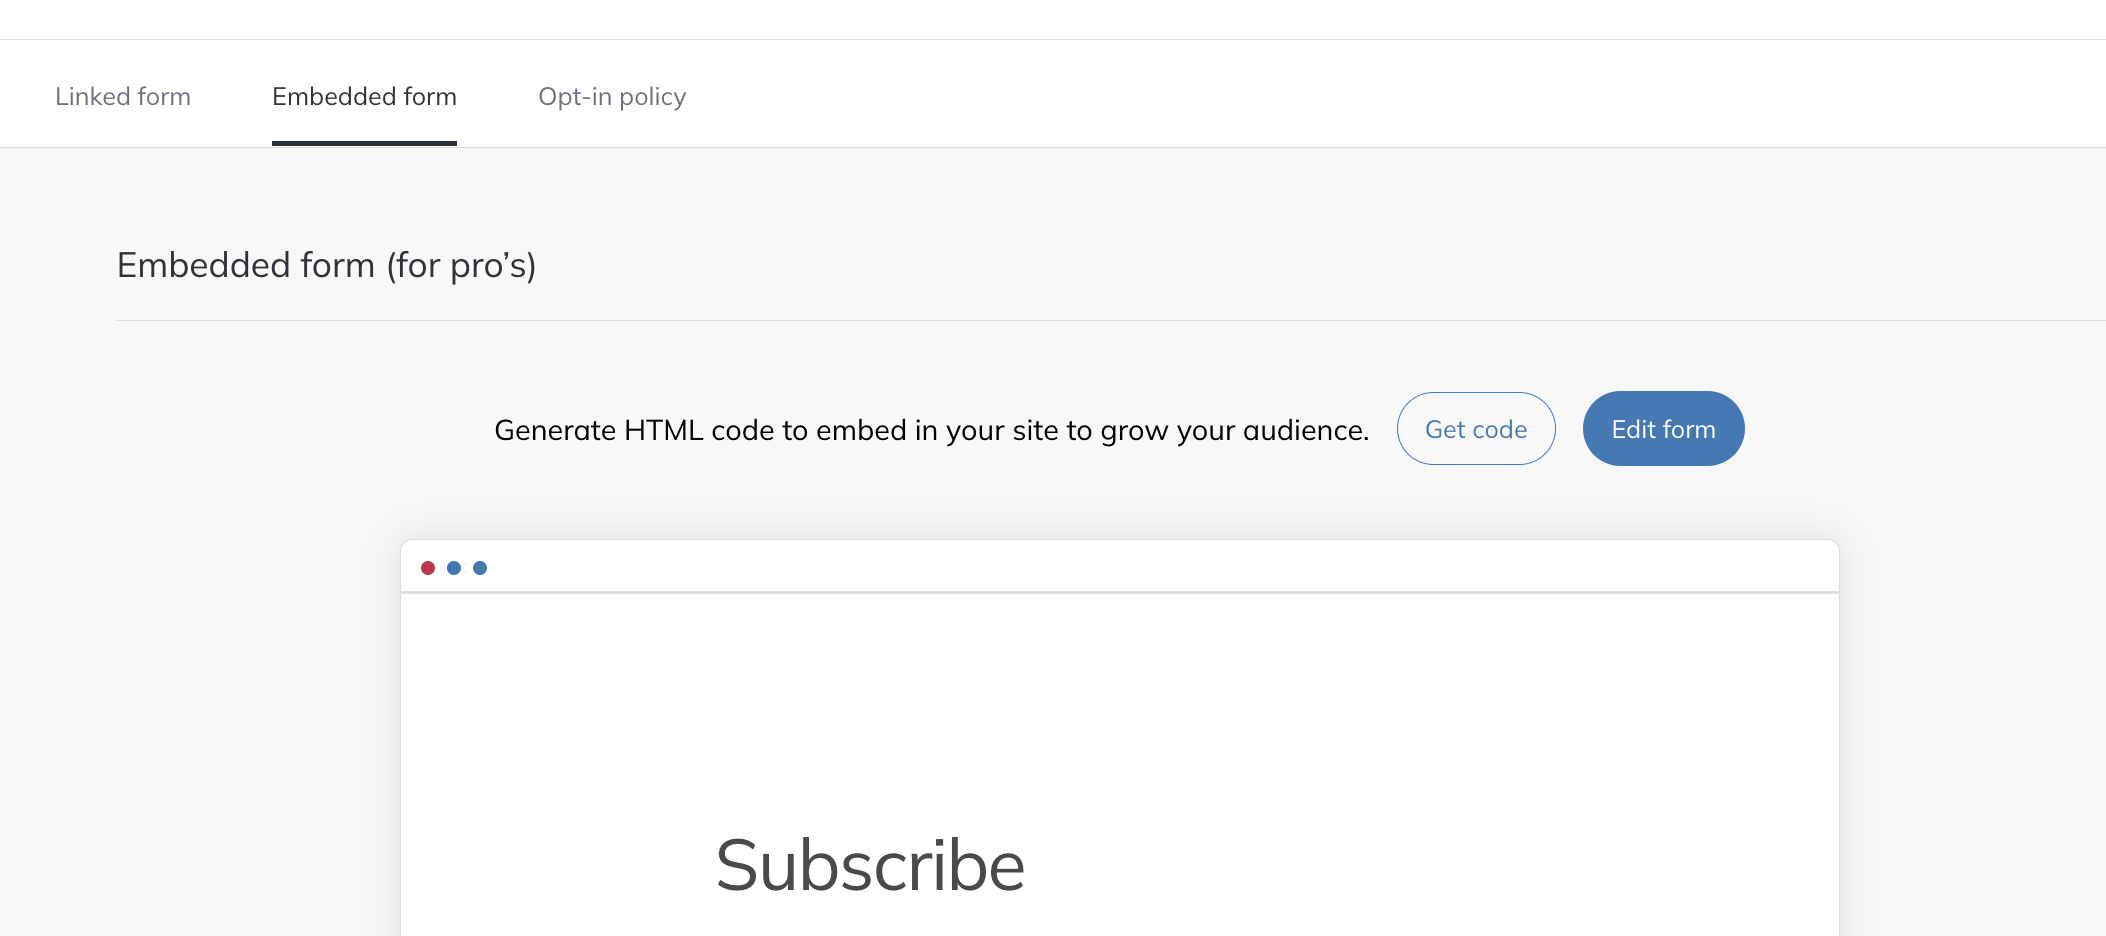
- The Embedded Form tab will provide you with the HTML code to integrate into a page of your website. Click Get Code, then paste it in the desired location on your website.
Edit the Subscription Confirmation Page
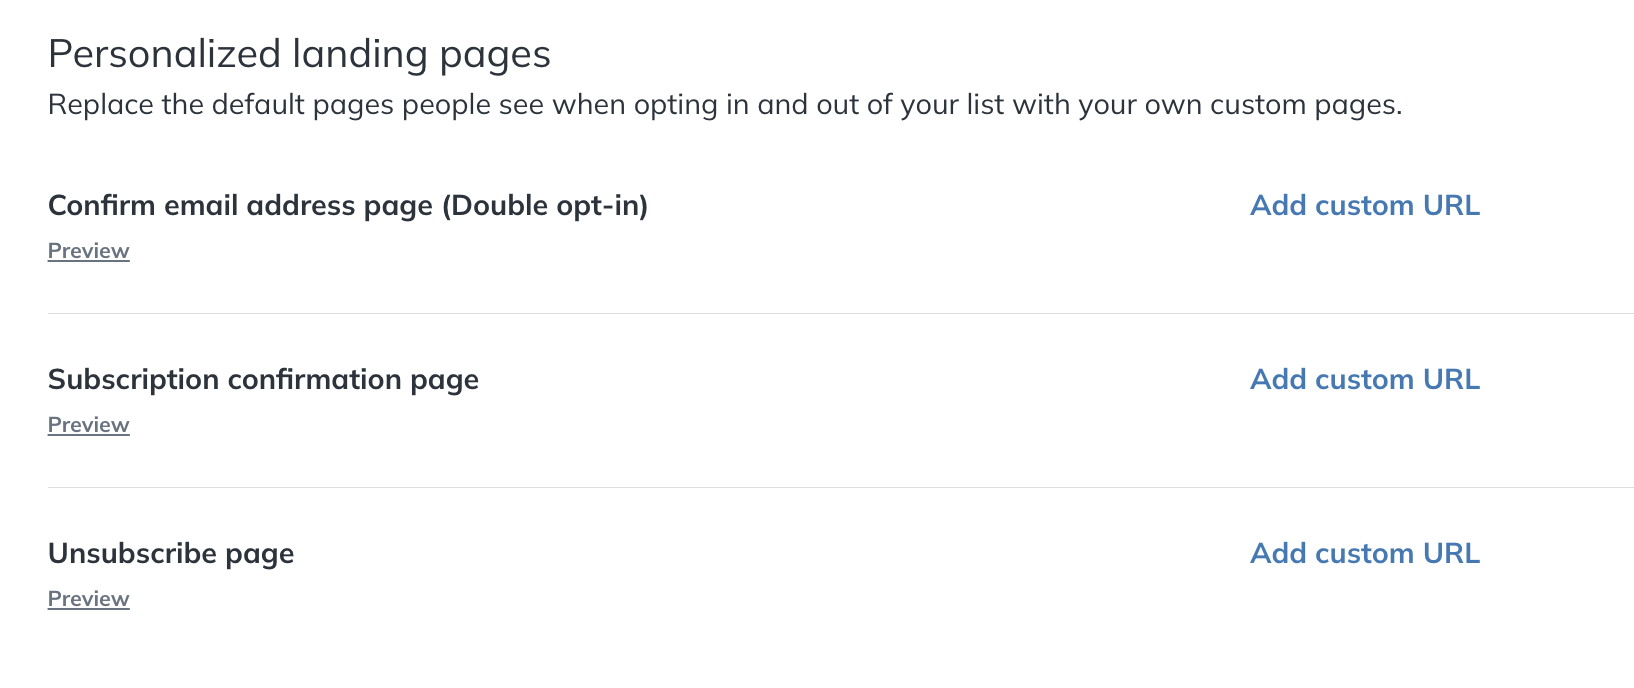
To edit the subscription confirmation page in a form, you can add a URL to a custom page on your website.
Go to Contacts and select the gear icon. Click Settings, then Add Custom URL to the right of Subscription Confirmation Page or Confirm email adress page (Double Opt-in).
Good to Know
It is also recommended to use the Data tool in Yapla to create a subscription form for your newsletter, as this method centralizes subscribers directly in your Yapla database, giving you better control and more customization options. Unlike a form created in Yapla Newsletters, this alternative allows you to personalize the communications sent, since subscribers are automatically added to the Contacts section of Yapla, synchronized with the newsletter, and integrated into a dedicated system group, making their management and segmentation easier. For more details, consult our article on creating a contact form with Data.