After opening a new free Yapla account, you can easily activate a paid plan to expand your features. You can set up your billing directly from your Yapla platform.
Activate a plan
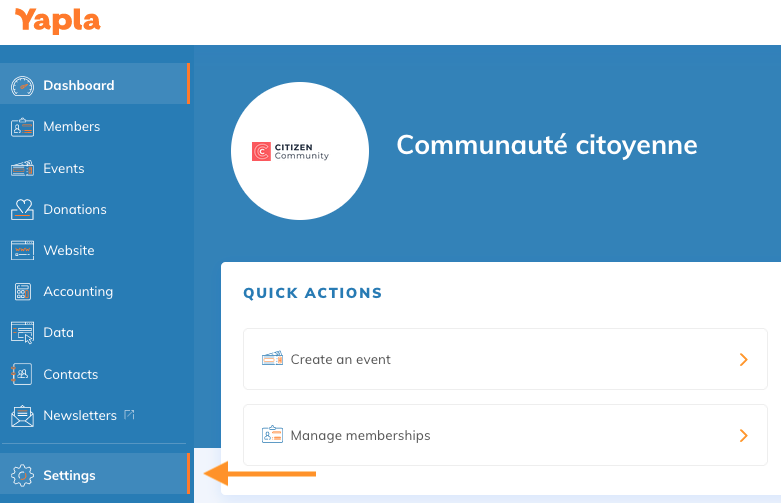
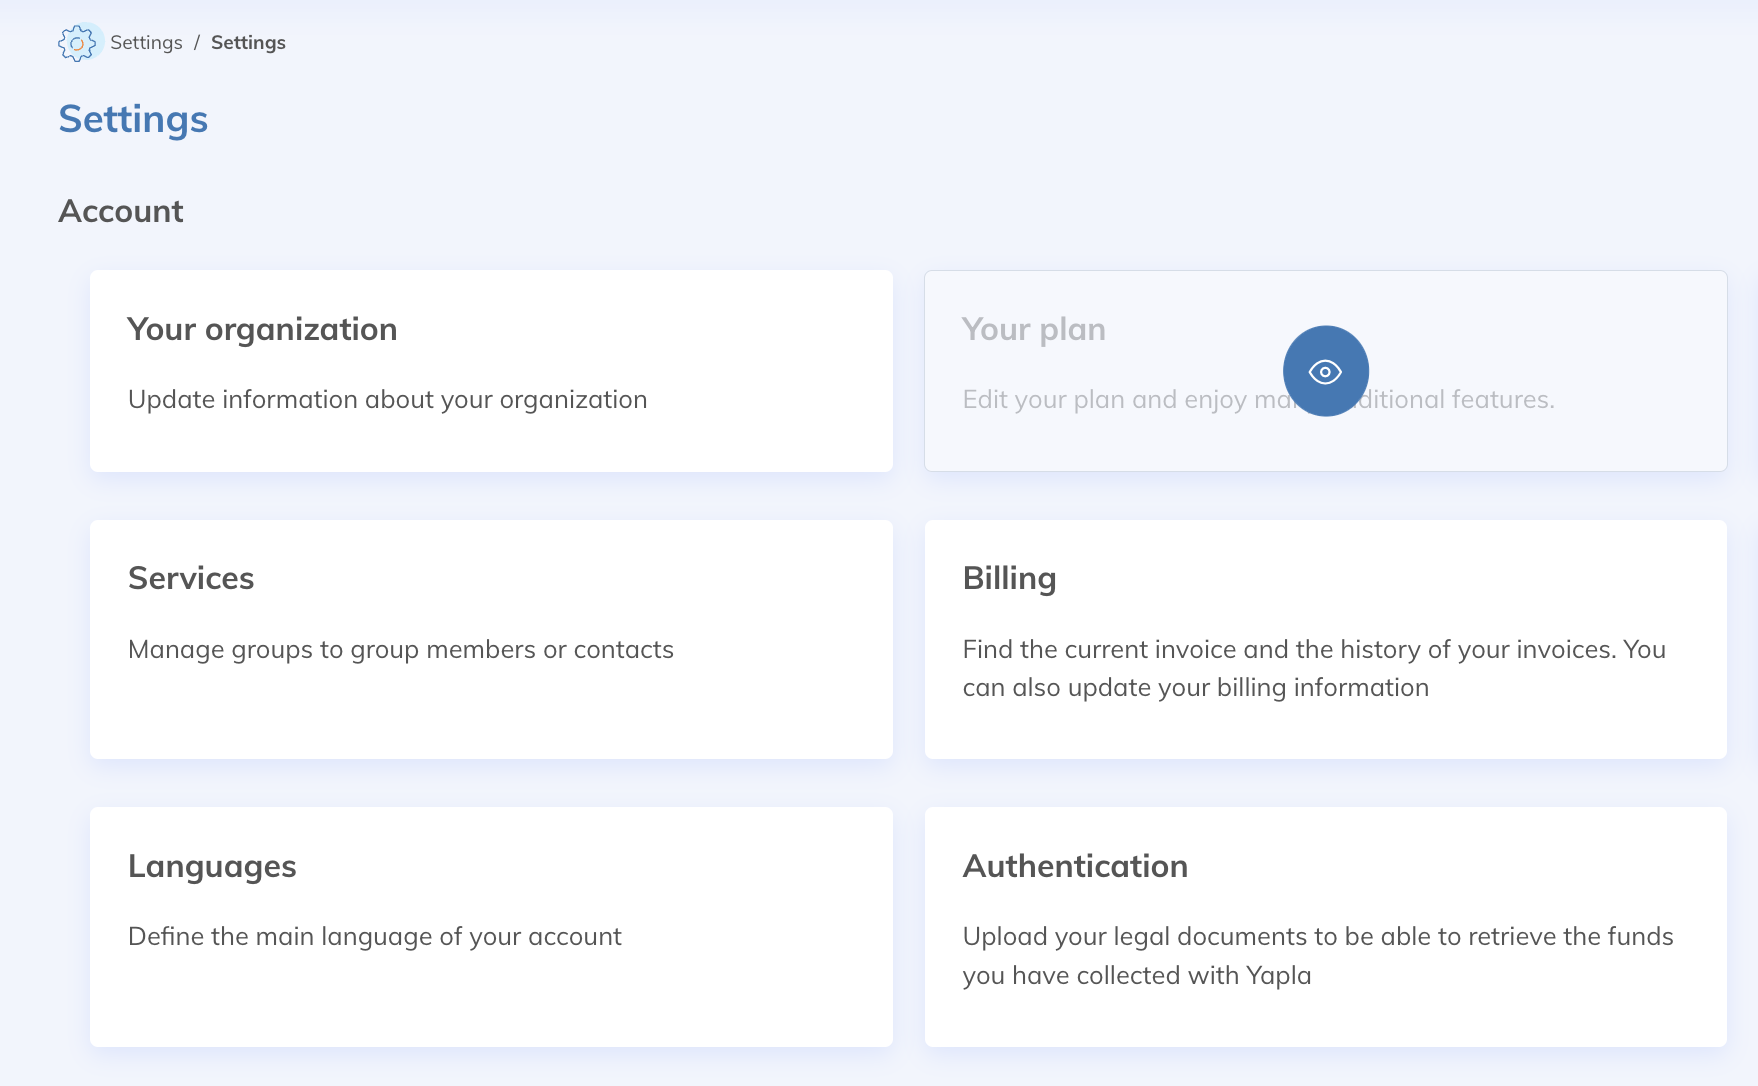
First, go to your account Settings.
Select the Your offer page in the settings. Discover the different Yapla plans and choose the one that best suits your needs.
This page allows you to see your current plan and compare different offers. Learn more here about the different Yapla plans.
Once you have chosen your plan, click on Activate this offer. You must enter your payment information to activate your new plan.
Set up or modify billing and payment method
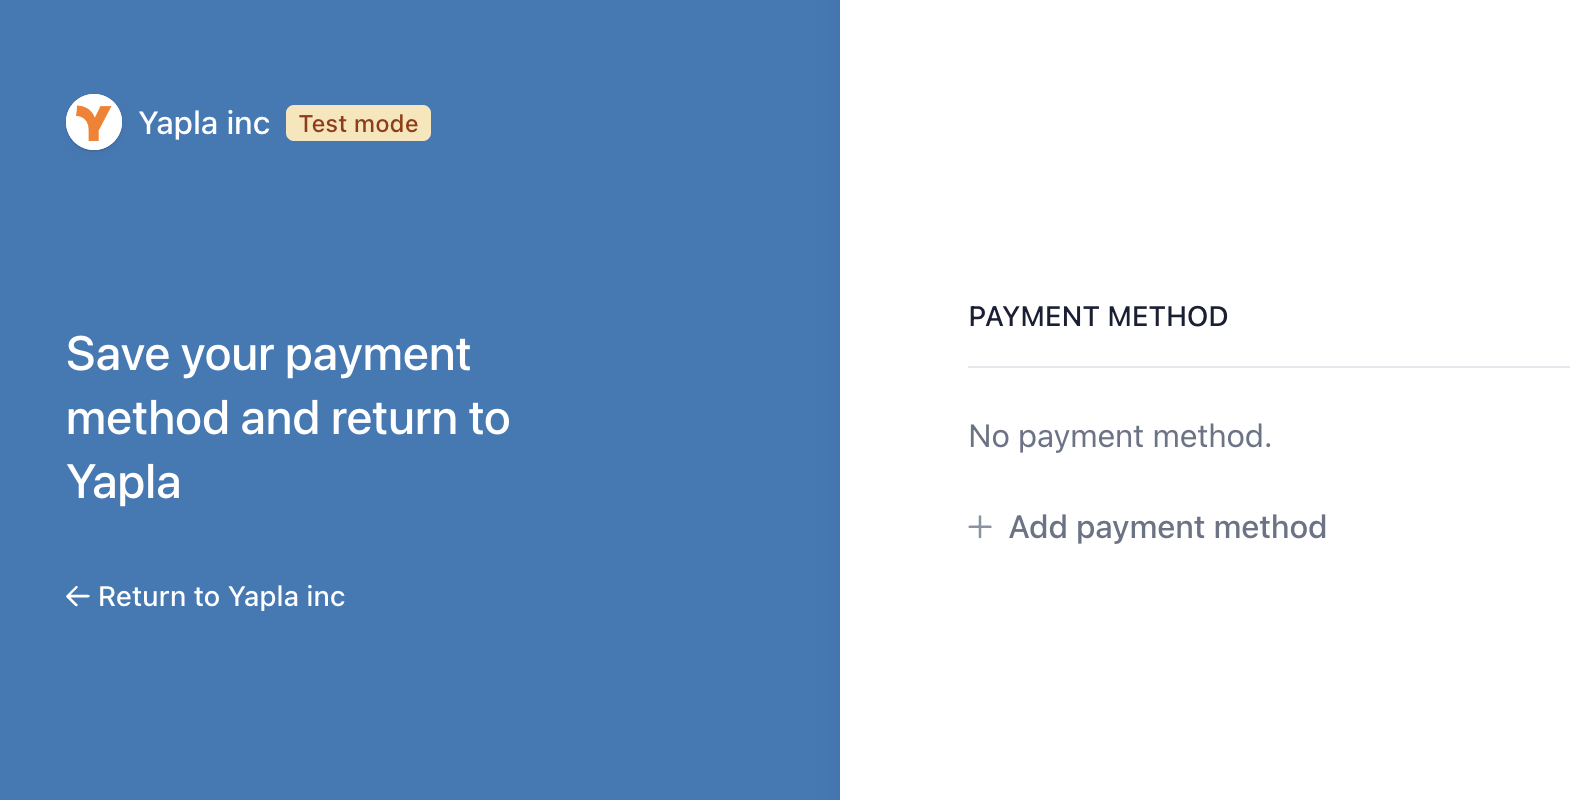
When activating a new plan, you will be redirected to the payment method configuration page of our payment partner, Stripe.
To add a payment method, select + Add a payment method and enter the credit card details. Once the card is entered, click on Return to Yapla Inc.
To modify your payment information, go to Settings > Billing > Payment information. You will also be redirected to the billing configuration page of our Stripe partner.
Add billing details
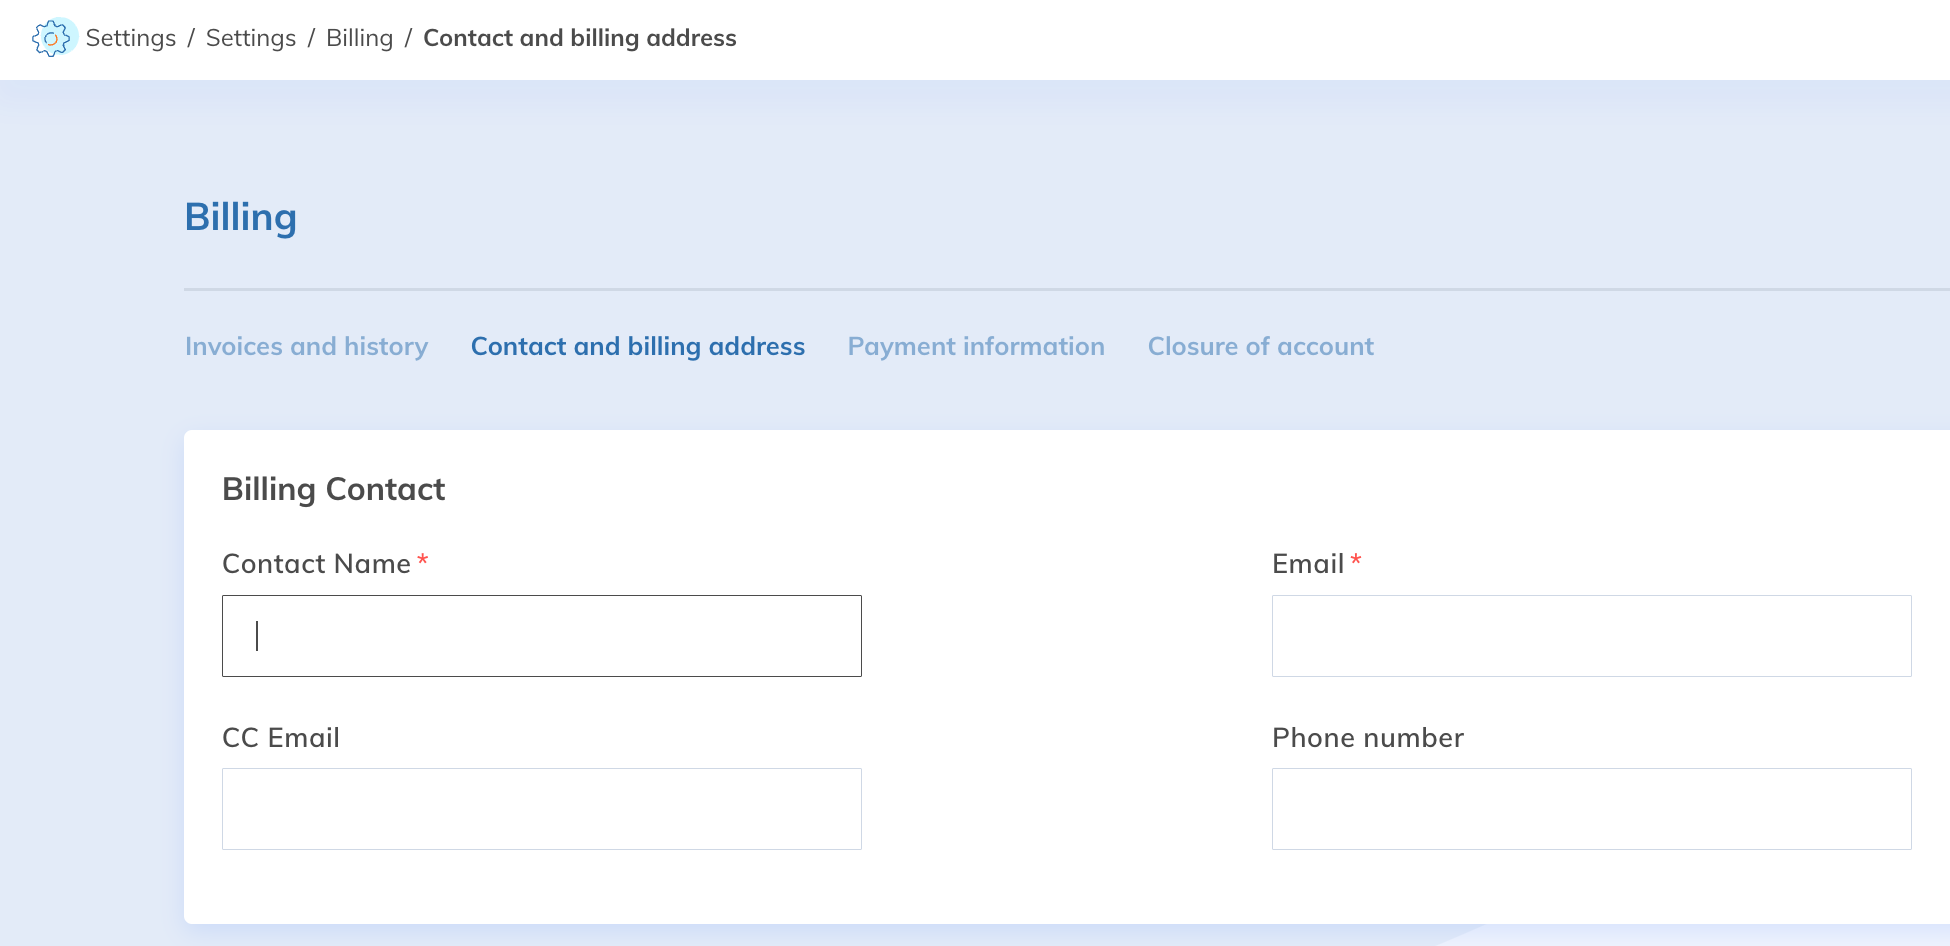
To enter billing information such as name and address, go to the Contact and billing address sub-tab and fill in the contact and billing address information. You can enter up to 2 email addresses.
Yapla billing is done exclusively through monthly payments. To give you complete flexibility, it is not possible to pay for the entire year upfront.
Then click Save. Your new plan is now activated.

View your billing
Once the billing information and credit card details have been entered, you can view your invoices online.
Go to the Settings > Billing and history tab. You will see information about the next payment and an overview of the current month.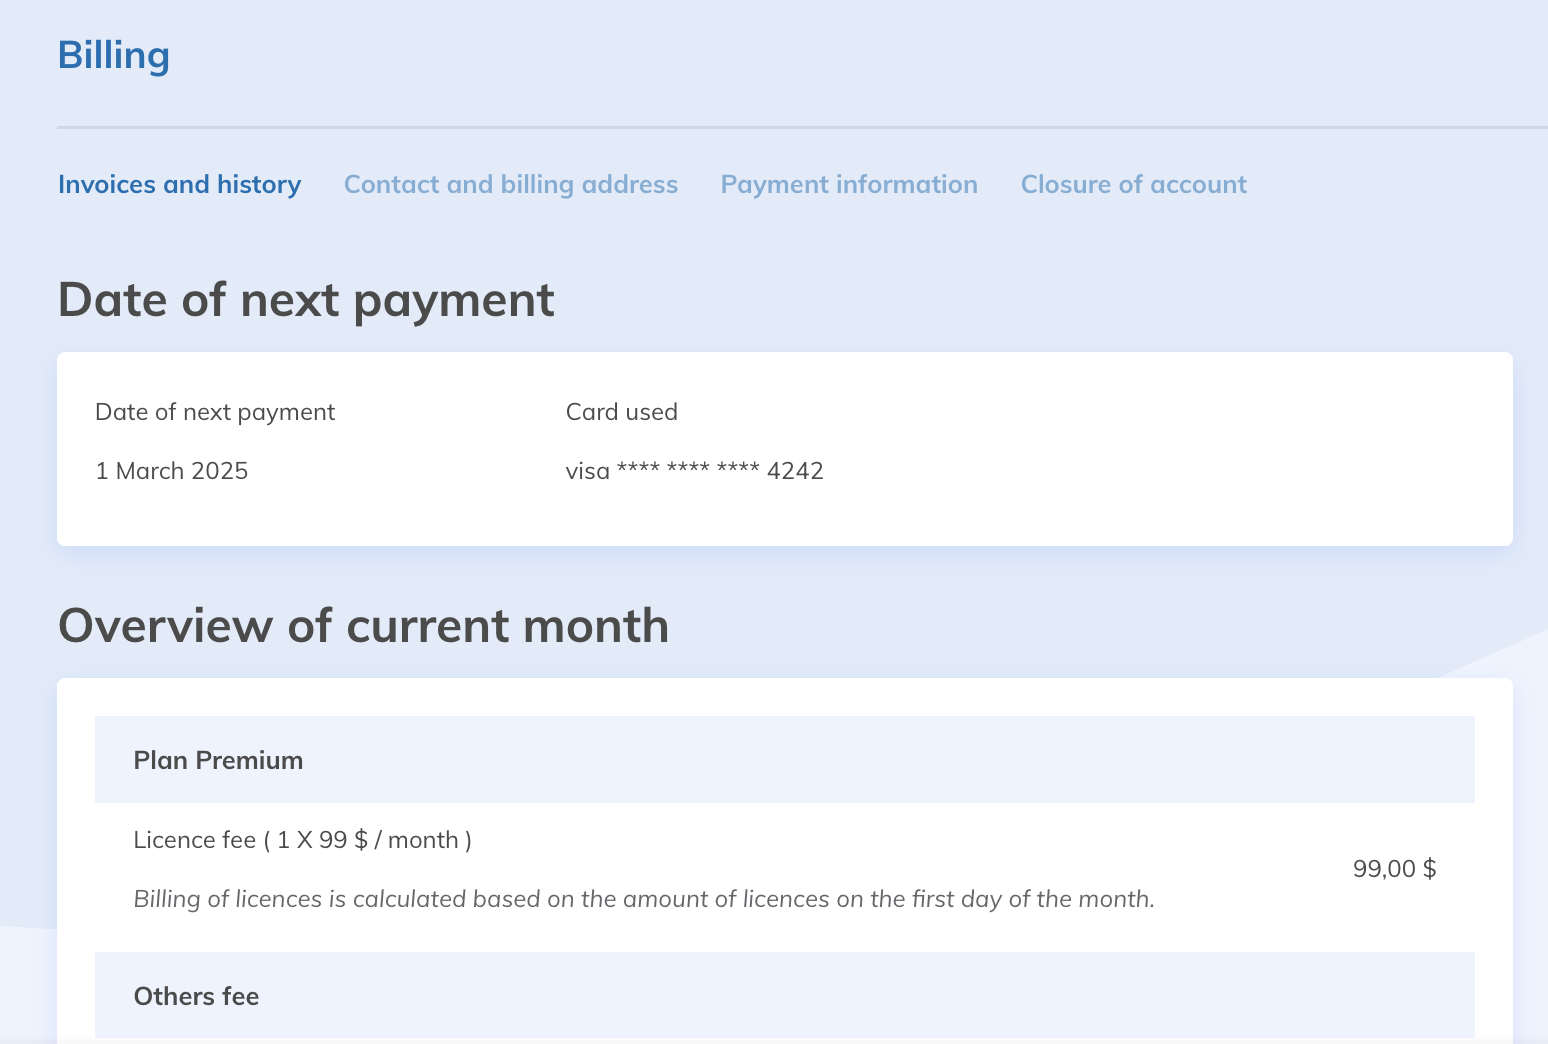
You can also access the invoice and payment history. Click on a row to access the detailed invoice.
Print an invoice
In the invoice details, click on Download, open the PDF file to print it.
Pay an invoice
The amount of each invoice is debited from the credit card linked to the account on the 1st of each month.