Yapla allows you to easily create your member profile database. Your members' information, their memberships and your notes are centralized on Yapla and you can download all the reports you need in one click.
In this article:
1. Create the membership form
- If you do not already have a member database, go to the Members tab and complete the member database creation process in three easy steps.
- Start by customizing your membership form. This consists of the information that the member must provide when joining. The information collected through this form will be accessible in your member database, within the Members feature of Yapla.
Yapla provides a set of predefined fields that you can use as you wish. If these fields do not meet your needs, you can create as many as you want and add them to your form.
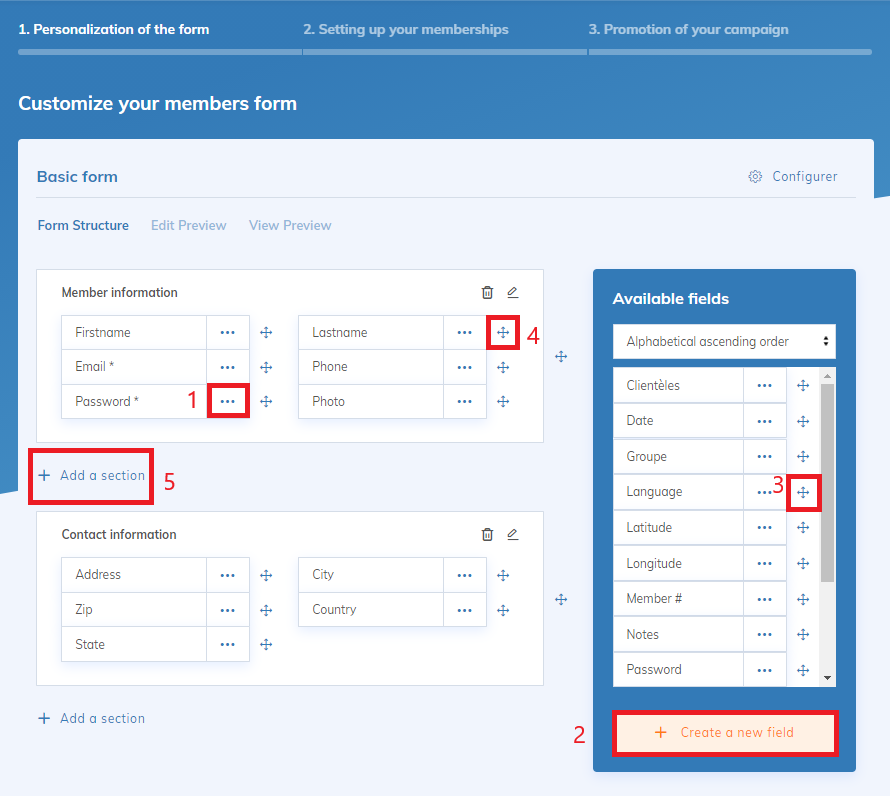
Here are the available options:
1: Modify or remove a field from your form while designing it.
2: Create a new field that is not already available in the dropdown list above.
3: Drag and drop a field to add it to your form.
4: Drag and drop a field to move it within your form.
5: Organize the structure of your form by adding sections.
For more details, check out our article on creating dynamic forms and further customize your forms by adding conditional fields and sections.
2. Configure memberships
- Create a membership type. Add the membership types you want to offer your members.
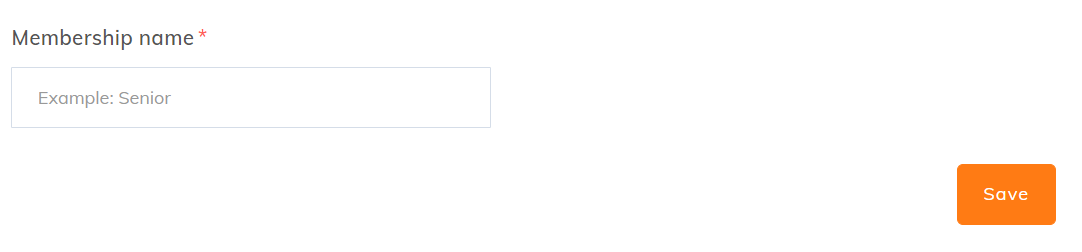
- Enter the name of the membership
- Add a description.

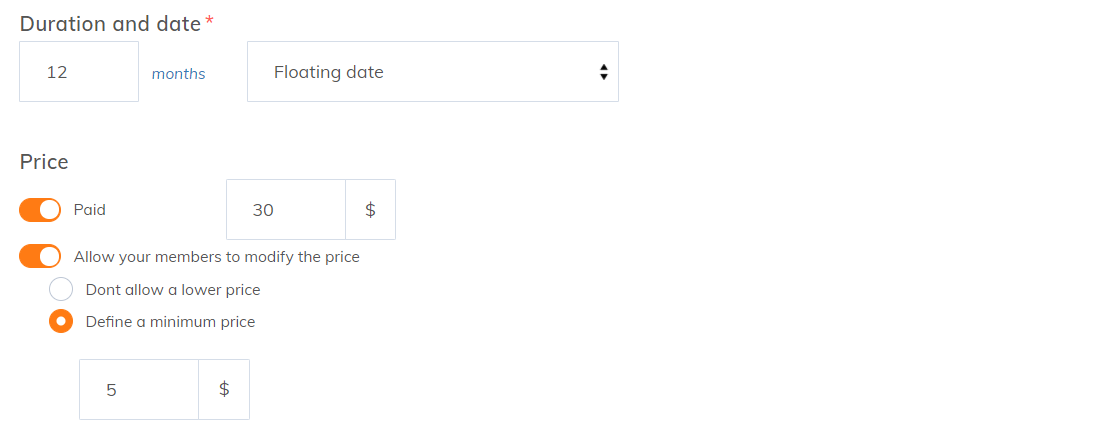
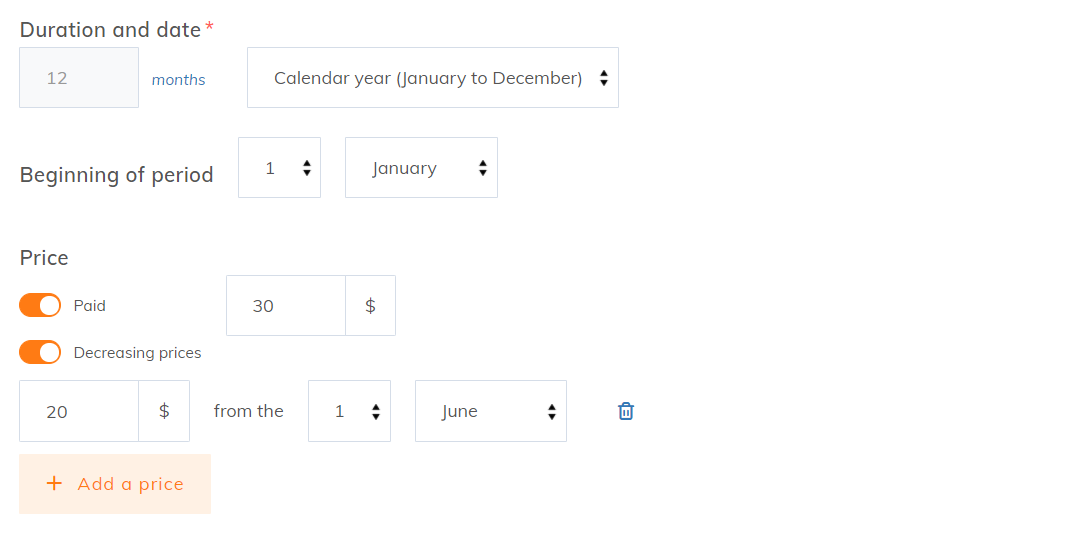
- Configure the duration and date.

The membership period can be fixed or floating. Here are the available options:
- Floating date: starts at the time of payment
- Calendar year: January to December
- School year: September to August
- Custom: choose the start date
- Then, configure the membership price.
a. By default, a membership is free. Enable the Paid checkbox to make the membership paid and enter a price.

b. For floating date memberships, you can allow members to adjust the price by setting a minimum price.
c. For fixed-period memberships (calendar year, school year, custom), you can set a fixed or decreasing price based on the membership date. You may choose to offer lower rates if a member joins midyear, for example.
- Once the membership type is configured, click Save.
You can create multiple membership types during the creation process of your member database. You can later modify your settings at any time from the Members feature. Additional configurations are also available in the membership type settings within the Members feature settings.
3. Launch a Membership Campaign
Once your member database and membership types are set up, here’s how you can communicate with your community.
Single Pages and Website Integration
Your campaign is online, and you can now view your web page (single page), edit it, or copy its URL to share with your network. To learn more about single pages and how to integrate them into an external website, check out this article.
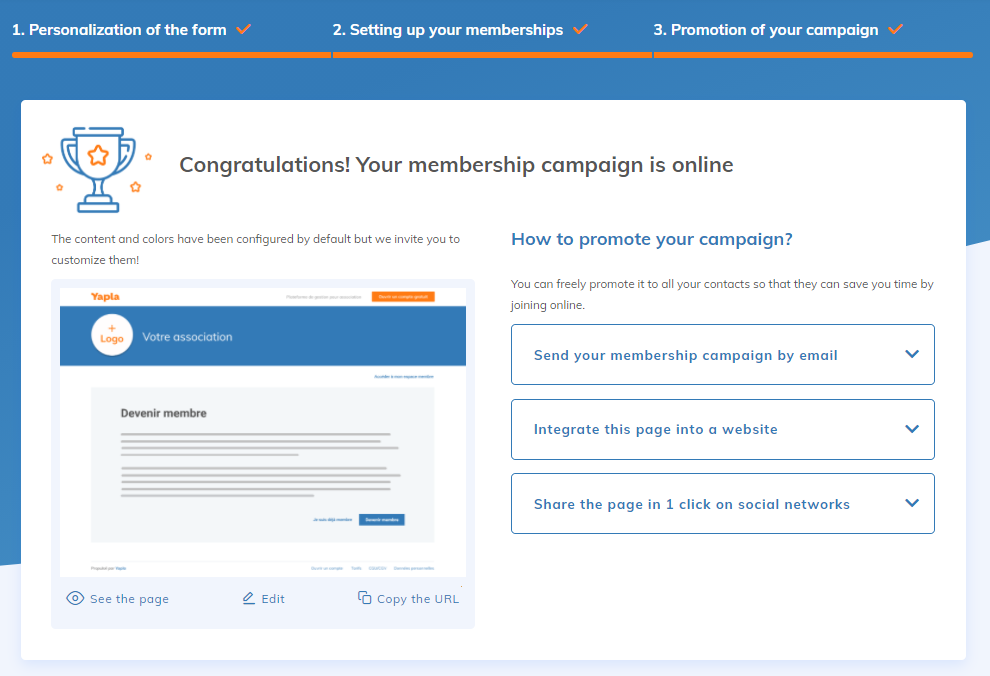
When you click "Edit," you will access the customization of the single page associated with your membership. You can customize:
- Your association’s logo displayed on this page
- The description
- The page colors
- The font used
You can change this information at any time by going to Members > Settings > Website.
If you already have a Yapla website, you can use the Member Section module to display and sell your memberships while providing a connected space for your members. To learn more, read our article on building a website with Yapla.
To access the link to your page and different distribution options, click "Members" in the "Settings" sub-tab, then click the "Web Page" tile and go to the "Share your membership campaign" sub-tab.
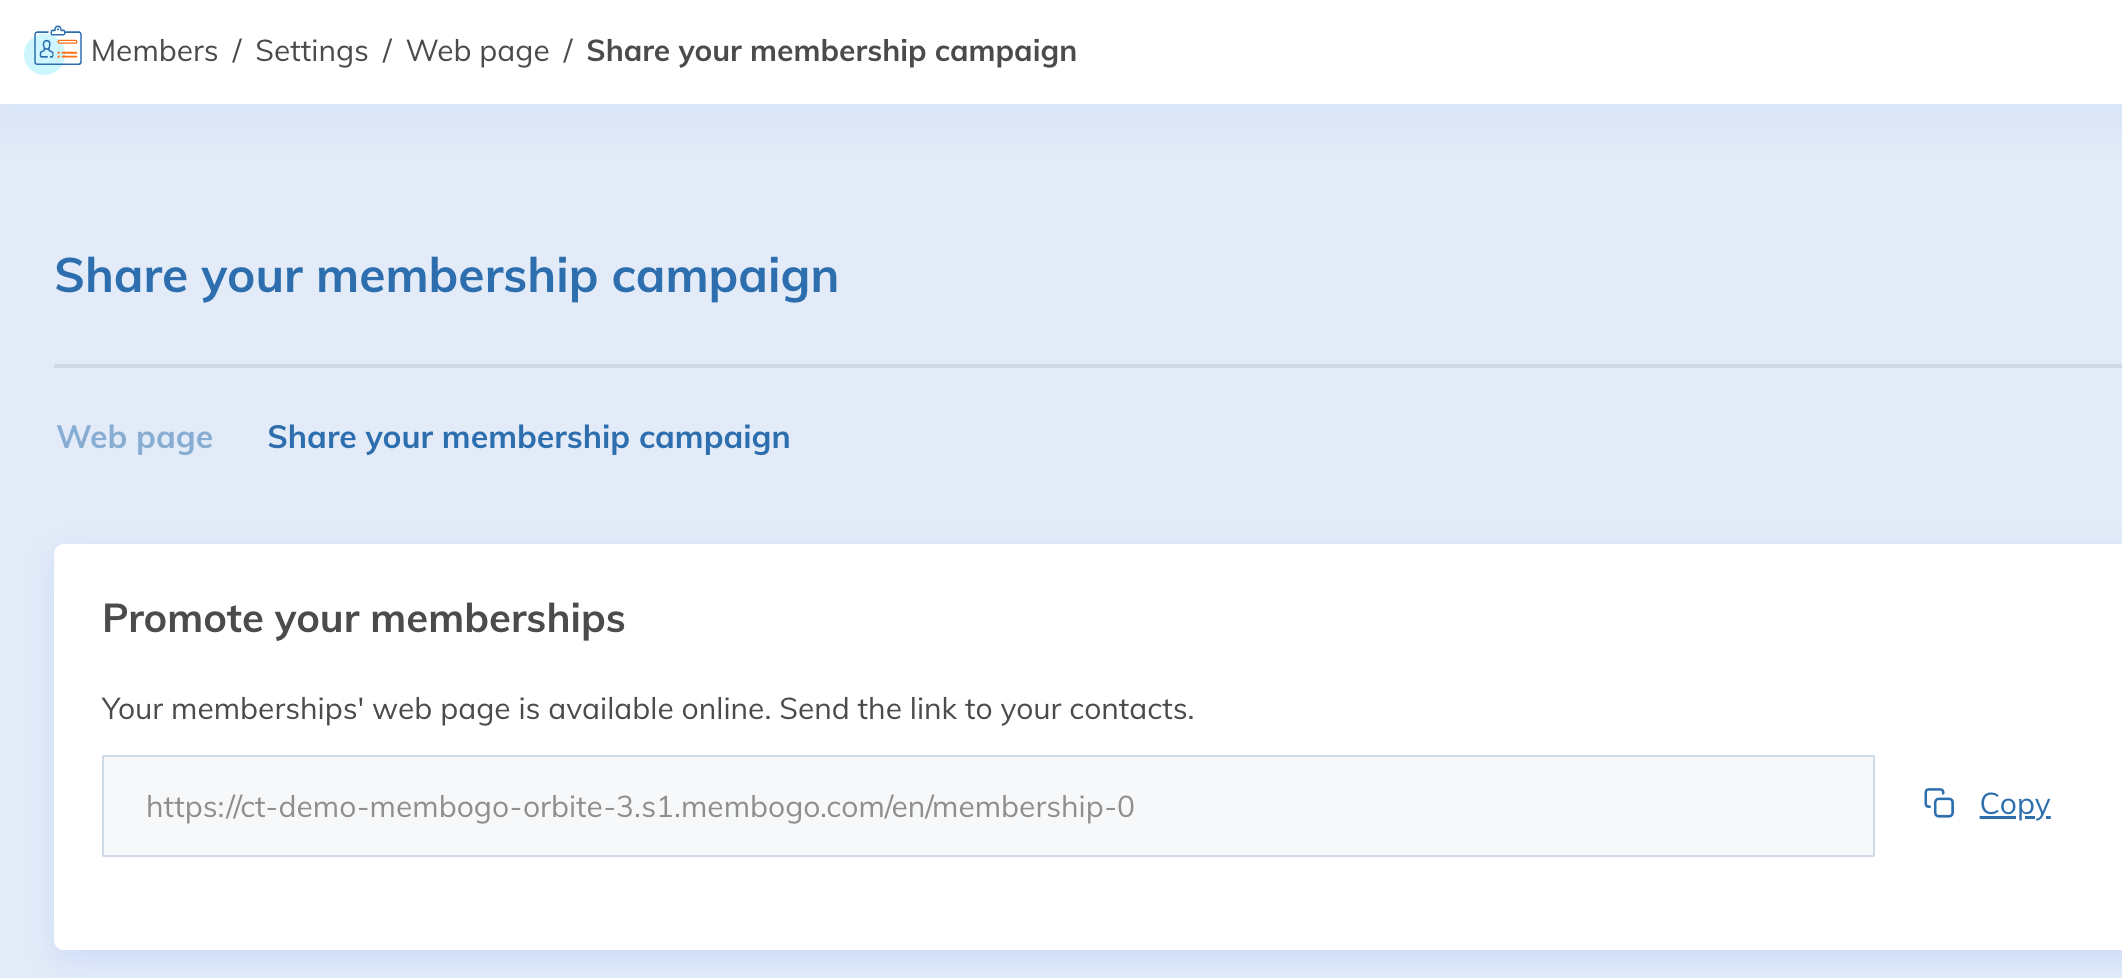
Here, you will find three ways to share your membership campaign. This is also where you can find the URL of your campaign’s single page.
Social Media
The option to share your membership campaign on social media allows you to automatically create a post featuring your campaign, where you can add a personalized message. You can also add a "Join" button that links to your membership options.

Yapla Newsletters
Don't forget, the Yapla Newsletter feature is your best ally when it comes to communicating with your community. Send a special newsletter to announce the launch of your membership campaign, including a button linking to your membership page. Watch our webinar to learn how to set up your newsletters.
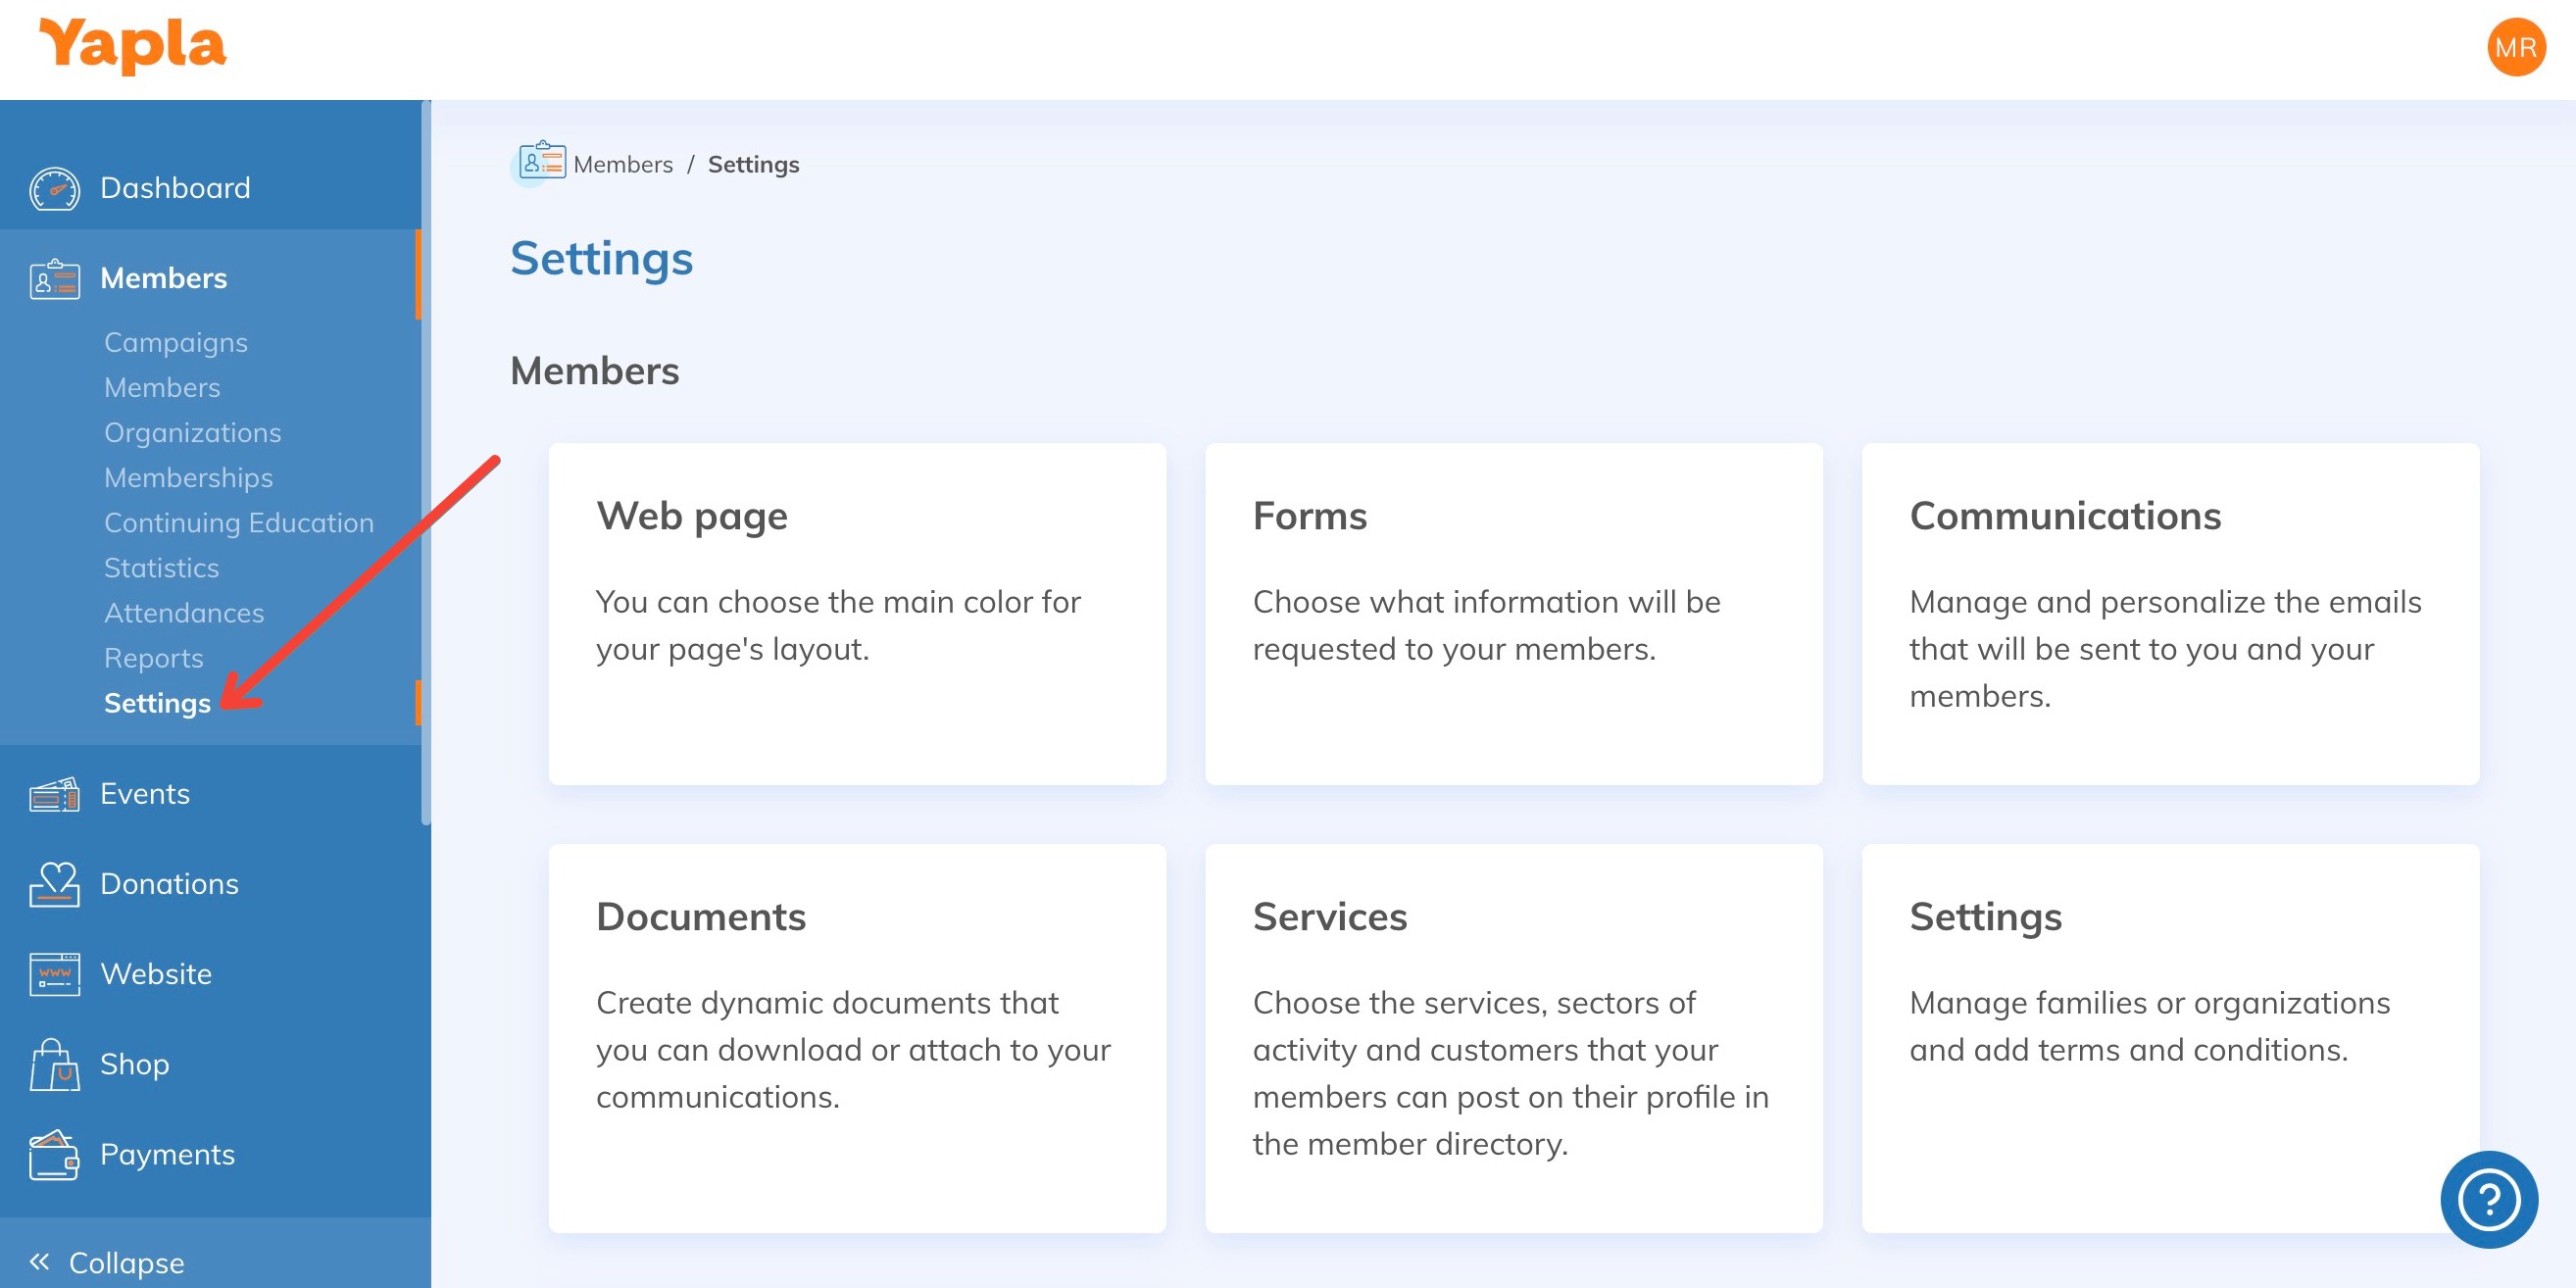
Additional Member Database Settings
To access the additional settings of the member database, go to the Members > Settings tab.
Forms, Documents, and Automated Communications
You can review information about your membership types, edit forms or documents associated with them, modify the single page linked to your memberships, and update automated communications.
Member Import
Your campaign settings also allow you to import members from your previous system or file, preventing them from having to re-enter their information. Check out our article on member import for more details.
Additional Pricing Configurations
Depending on the configured membership period, you can access more pricing options in Members > Settings > Membership Types > Pricing.
For example, if the membership period is fixed (calendar year, school year, custom), you can also offer one or two additional years for an extra price, which can be lower than the current membership price: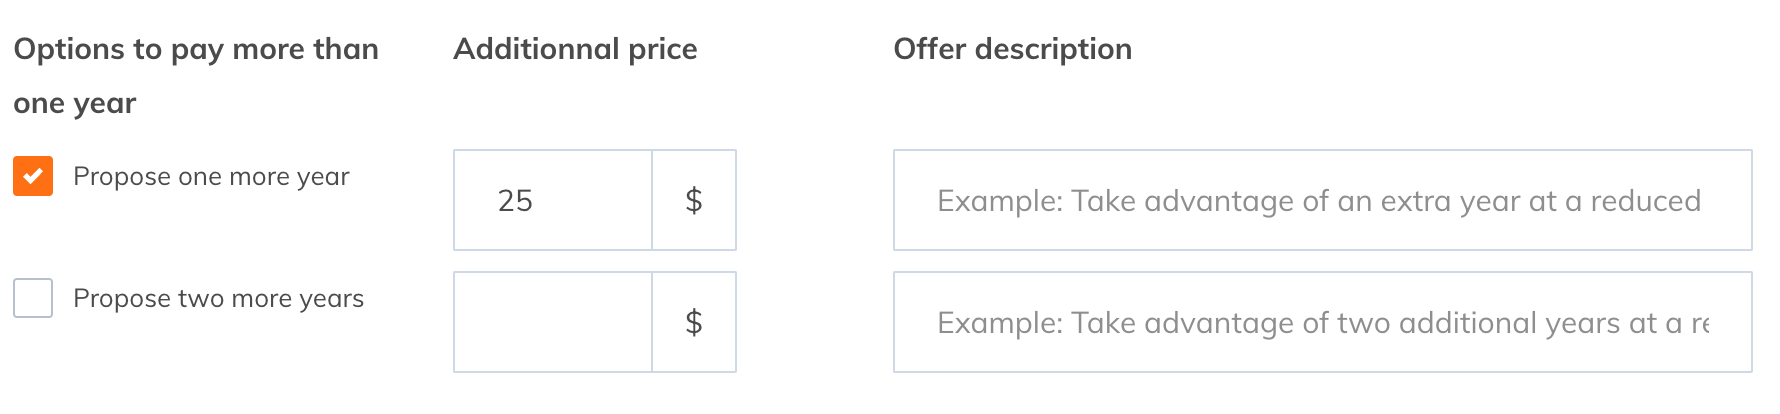
Renewal Behavior
a. For floating date memberships, you will have the option to choose whether the membership renewal starts the day after the expiration date or on the transaction date of the renewal by the member.

b. For fixed-period memberships (calendar year, school year, custom), specify a fixed renewal date.

Go Further
- If the standard member base doesn't fit your business model, learn more about the simplified campaign options and how they can meet your needs.
- All member profiles can also be linked to organizations or families. To learn more about this, check out this article.
- Add options to your membership types.