A donor may ask you to cancel their donation and request a refund. Yapla makes it easy for you to cancel a donation, even if it has already been received. Here's how to do it.
Cancel a donation
Log in to your Yapla account.
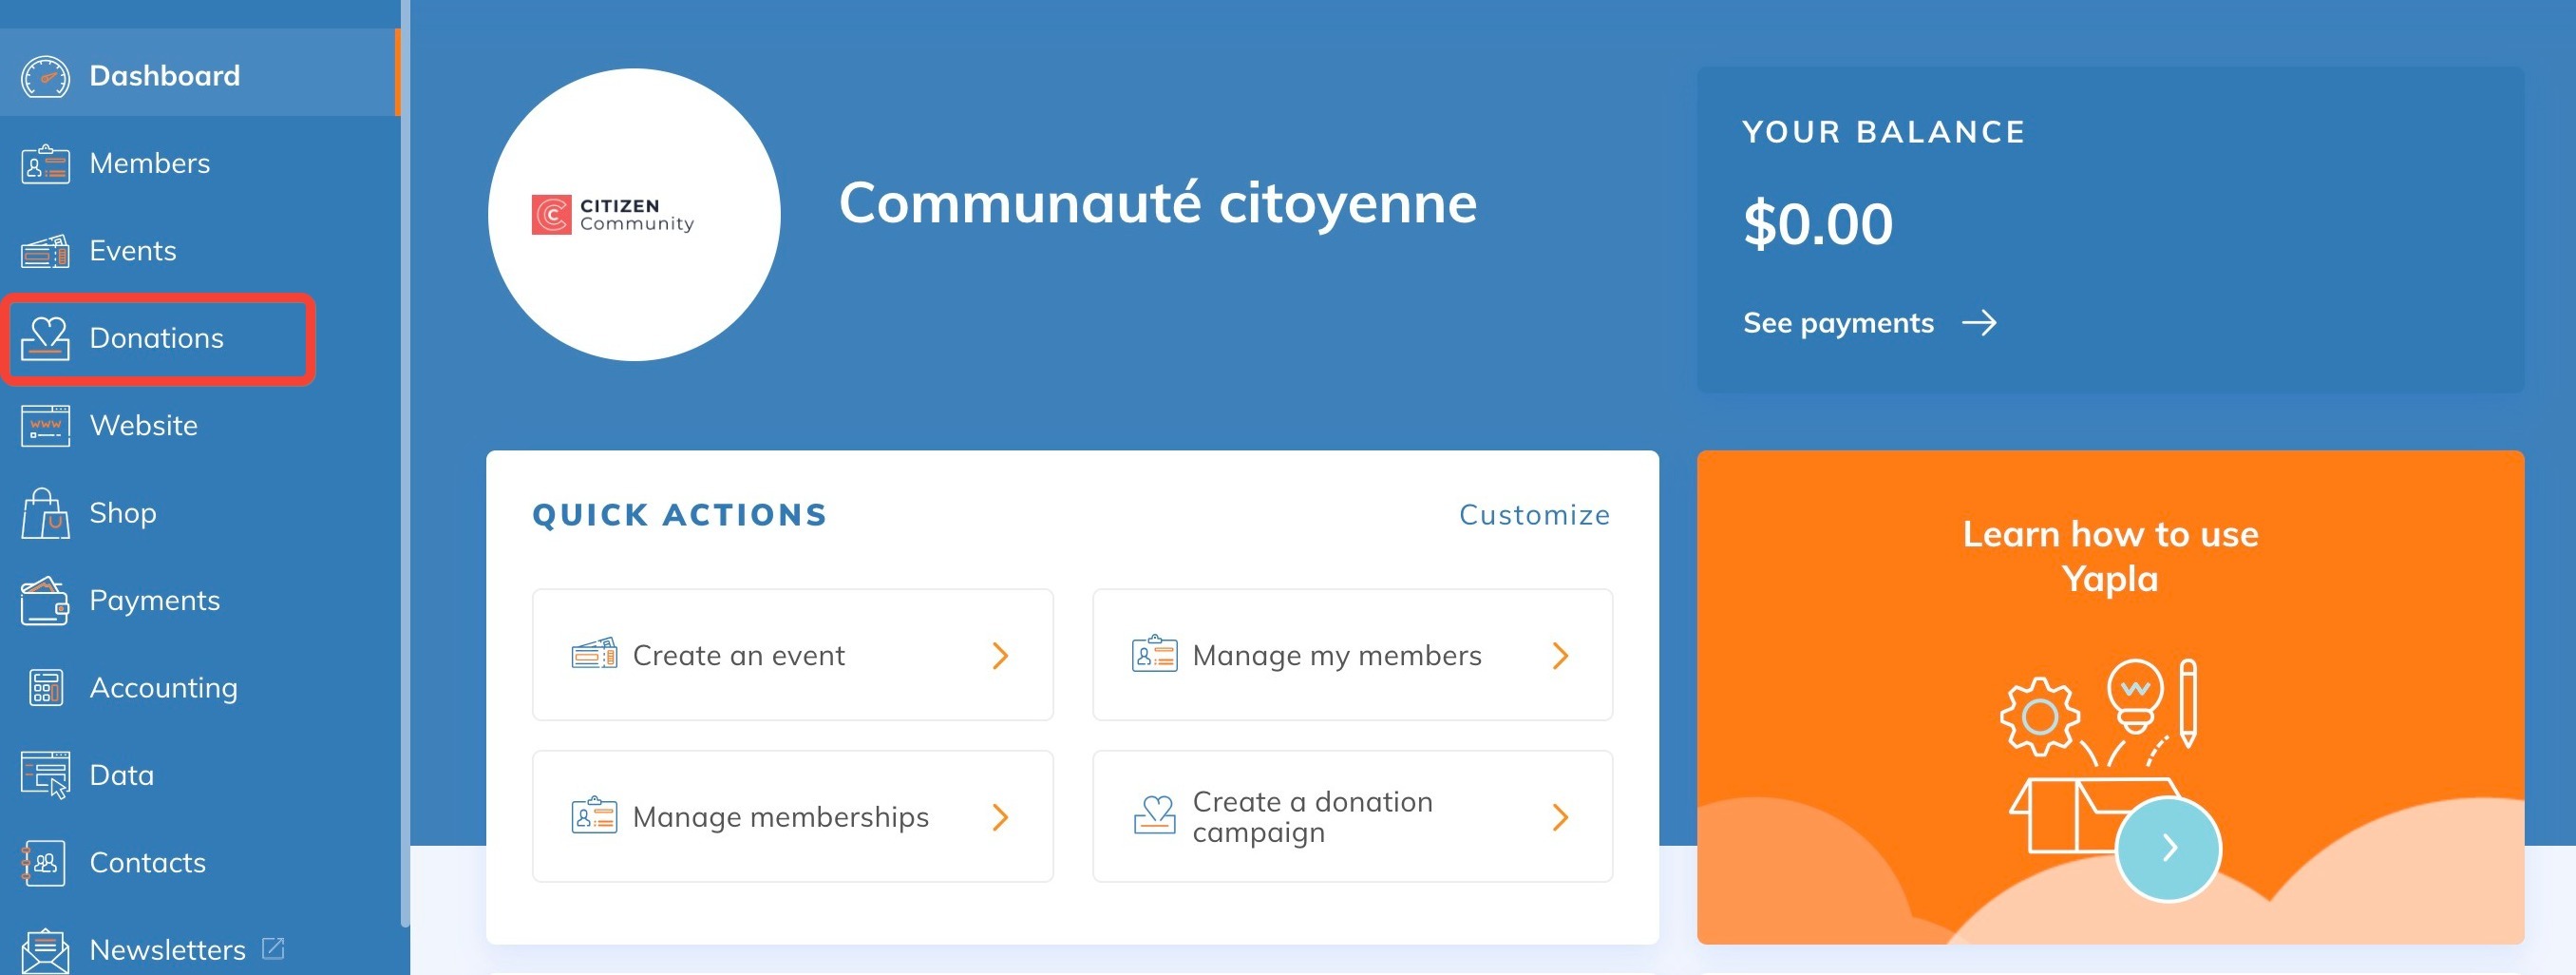
From the Dashboard, click on the Donations feature in the left-hand column.
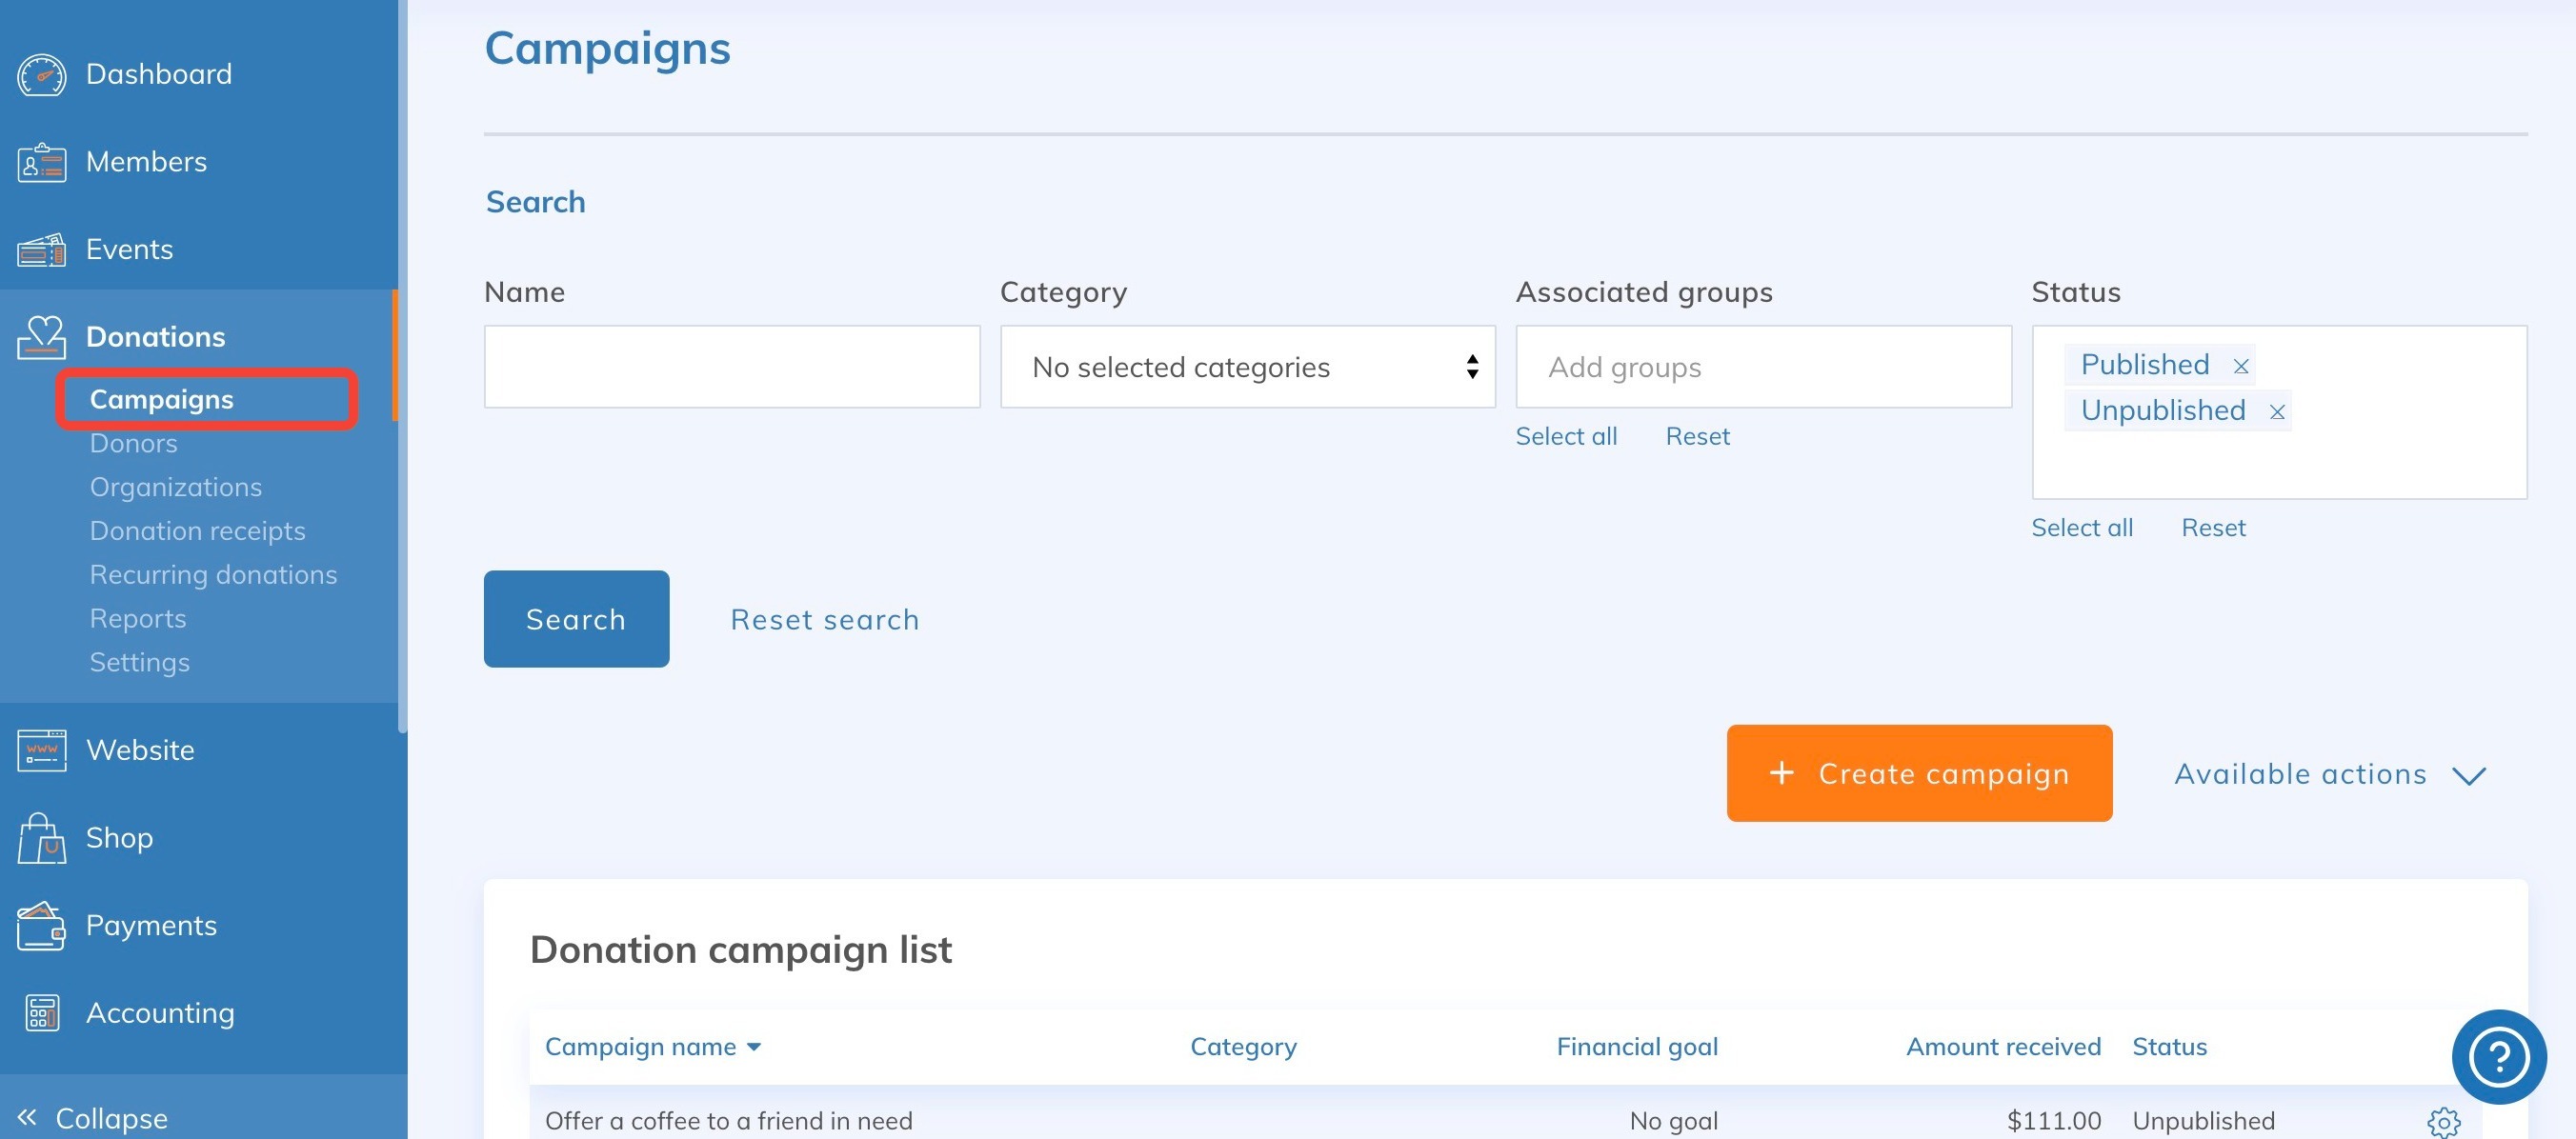
This takes you directly to the Campaigns page.
In the Donation campaign list, select the campaign of your choice.
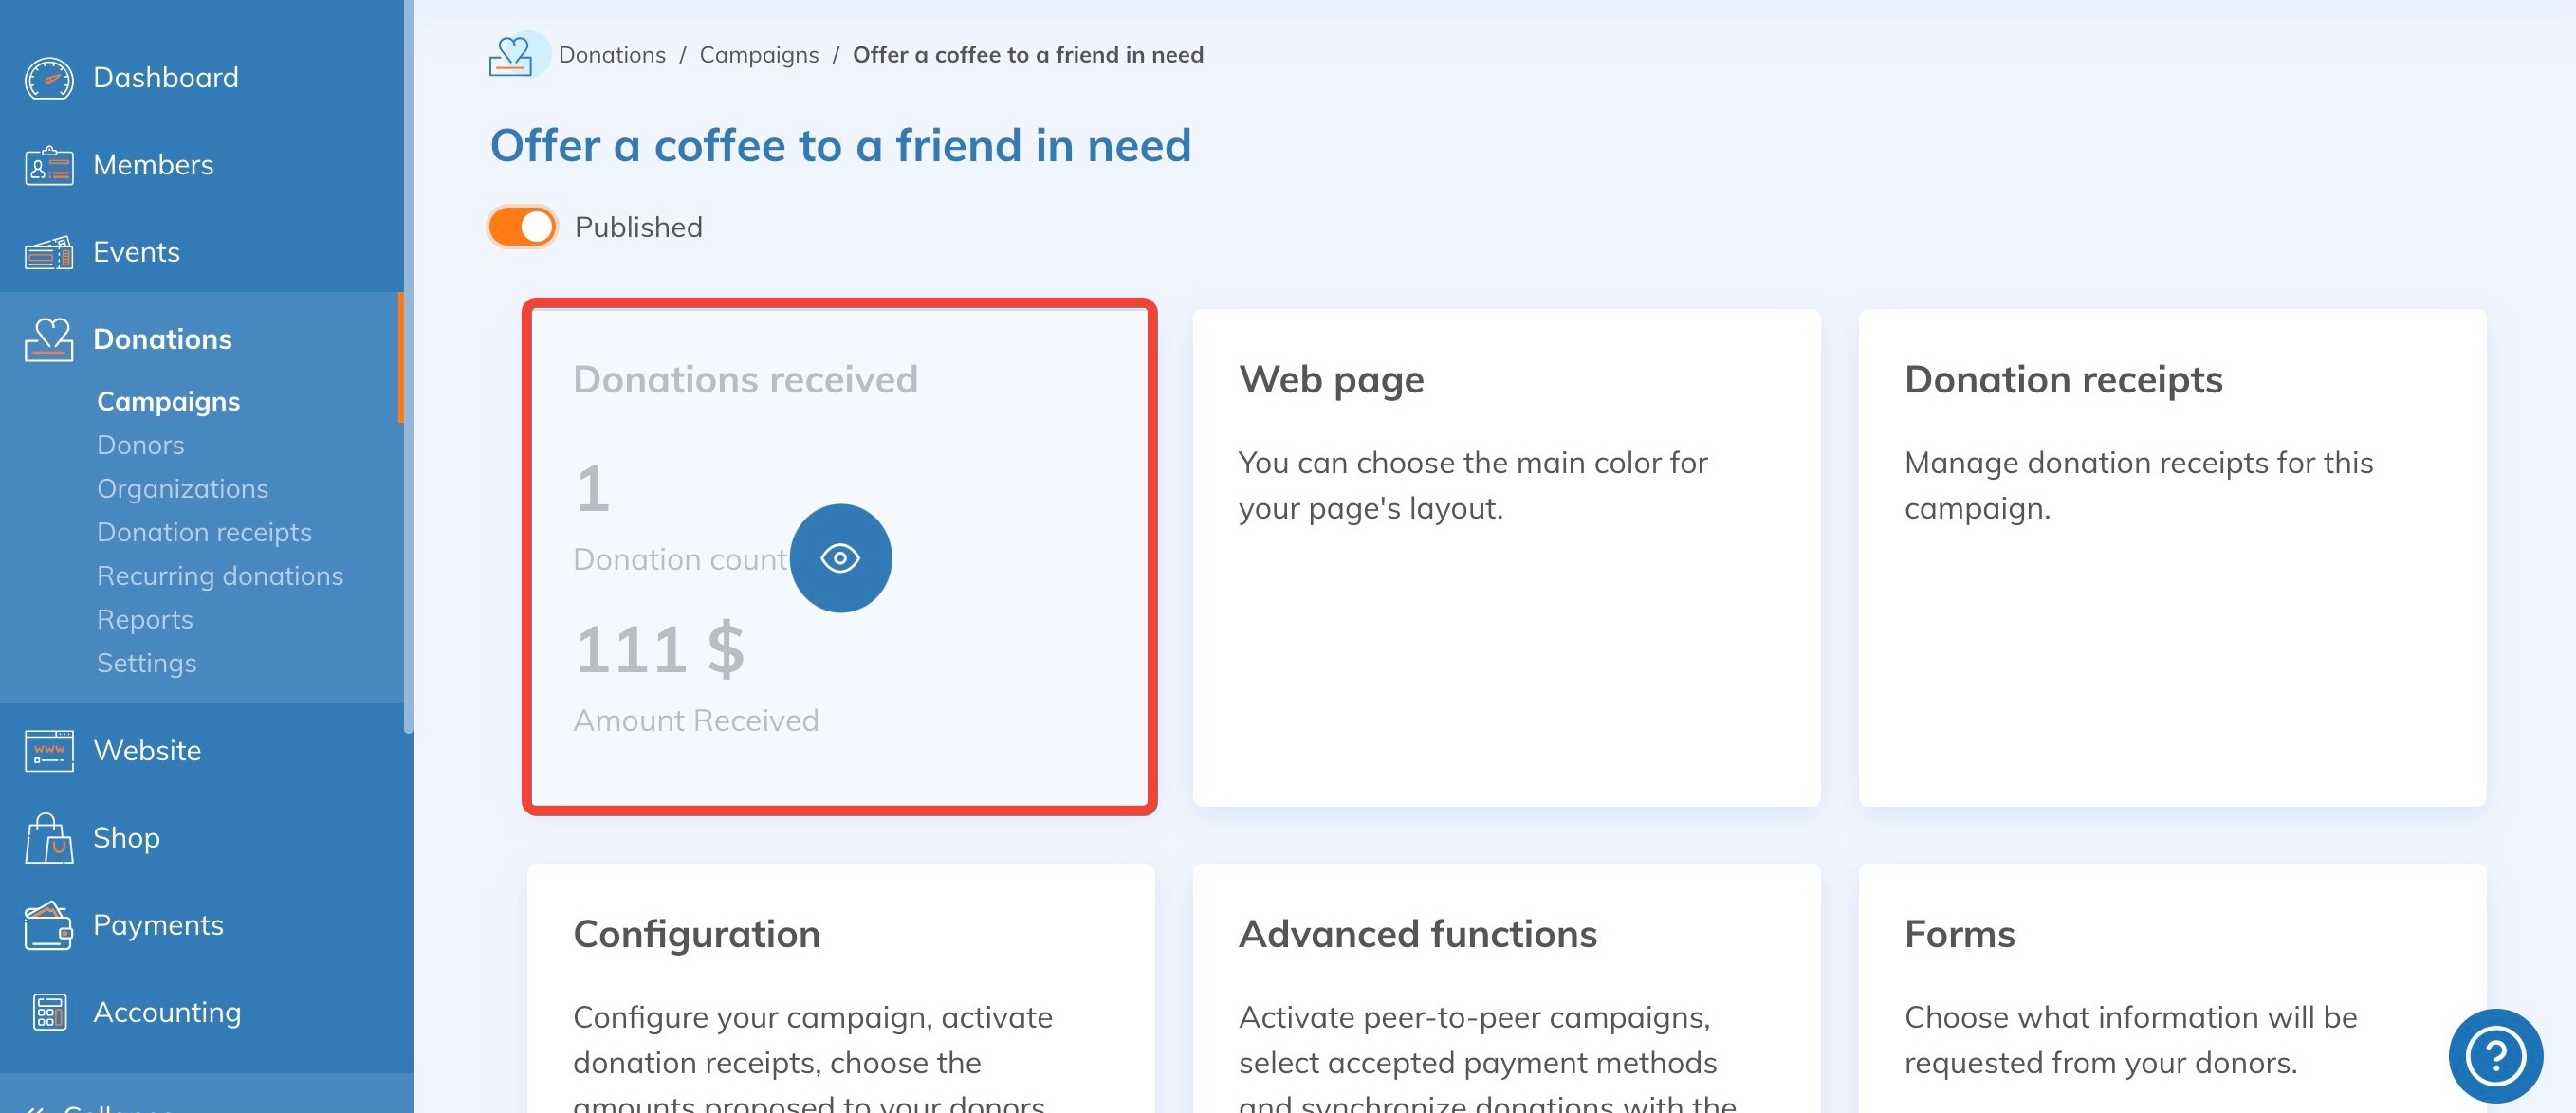
On the new page that appears, click on Donations received.
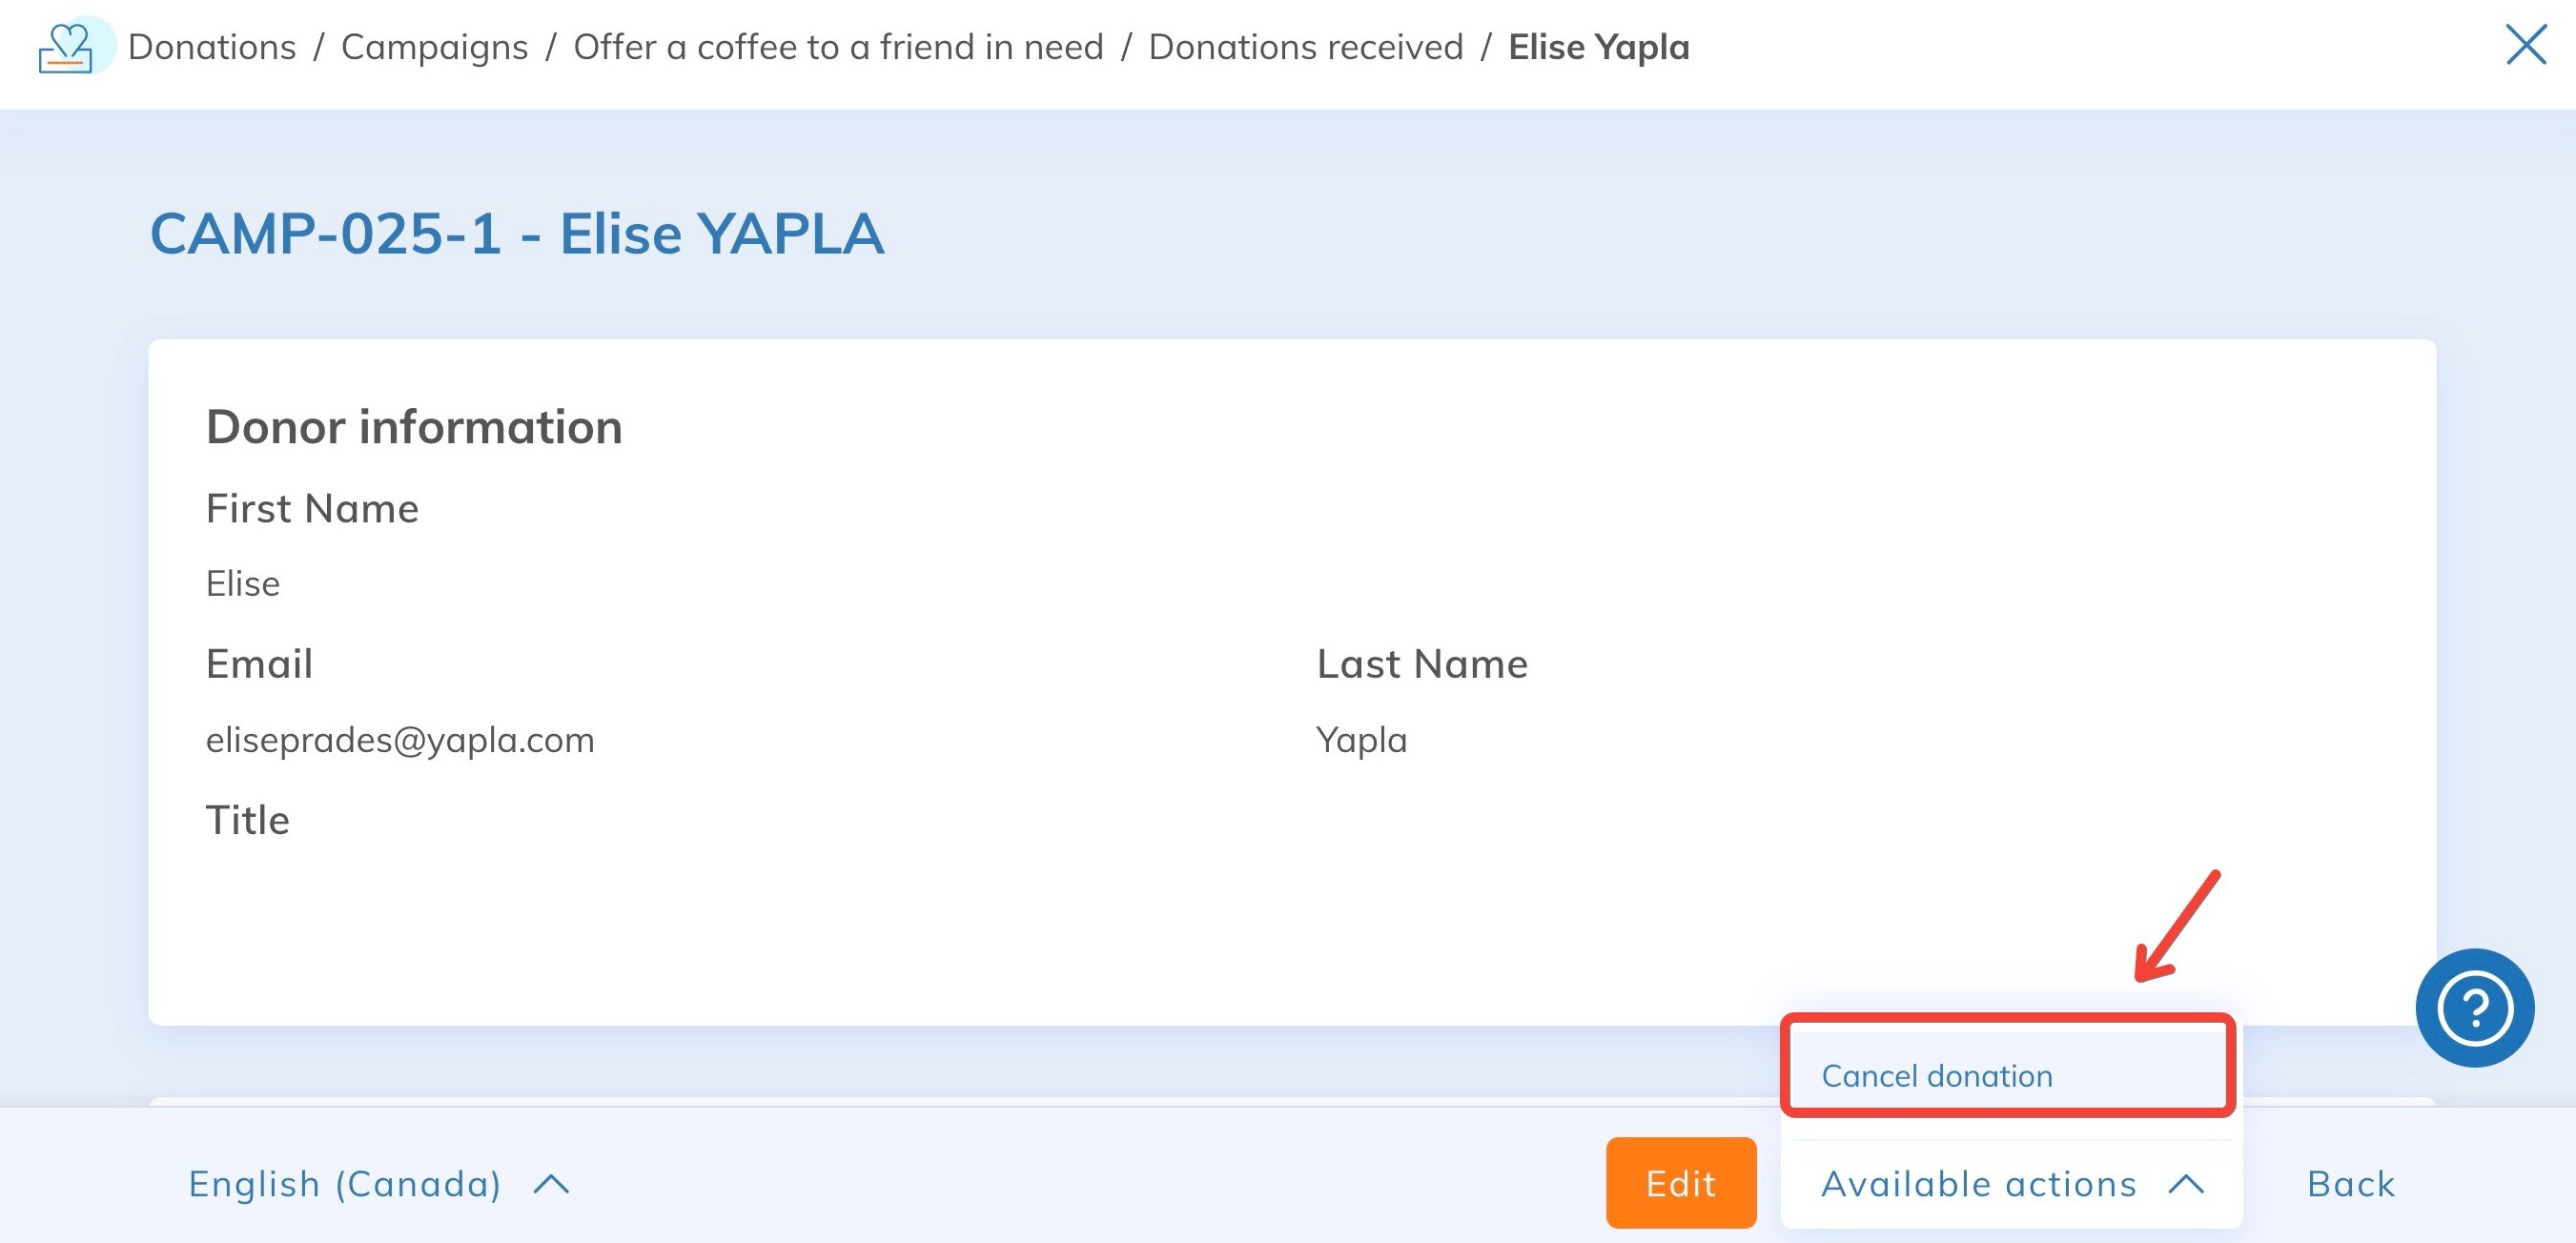
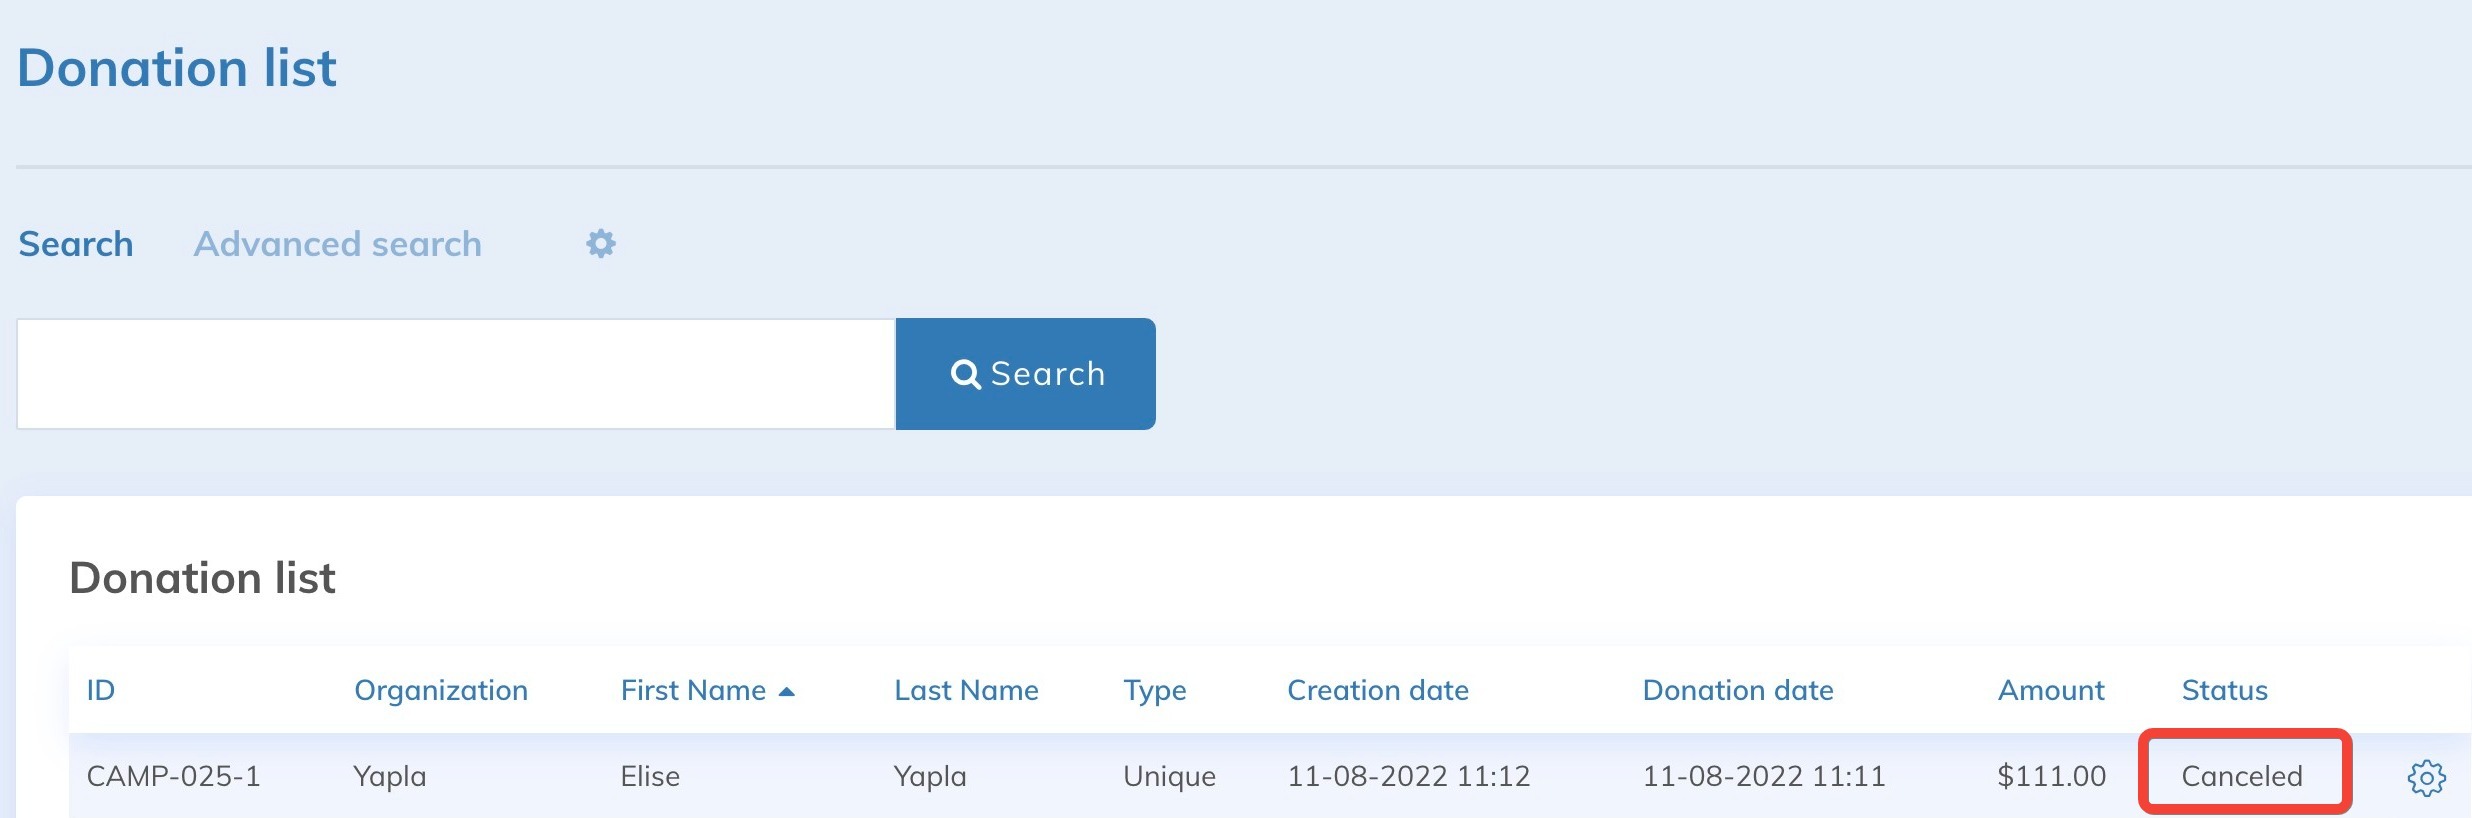
In the Donation list, select the donor's donation. This takes you to the donor's detailed record. Click on the Actions available button at the bottom of the page, then select Cancel donation and confirm the cancellation.
By returning to the list of donations received, the donation is now identified as cancelled.
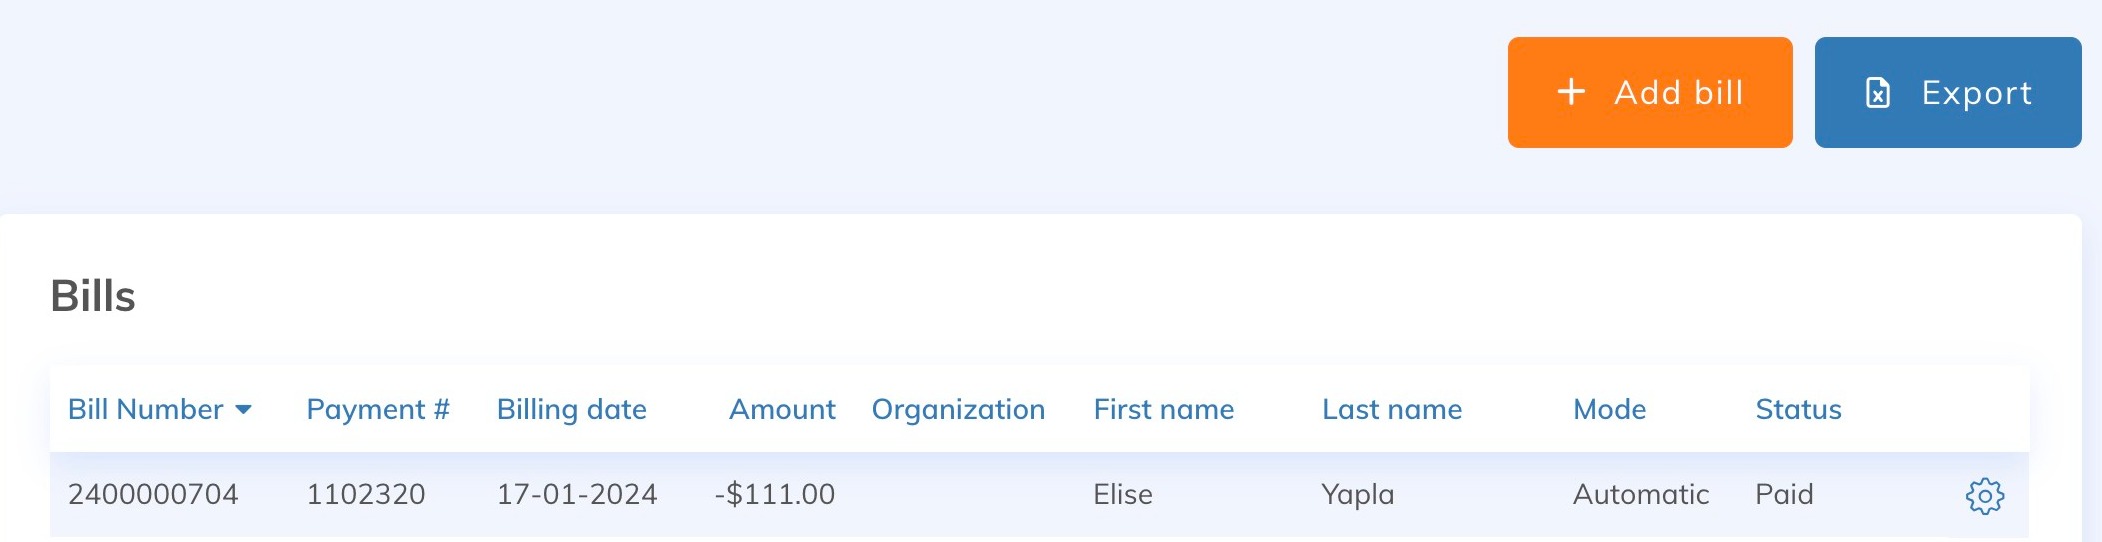
For Essentials, Plus and Galaxy plan users: when you cancel a donation, Yapla automatically adjusts your income accounting. The cancelled donation no longer appears in the Accounting feature.
Refund a donation
Yapla automatically reimburses donors who use a credit card, but a fee may be charged for this action. This amount is indicated when you are about to confirm the refund.
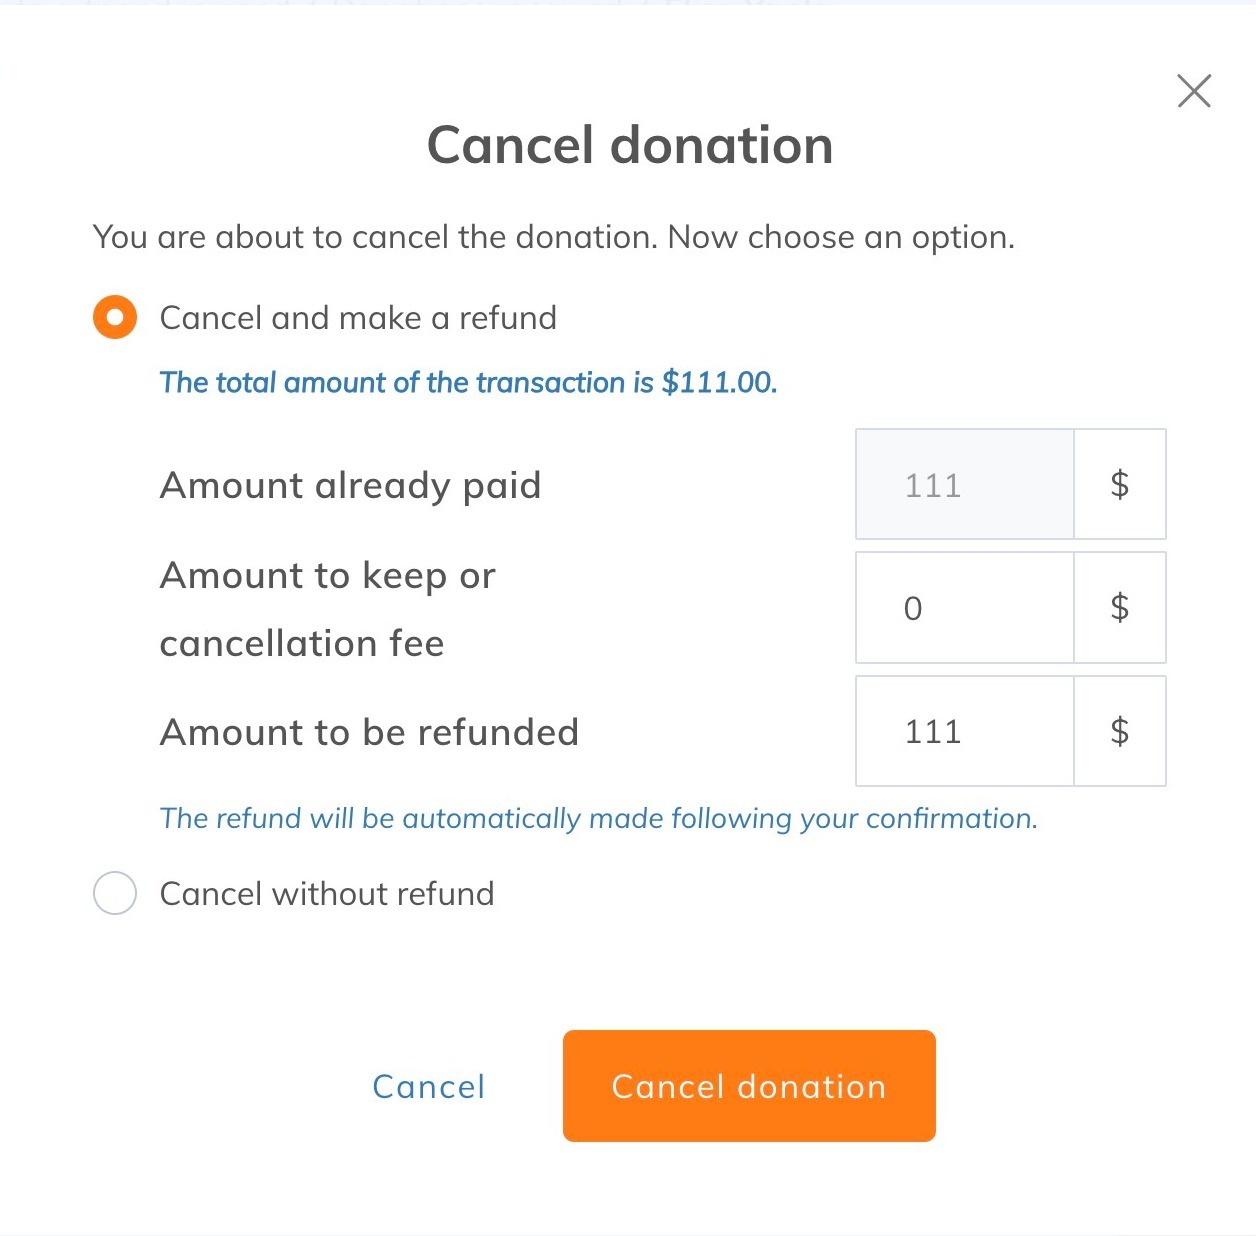
For donations sent by cheque or bank transfer, it is the owner of the Yapla account who must make the reimbursement manually.
Once your donation has been cancelled, the donor will automatically receive a confirmation email.
Going further: personalizing communications with the donor
Most of your actions on the Yapla Platform involve sending automatic emails to notify your members. To reinforce their sense of belonging to your community, you can easily personalize these communications. Find out how in the Communications feature tutorial.