Master pages are used to organize content that repeats from one page to another. For example, a master page often contains the header, menu, and footer.
By configuring a master page that meets the needs of multiple pages, you can link these pages to the master page, ensuring a predefined structure. Master pages are a crucial asset for a website with a large number of pages.
In this article:
Activate master pages
- Once your website is created (see the article Create a website), go to the Website feature, select the Settings tile.
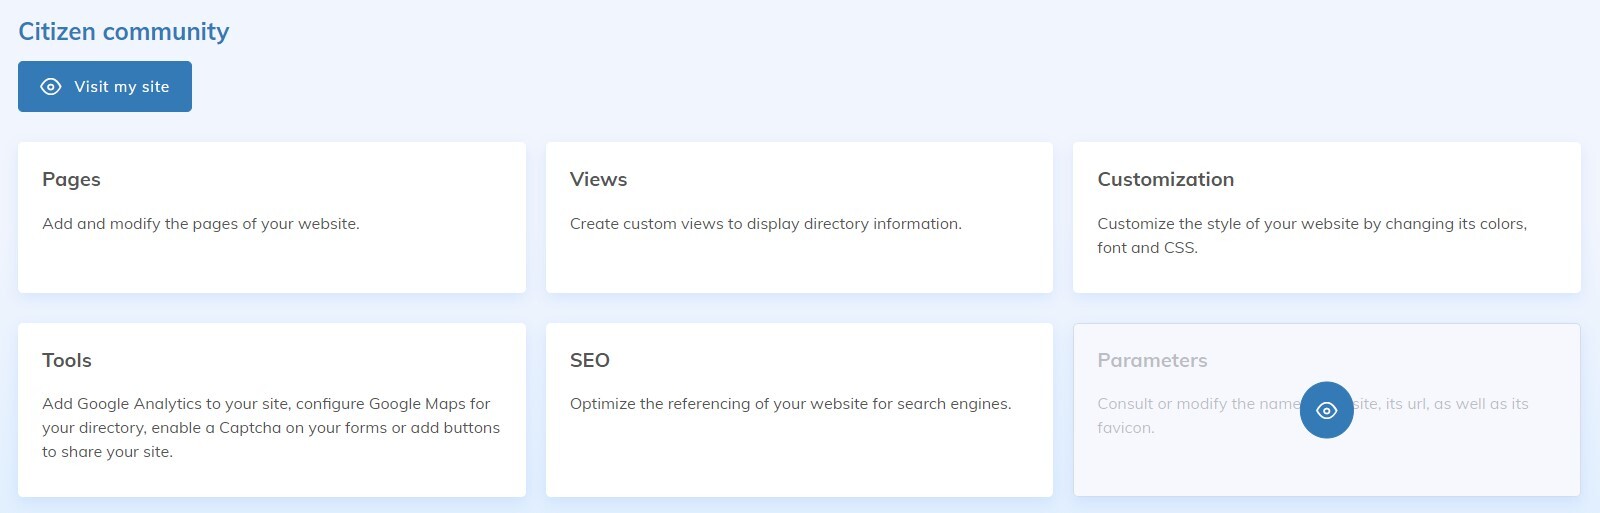
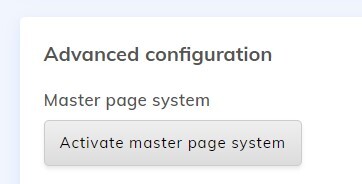
- Scroll to the bottom of the page, then select the option Activate master page system. This step is irreversible.
Create a Master page
The process of creating a master page is very similar to creating a web page. The main difference is that the modules configured on the master page will appear on the pages linked to the master page.
- To add a master page, go to your website, in the Master Pages tile.
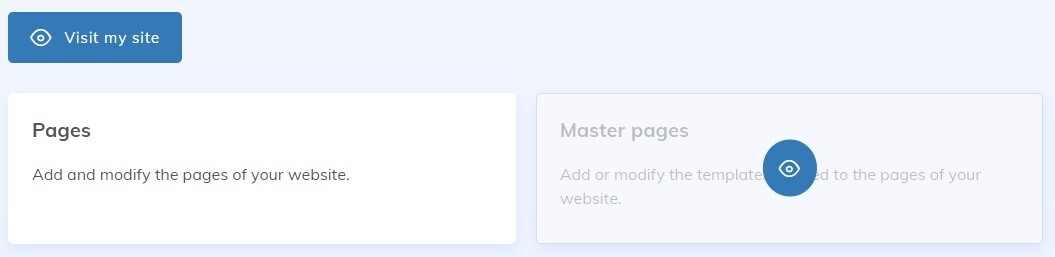
- By default, your website will have a master page named Base. You can modify this one or create a new one by clicking + Add a master page.
Configure and modify an existing master page
- Select the master page you want to configure from the list of master pages.
- Click Edit page structure to configure its structure. Configure a master page’s structure in the same way as a web page.
Good to know:
- Modifying the structure of a row already used on existing pages will remove its content from those pages. However, we recommend configuring the structure of the master page according to the common needs of all linked pages. All pages linked to the master page will share this same structure.
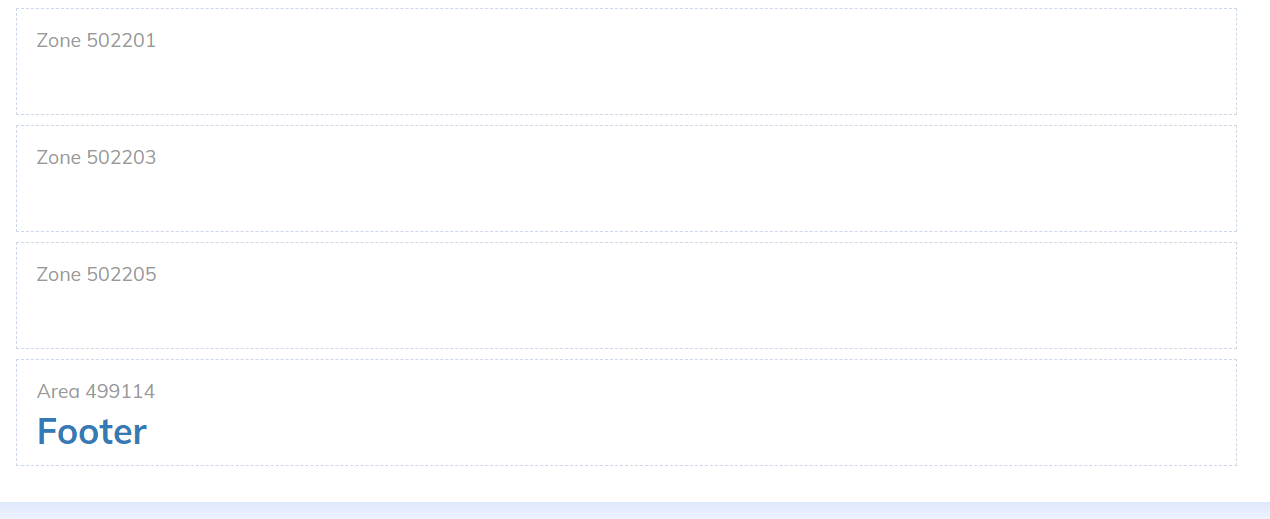
- It is preferable to have a single master page for multiple pages and simply include multiple rows that suit different pages. Empty rows will not appear on the site.
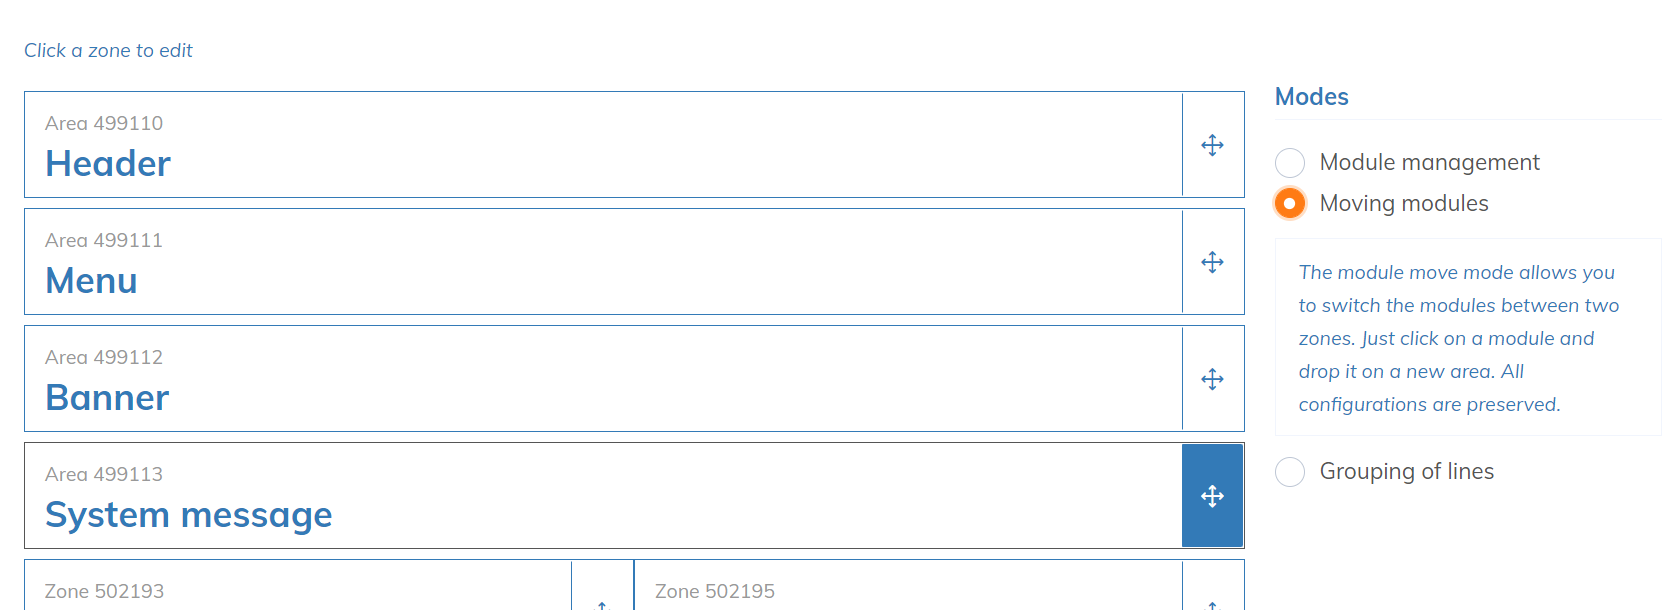
- In the Structure tab of your master page, the right-hand menu allows you to change the Master page configuration modes.
Configuration modes
Module management
Once the master page structure is defined, configure modules on it that will automatically be present on all pages linked to this master page. To configure a zone, click on it.
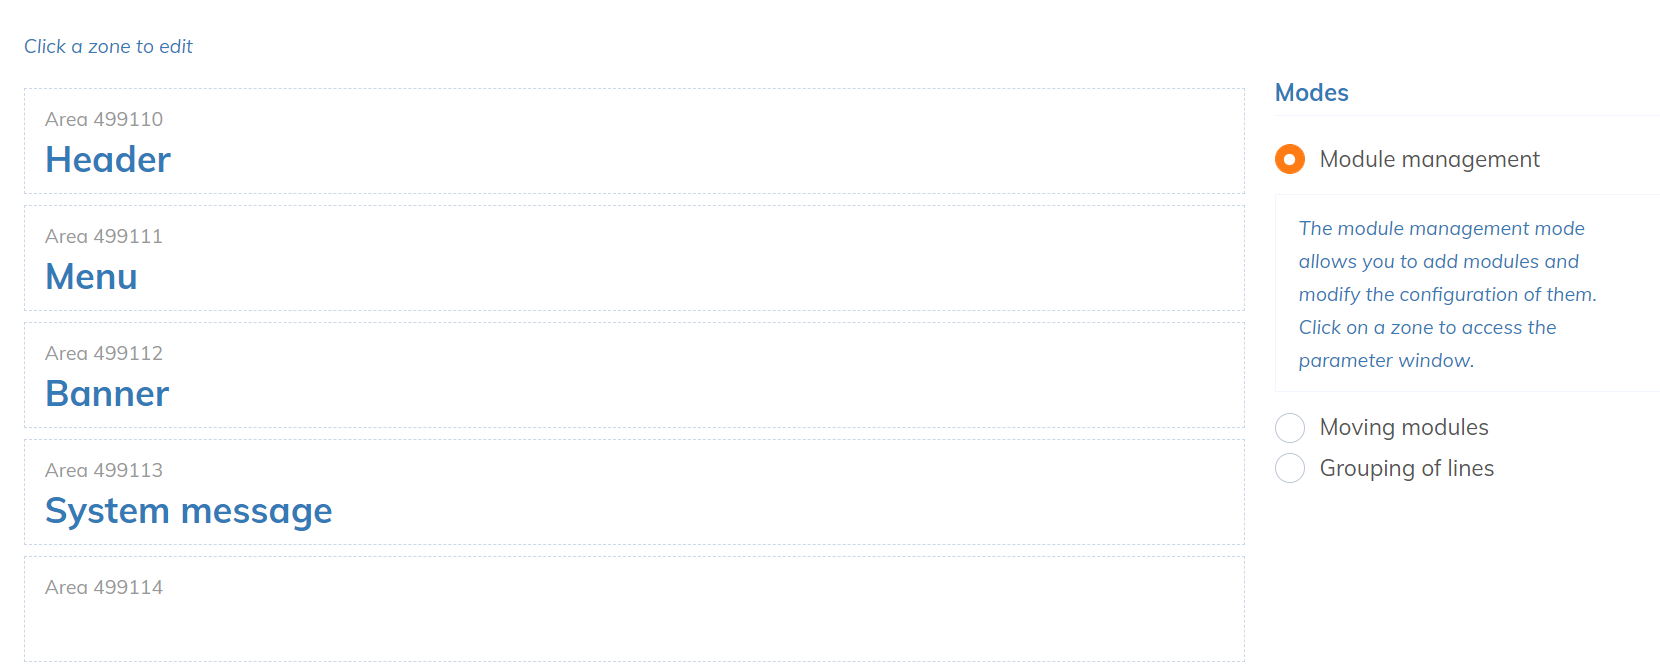
For example, if you want to configure a header on your master page, choose and configure the Header module from the Website feature on the first row.
You can also create a footer by selecting the last row of the master page and choosing the Footer module.
Module movement
This mode allows moving a module or swapping the position of two modules without changing their configurations. Click and hold the arrows ![]() to move the modules.
to move the modules.
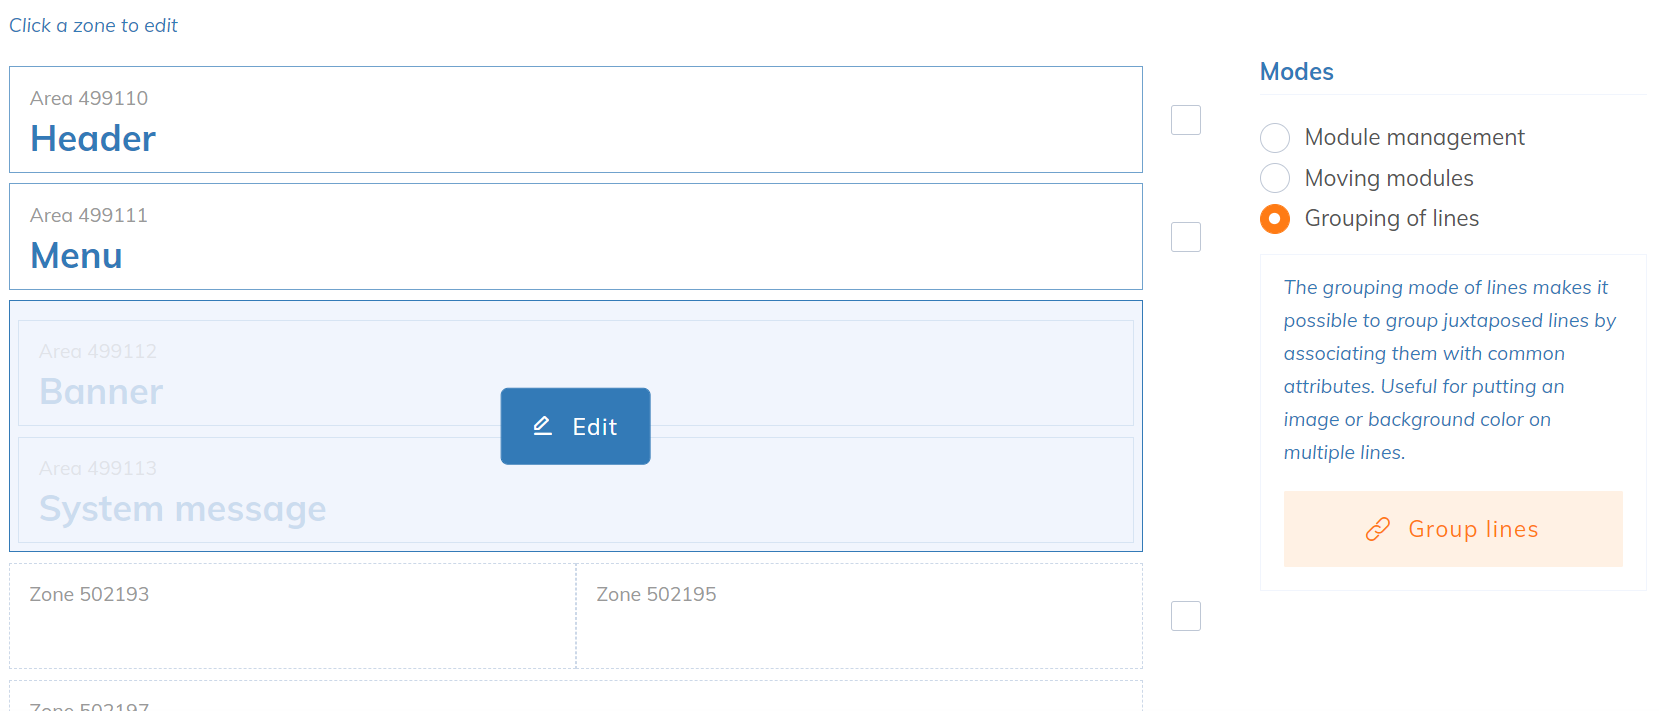
Lines grouping
This mode allows grouping rows to create areas with the same image or background color. Select adjacent rows and click Group lines.
![]()
It is also possible to ungroup lines by modifying the area and clicking Ungroup lines.
 .
.
Link internal pages to the master page
Once the master page is created and configured, use it to create the various pages of your website.
- In the Pages menu, click + Add a page.
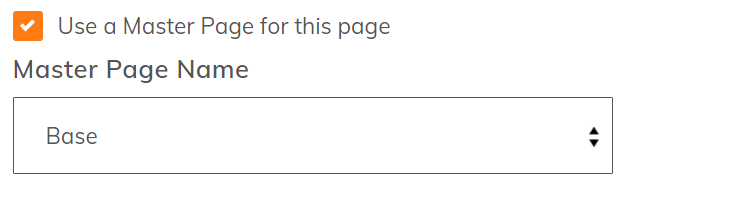
- In the advanced settings of your new page, check and select your master page.
- Configure a page by selecting it and clicking on a zone to choose the module you wish to insert.
Good to know:
- If you want to modify a zone already configured on the master page, check Customize this zone and configure your zone.
- To configure a website module, fill in the module form and click Save.
- Note that once a page has been created and associated with a master page, it will no longer be possible to assign it a new master page. In this case, you will need to recreate the page to assign it to the new master page.