The "Data" application allows you to create a custom database for your association.
For example, there is no "Volunteers" application in Yapla: with the "Data" application, you can create the database you need to manage this custom data. Here's how to create your custom database:
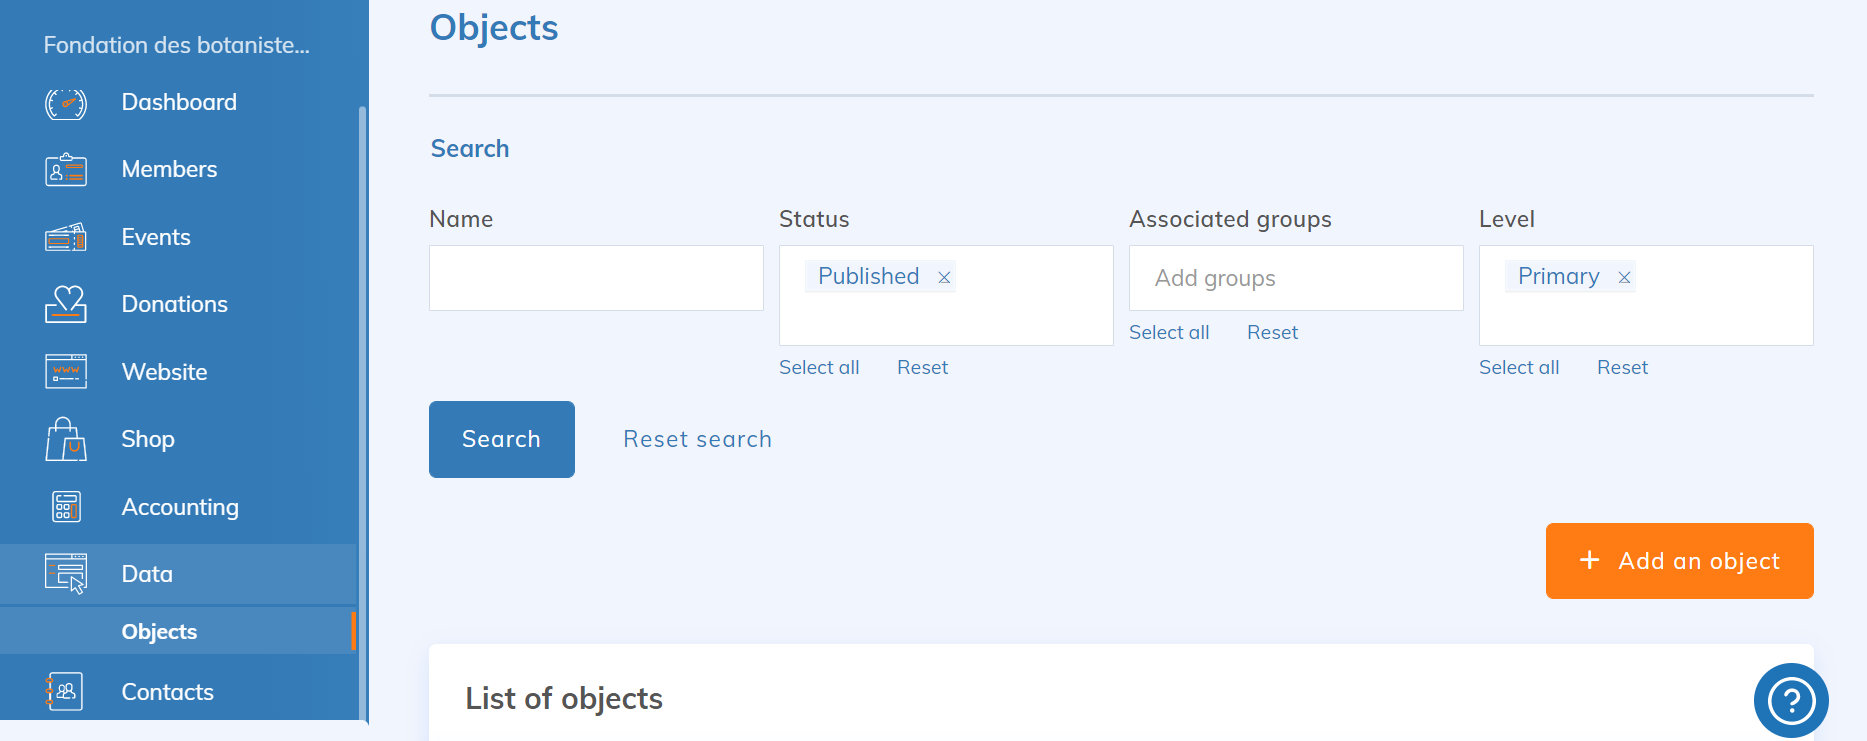
Where to create a database?
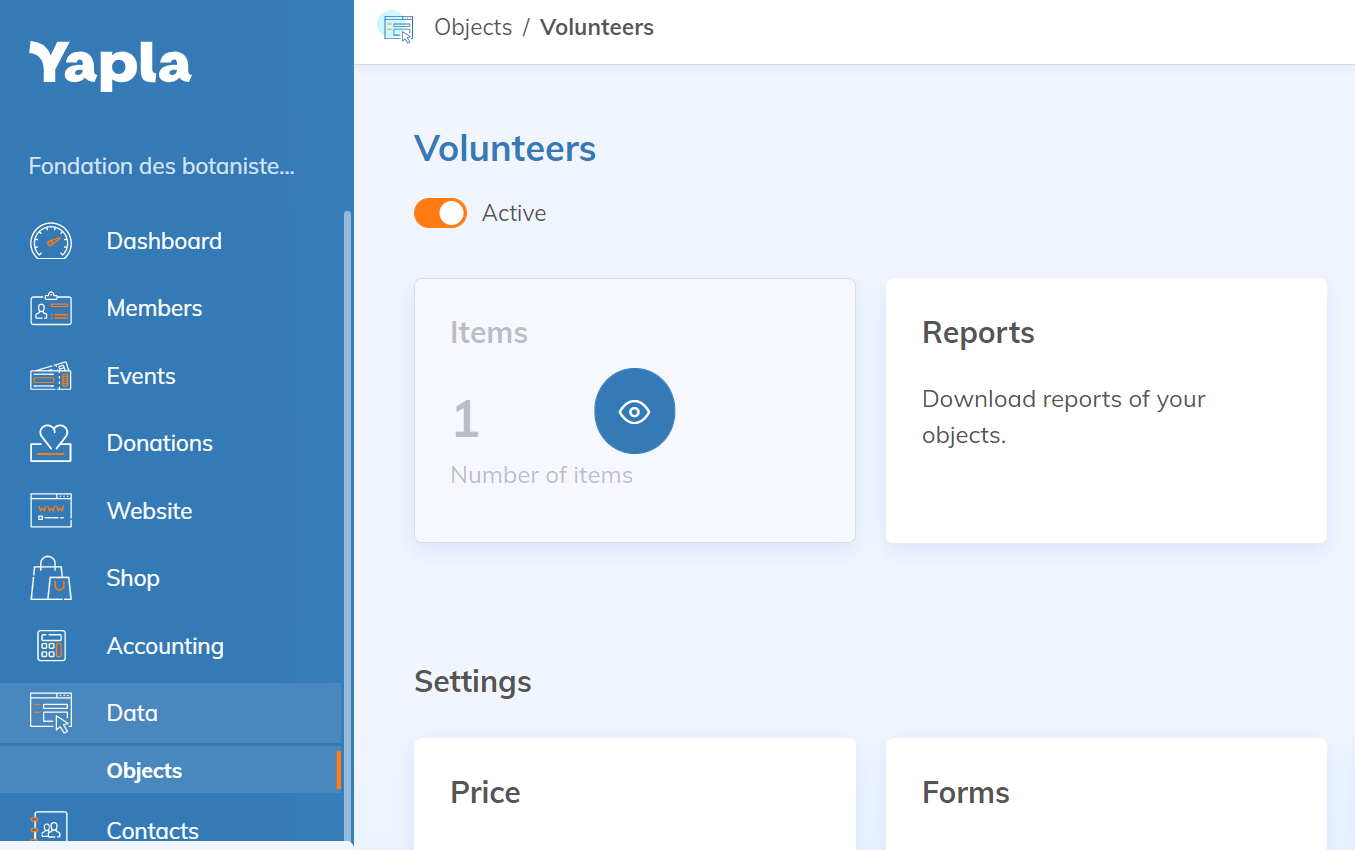
Go to the Data application on the "Objects" page.
Configure your custom database
Create an object
Start by creating an object. An object defines the type of information you want to manage (volunteers, exhibitors...).
Click on ![]()
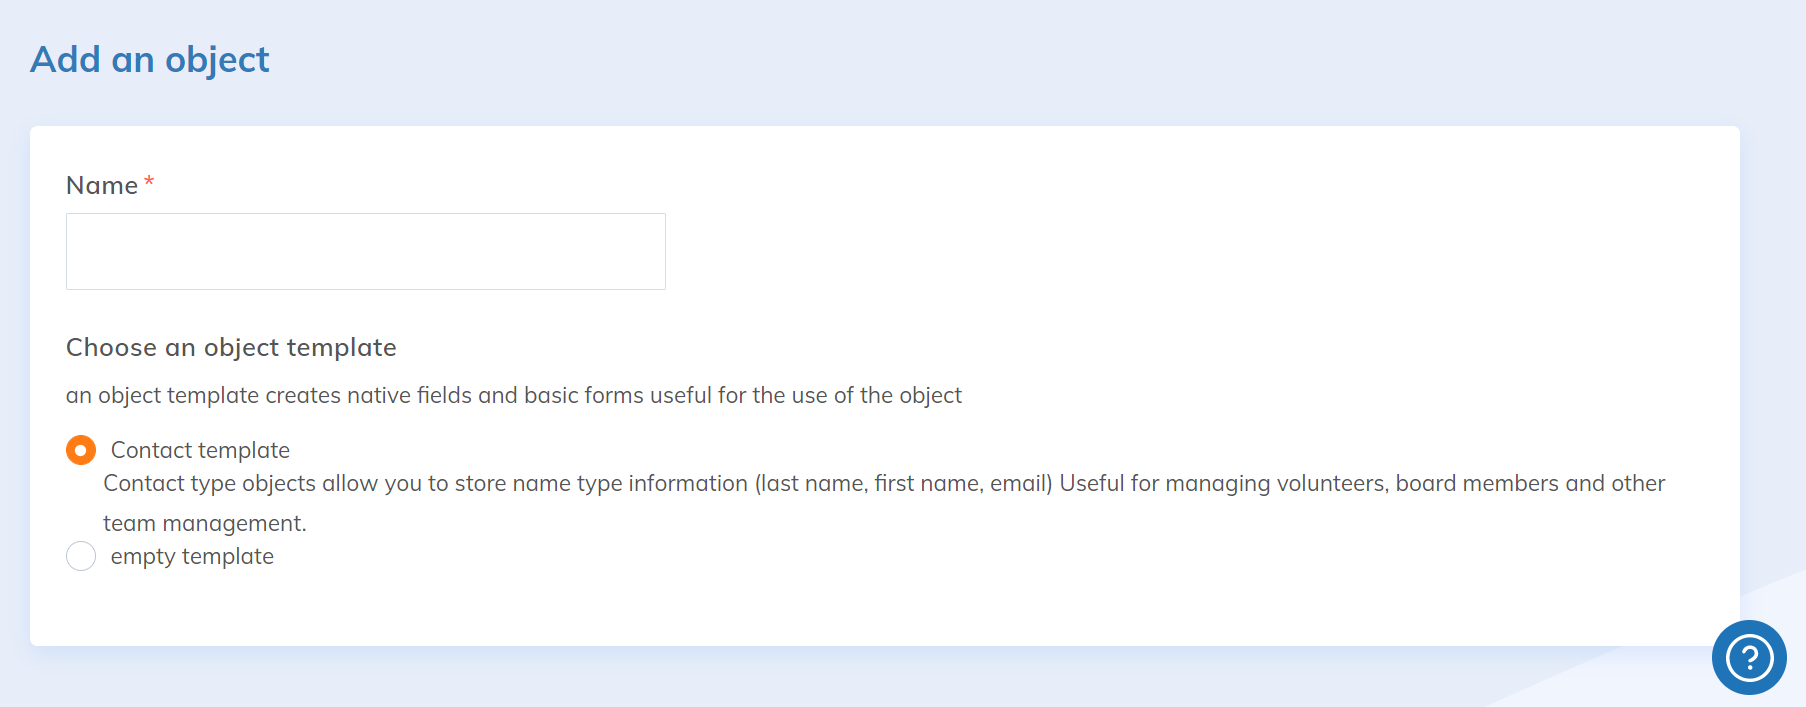
Name it (e.g. "Volunteers").
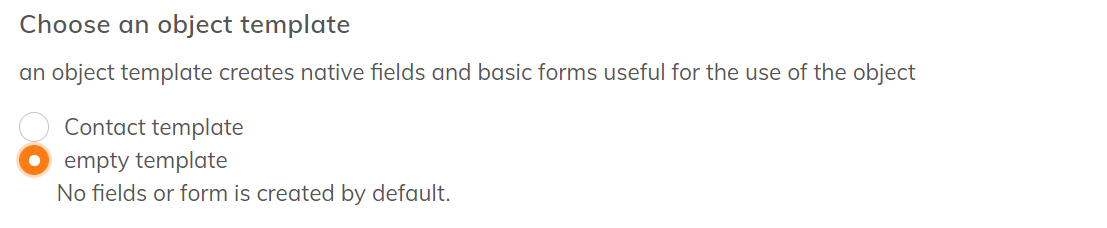
When creating your object, you can choose the object template:
- Contact template: The contact object already contains the fields Last name, First name and Email. You can include them in your basic form. Useful for managing volunteers, teams, etc.
- Empty template: No field or form is created by default.
Configure the forms
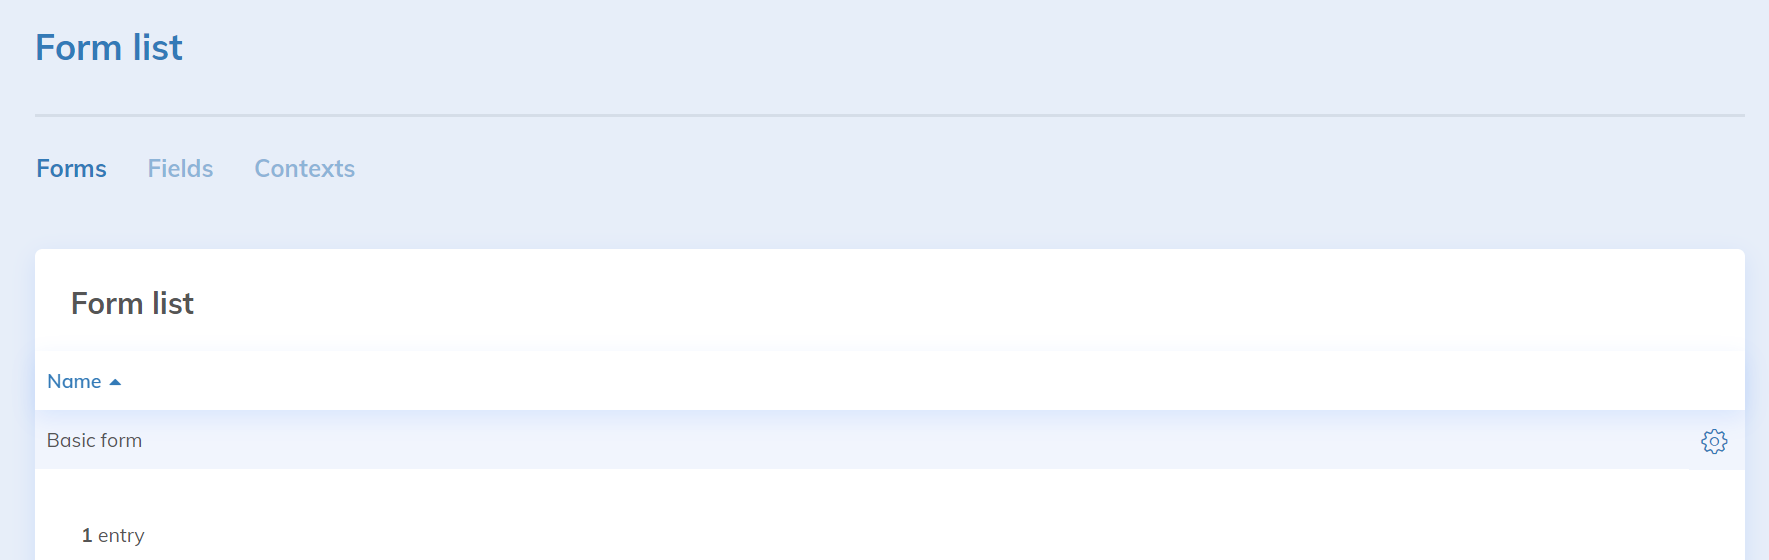
On your object page, select the "Form" menu in the "Configuration" section.
Click on the "Form" sub-menu and select the basic form from the list. Once on the form, check if it already contains the fields you need.
If not, click on the "Fields" tab. This is where you can customize and create the fields corresponding to the information you want to collect.
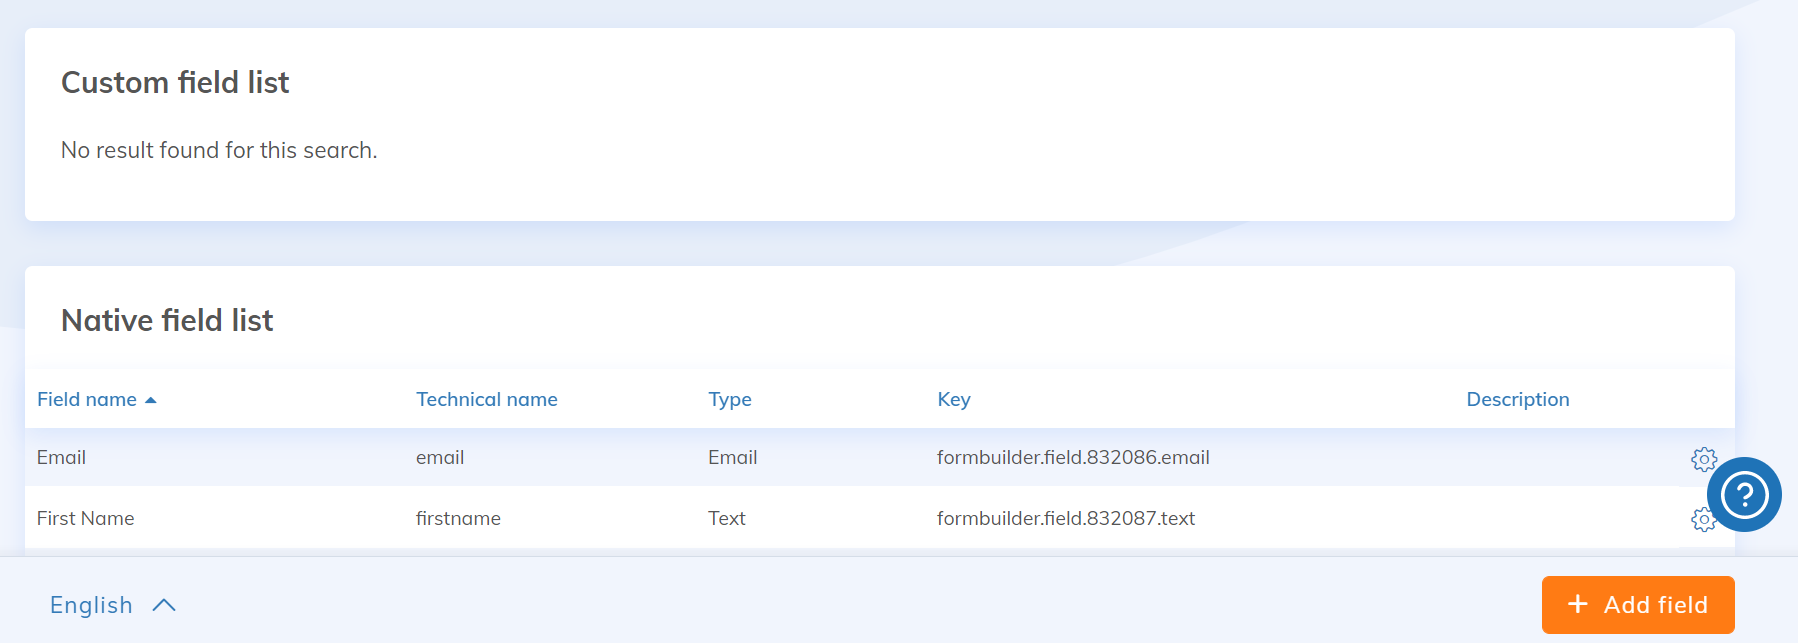
Native fields are the ones that Yapla provides by default. You can customize their labels. You can also add custom fields by clicking on "Add field".
You can read this article that describes how to create a custom field.
Add an item
Now that you have customized your database, create an item (in this case a volunteer) by clicking on your object's "Items" page.
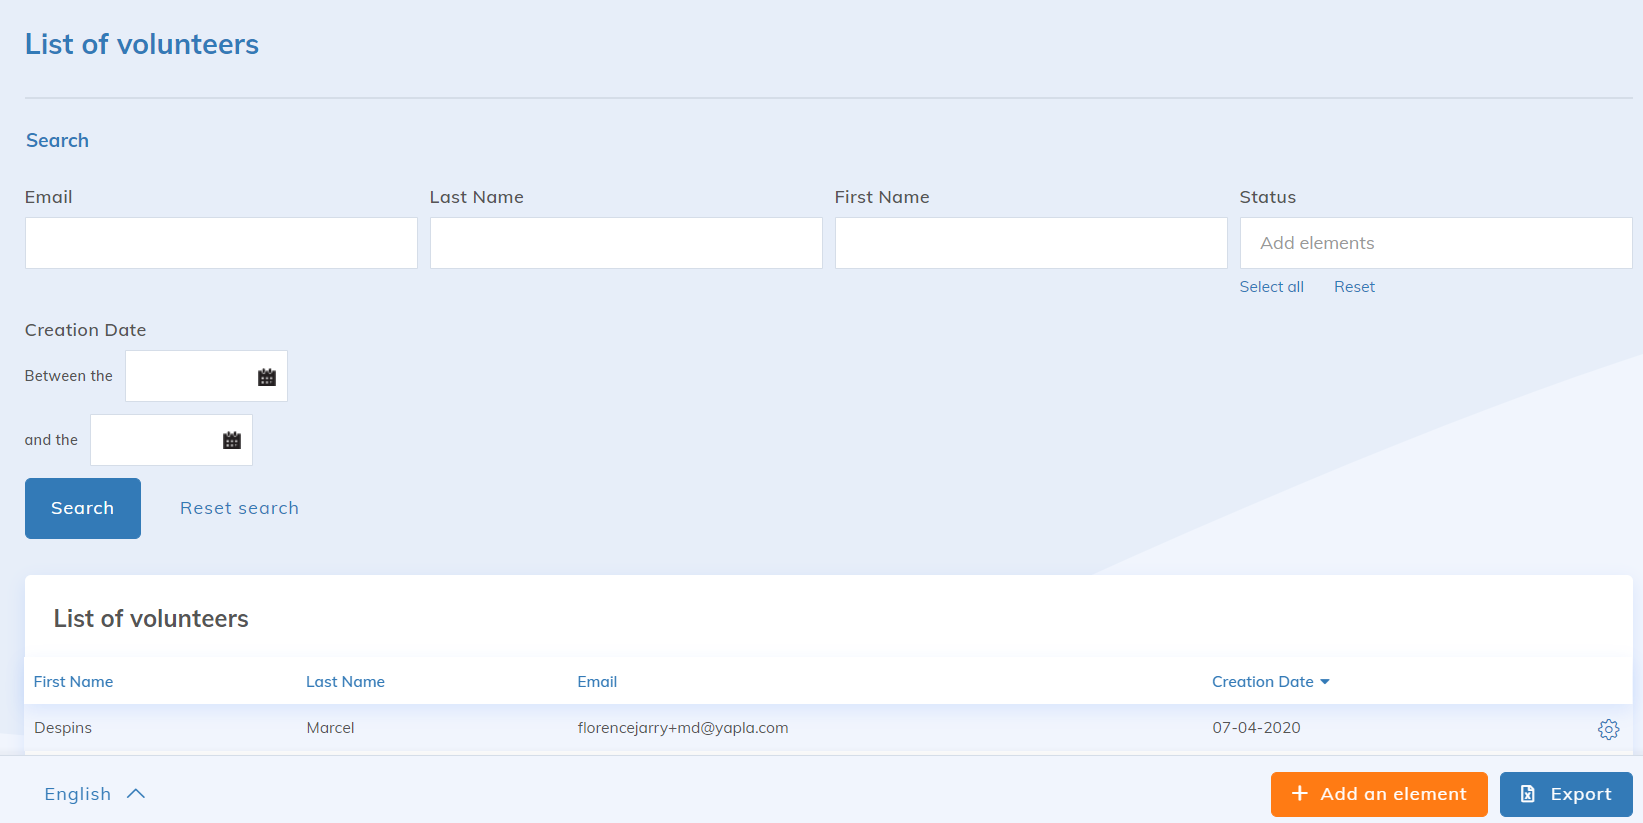
Click on "Add an item".
The form you fill out to add your first volunteer is the one you customized in the previous steps (the Yapla environment "Creation" context).
In the form, there is the "Status" option. If you have the Premium plan, you can customize the option by going back to the "Settings" tile and then to the "Status" tab.
For example, a volunteer could have three statuses: "former volunteer", "current volunteer" and "new volunteer whose resume needs to be reviewed".
Note that you can remove the Status field from your forms but that the option is very useful to navigate in your database.
Once you have saved the new contact, it will appear in your database of object instances.
Form Contexts of the Data application
There are specific forms that allow you to control the information you can edit or view. As for the "Creation" form, you can configure these forms.
On the "Forms" tile of your object, choose the "Contexts" tab.
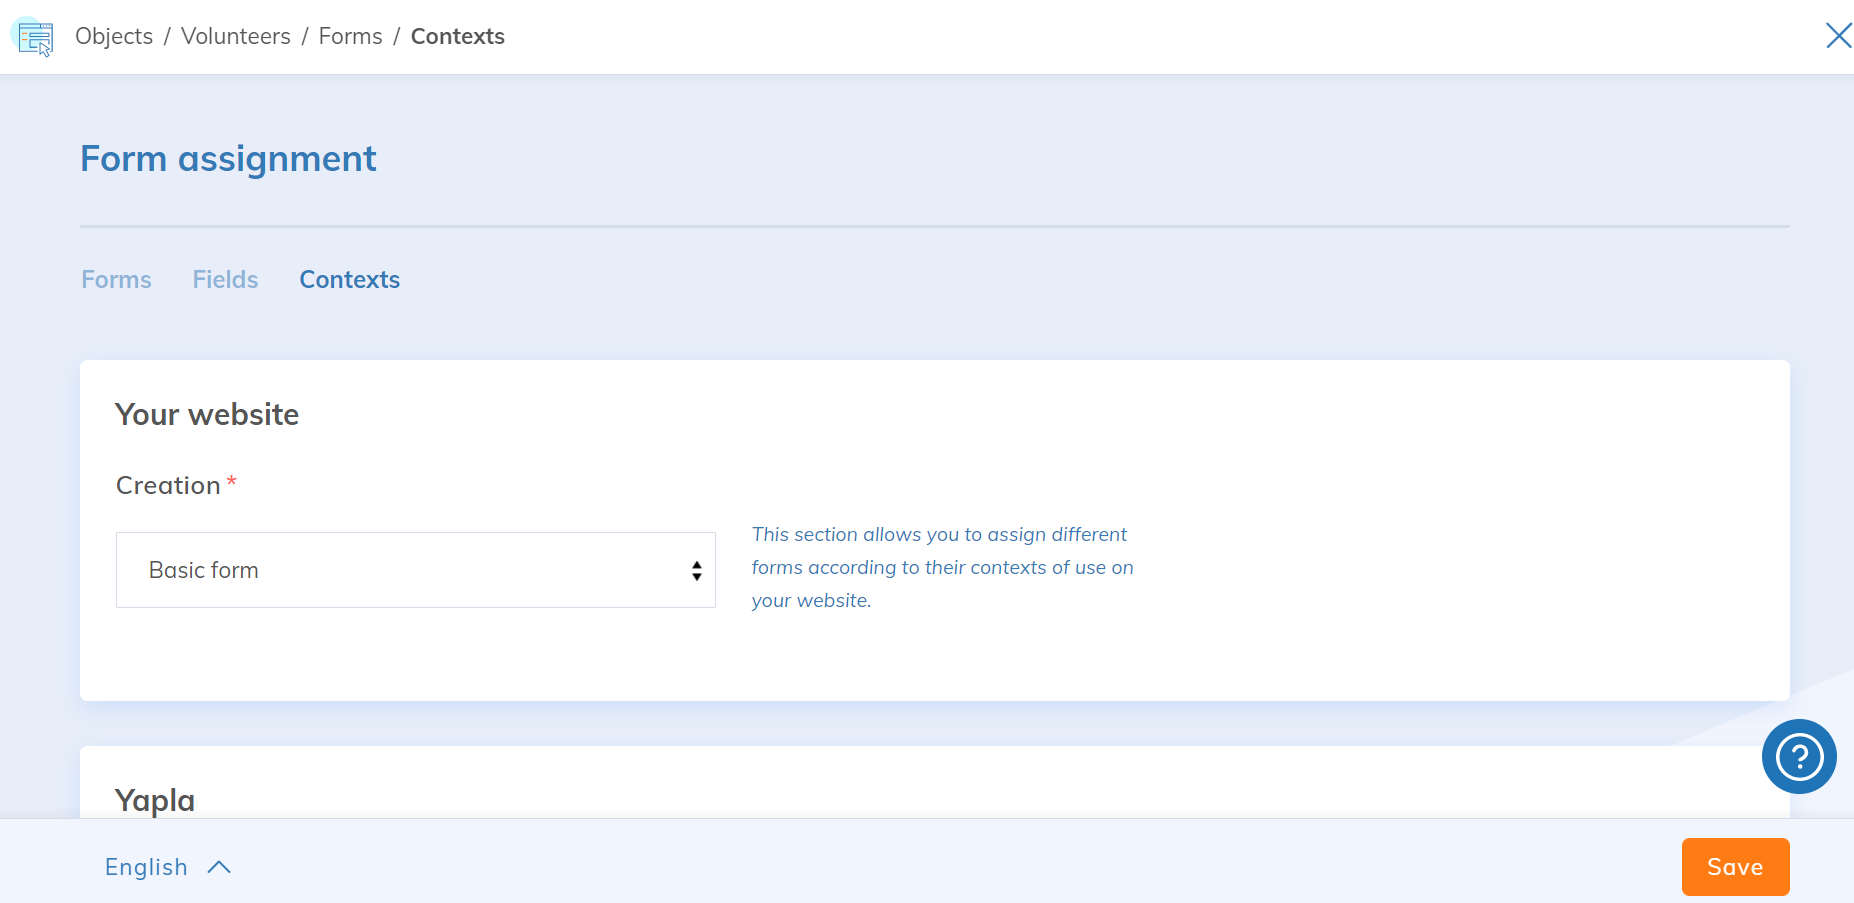
-
The "Creation" form on your website is the one that allows users of your website to add instances to the database themselves through the website.
-
The "Creation" context in administration is the one that allows you to add yourself instances in the database.
-
The "Edit" context allows you to control which information can be modified after the creation of the instance. The form associated with this context must include the fields of the Creation form that you want to make editable.
-
The "View" context allows you to determine what information is visible when you view the details form of an instance. The form associated with this context must therefore contain the fields of the Creation form that you want to make visible.
To update these forms, remove the information you do not want to make editable or visible and add the information you want to have in the "Forms" submenu.