Edit your organization profile
Set up your Yapla profile and keep your information up to date. You can edit this information at any time.
Where to set up the association's profile?
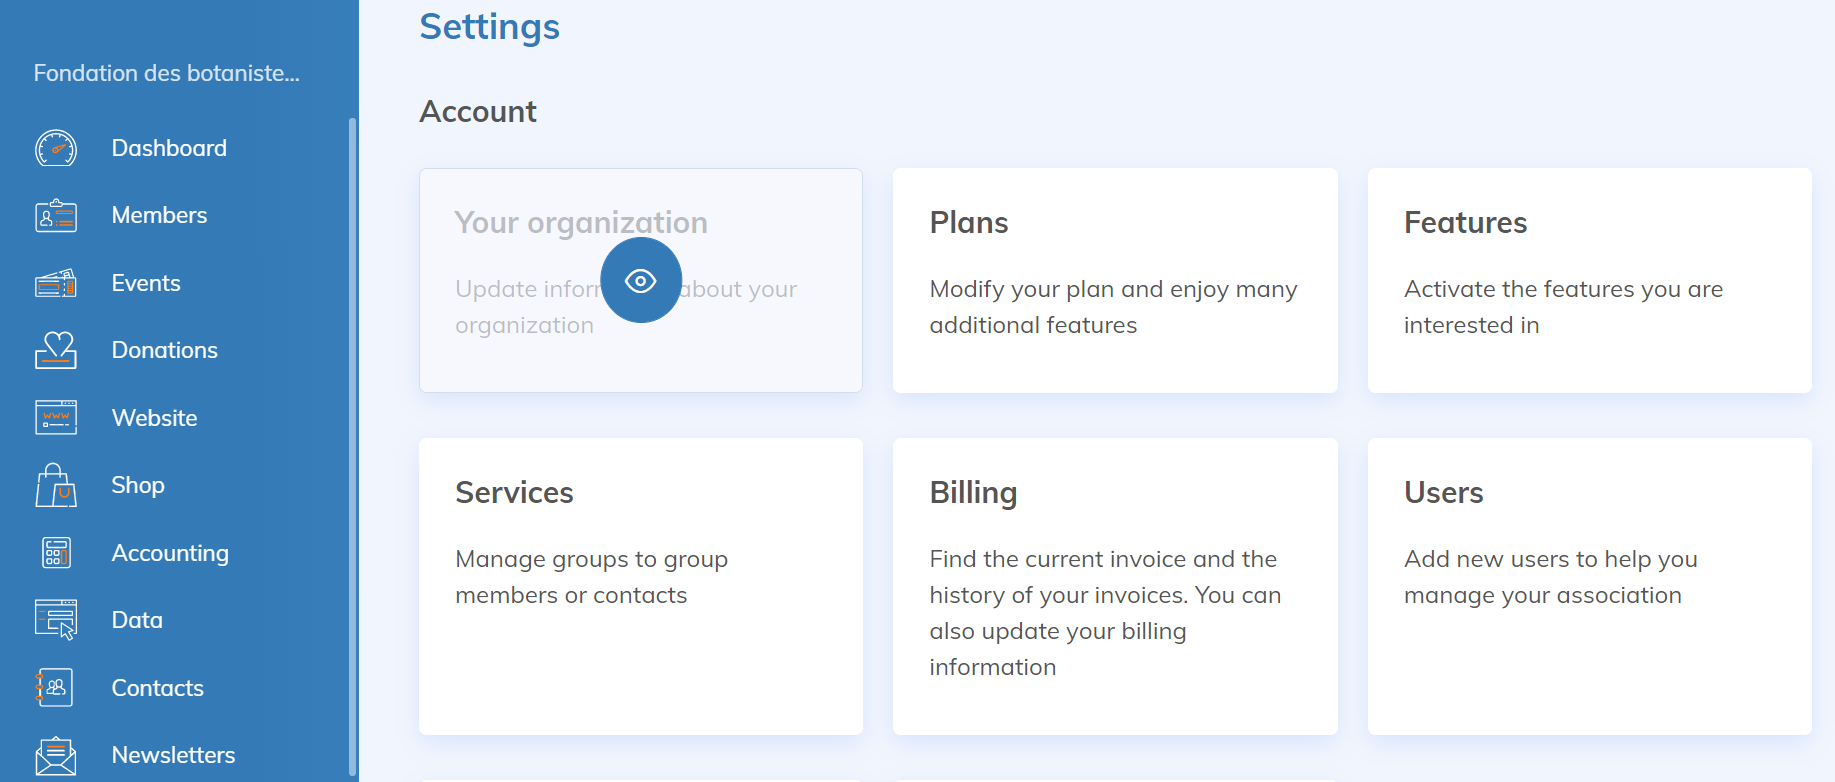
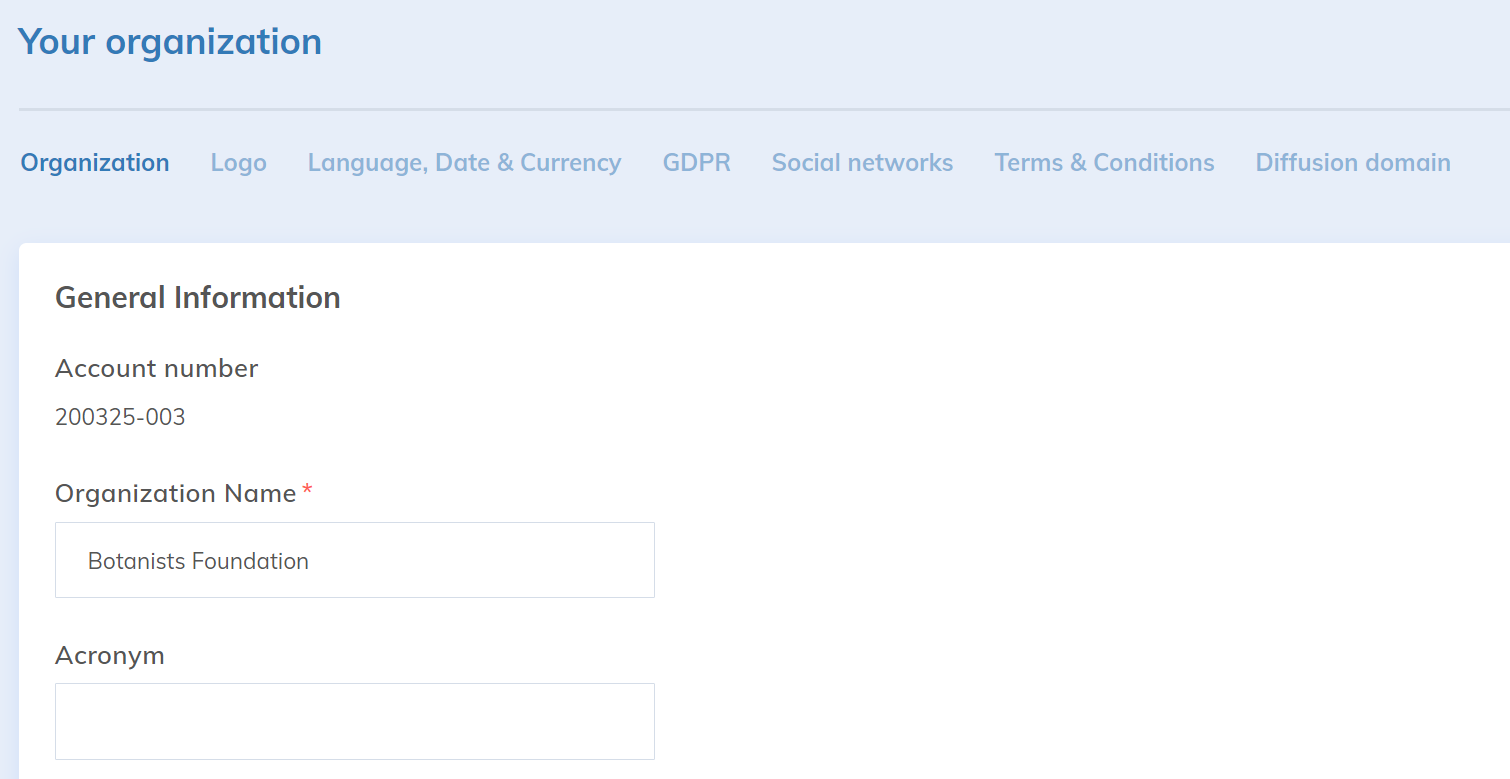
Click on the cogwheel that says "Settings" in the account's pop-up menu. Select the "Your organization" tile. Choose the "Organization" tab.


Configure the organization profile
Enter your information in the appropriate fields.

Press the "Save" button when you are finished.
Viewing Organization Information
All the data is used by Yapla to automate certain functions. For example, the link to your Facebook page may be displayed on your Yapla website. The logo will also be displayed on your website.- Account number - This will be assigned by default.
- Name - The name of your organization.
- Address, City, Postal Code, Province, Country, Phone - Your organization's contact information.
- Facebook Page, Twitter Page, Google + Page, LinkedIn Page - Your organization's web presence.
- Currency used by the organization - Select the currency used for online payment.
- Organization's Time Zone - Select the time zone used to manage membership, registration, and accounting periods.
- User Default Language - The default language for new accounts. Thereafter, each user can choose his or her interface language.
- Accreditation Number - If applicable, the accreditation/registration number to be displayed on receipts.
- Logo - The logo of your organization. (Accepted formats: JPG, PNG, maximum size: 5 Mb)
Go further
Don't worry about the security of your data
Your data is always safe at Yapla.
For more information, please read the full article at the following link:
About the security of your data
Add users to your account
Also update the user information in your Yapla account. Manage your users by adding or disabling them.
For more information, please see the full article at the following link:
