Customized Page Design
Although Yapla offers a basic template for your site, it is also possible, with a minimum of technical knowledge, to completely customize it to your image.
Before starting the design, it is advisable to choose a template that most closely resembles the desired style, or the blank template which is uncluttered, and to place your various elements.
You can change the skin of your site, a master page or a single page according to your tastes and needs.
Customizing the master page
Master pages serve as a template for content that is common to all of your pages. Most of the time, the header and footer will end up in a master page along with blank lines for the personalized content of the different pages.
Lines with no content or blanks will not be generated on the site, regardless of whether they are from a master page or a regular page. You can therefore provide several sections to customize according to your needs.
It is possible to create many master pages, in order to create different layouts.
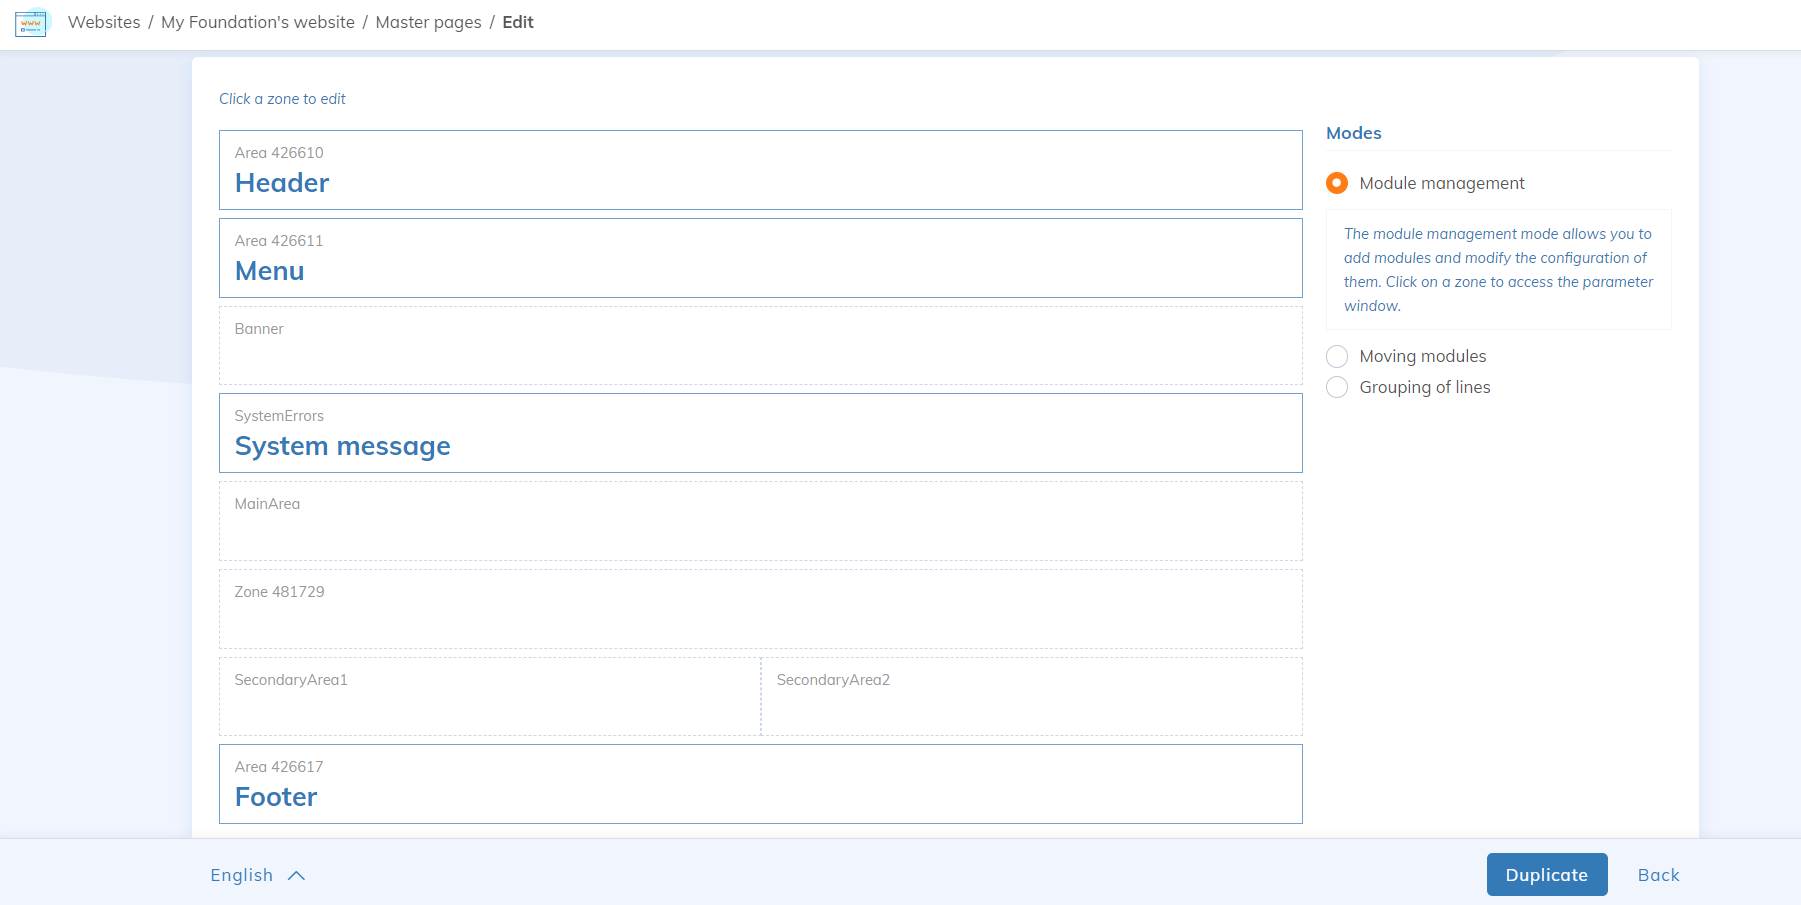
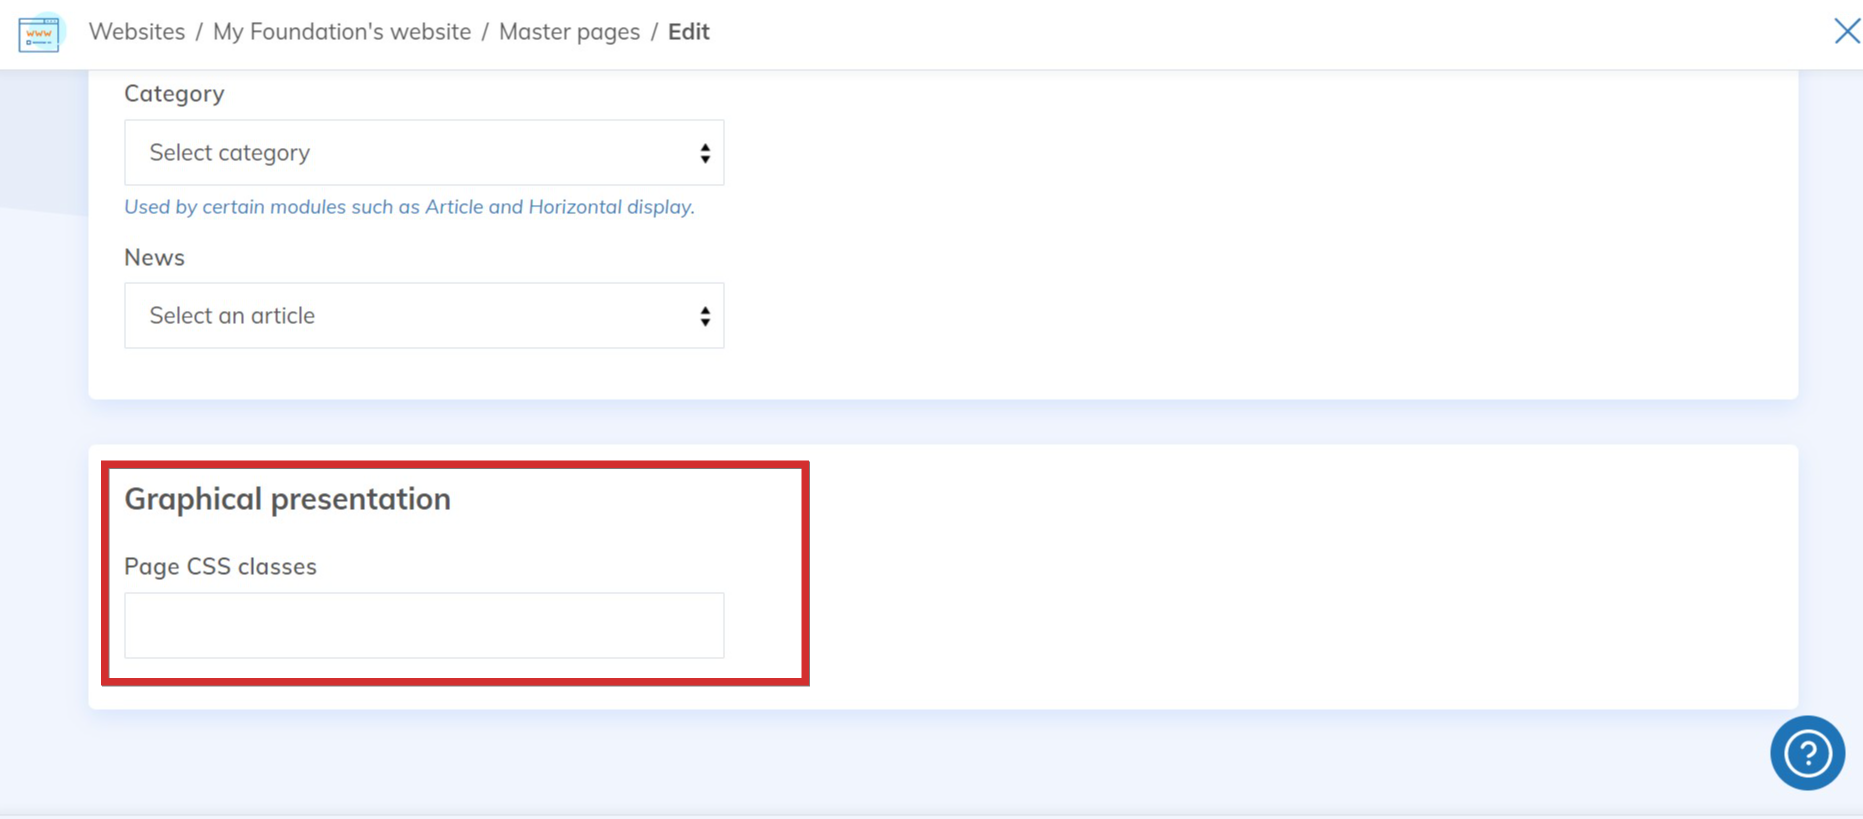
CSS class of a master page
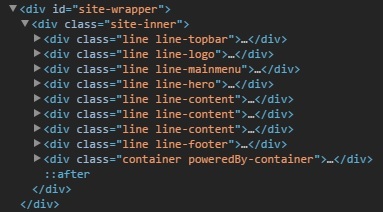
Organize the lines of your master page
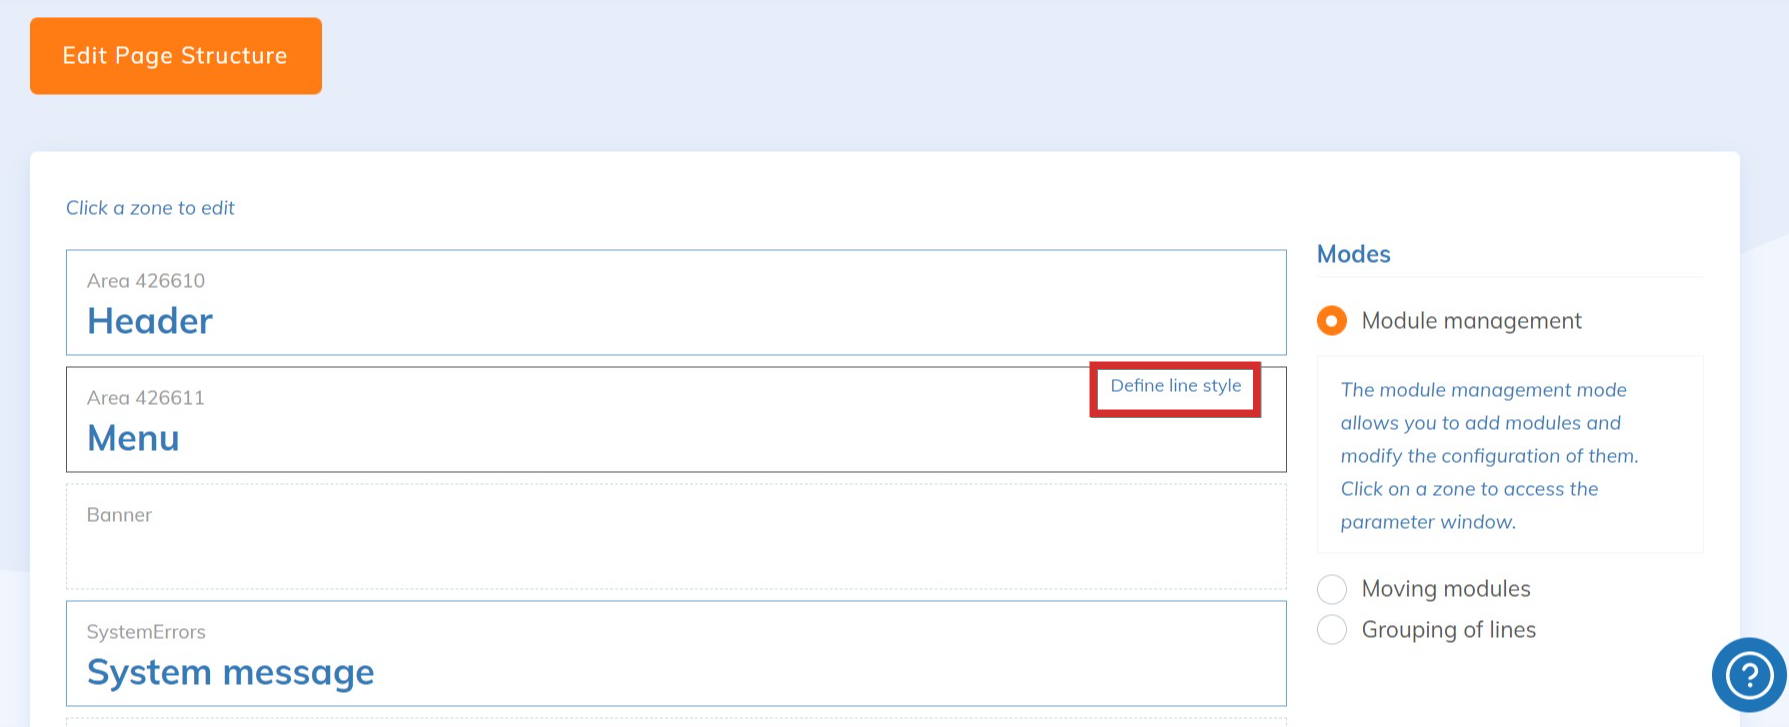
To add a class, in your master page interface, hover over a row and click Define line style located at the top right corner of the row.

If you notice that a button in your menu isn't displaying the expected text, it may be because the button color and the menu banner color are the same.
To fix this:
- Go to Edit Menu Line Style.
- Under Background Color, select your website's main color.
- Check that the line-main class is correctly applied.
Customize website
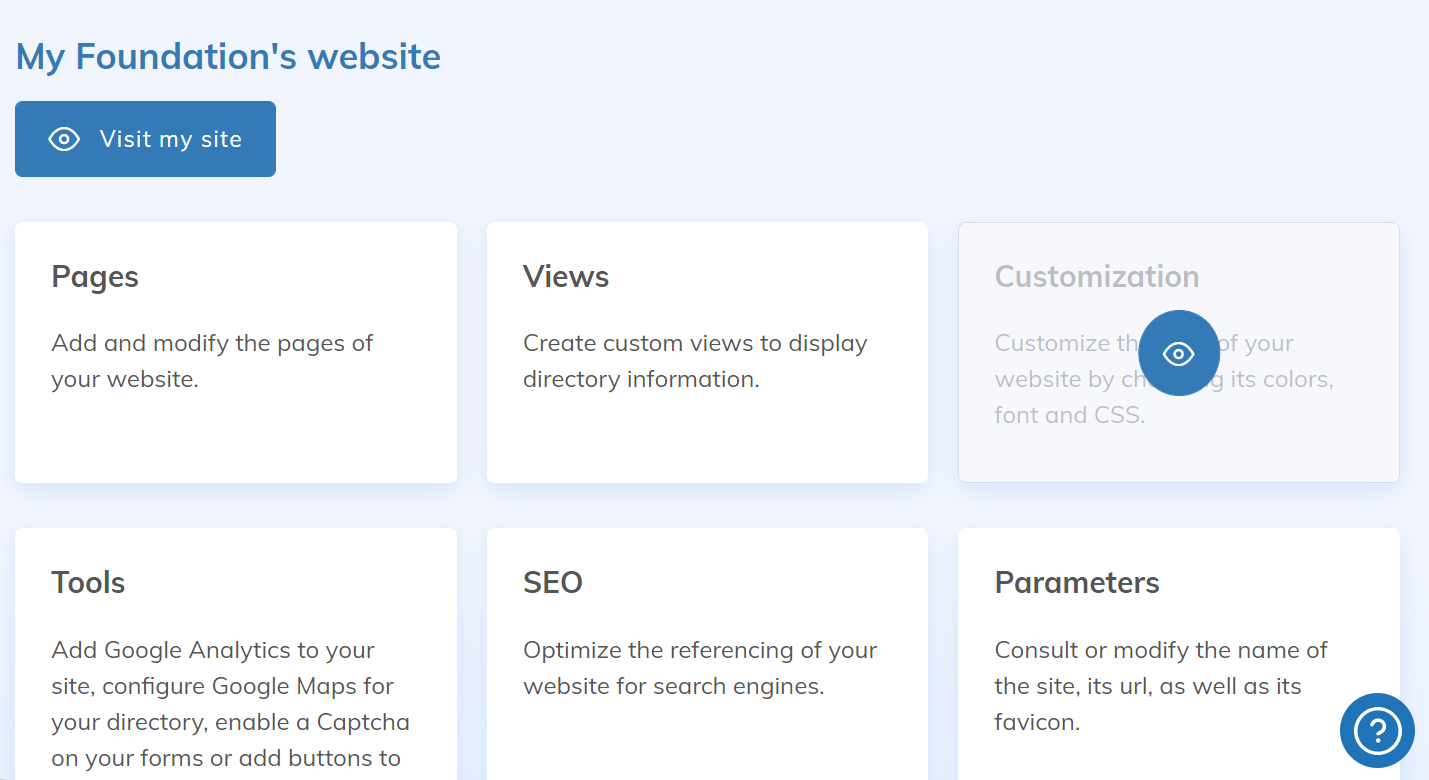
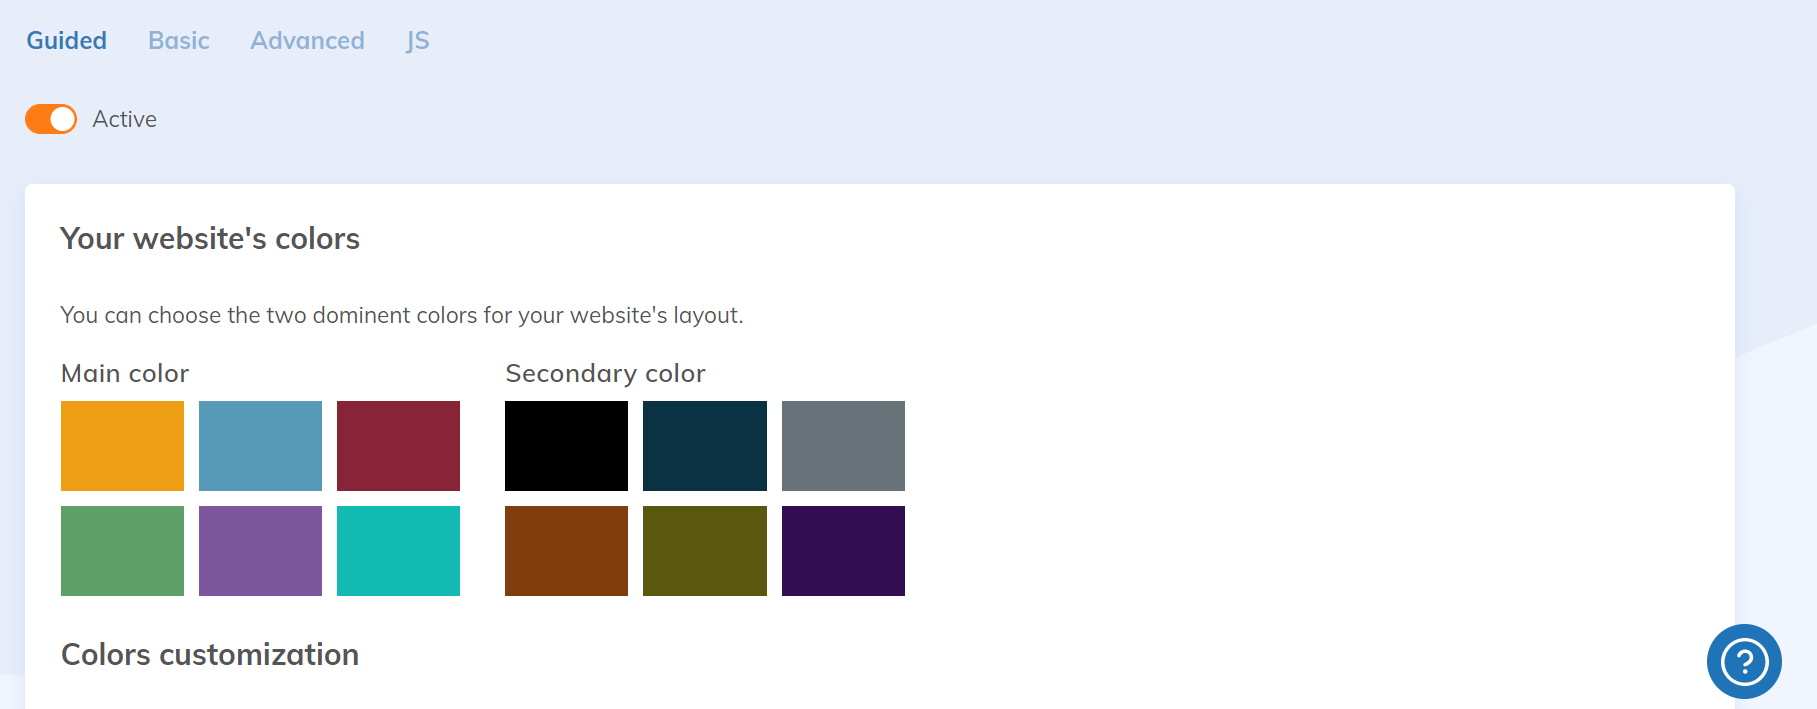
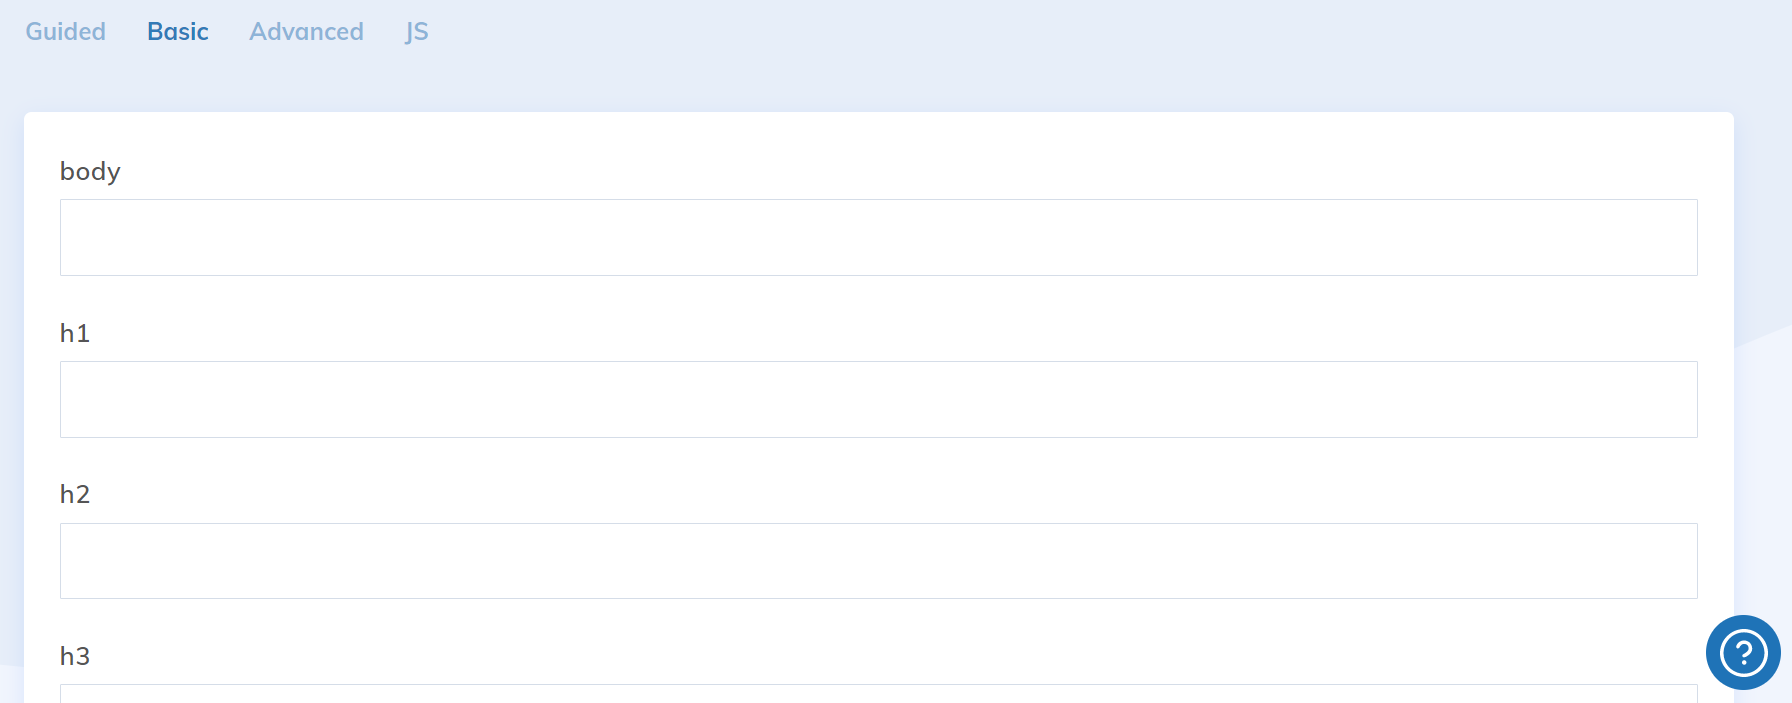
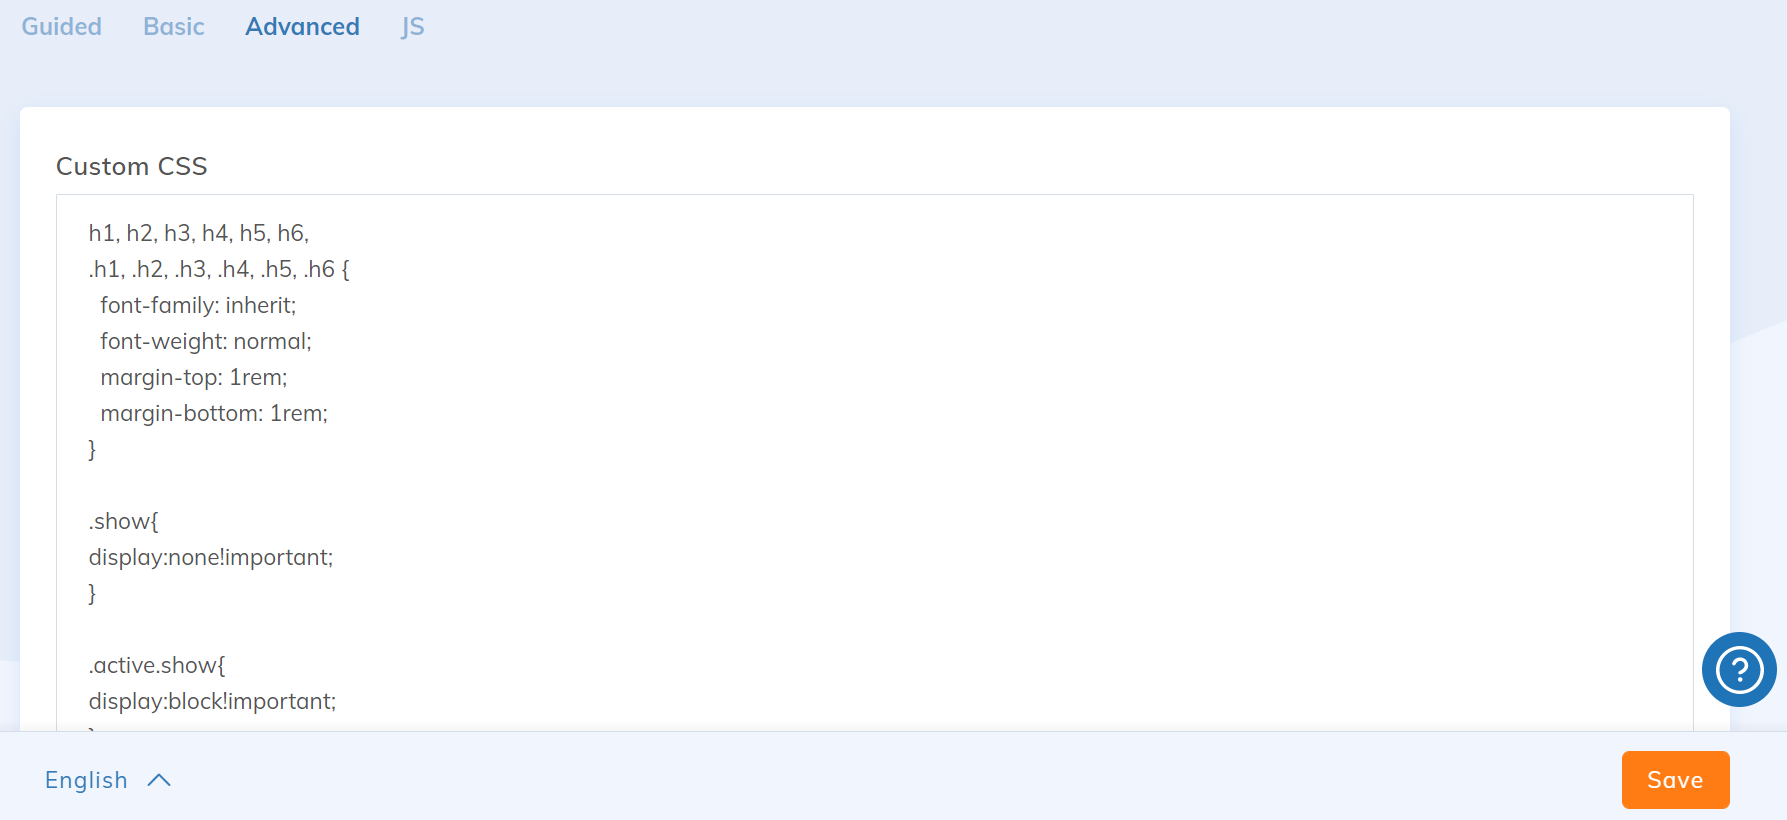
After the basic dressing, you also have access to Advanced customization. This text box allows you to add CSS in its pure form. This will be generated frontally inside tags. Note that this css will be called last on the page, which will allow you to replace the default styles with yours.
Skin of a single web page
Finally, it is possible to change the design of a specific page of your website, without changing the design of the whole site.
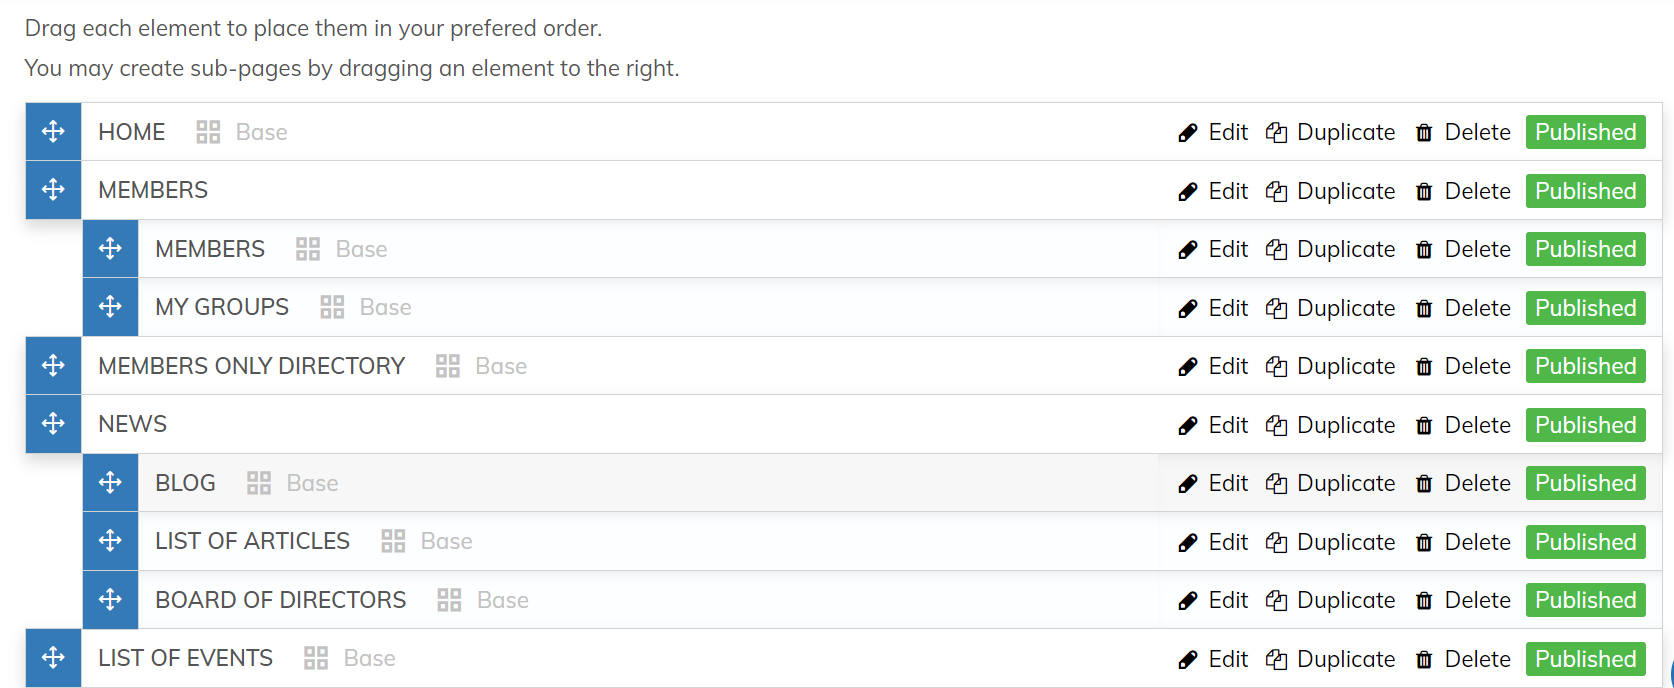
Choose the page you want to change from the list of pages on your website
Then choose the Personalization sub-menu and check the Personalize my web page box.

You will then see the same menu that allows you to change the color and fonts of that particular page. Modify your selection and click Save.
You can click ![]() at anytime to see the changes made to the design of your website.
at anytime to see the changes made to the design of your website.
