Yapla allows you to track your website traffic by connecting it to your Google Analytics and Google Tag Manager accounts. These tools let you analyze visitor behavior, measure your page performance, and make informed decisions to improve your site. You will learn how to integrate a tracking code and create a simple tag to begin collecting data.
In this article:
Set up Google Analytics
The procedure depends on the version of Google Analytics you are using.
New method (code starting with G- or a numeric-only ID)
In your Google Analytics Admin panel, go to the Data Streams section. Select your site or click on Add Stream if it doesn’t appear.
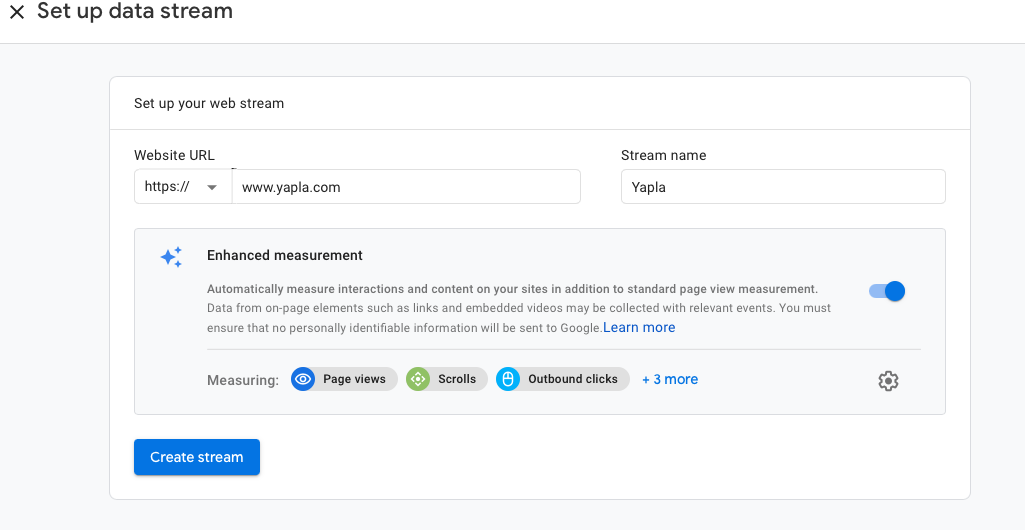
Then, retrieve the Measurement ID:

This code can be integrated into Google Tag Manager.
Old method (code starting with UA-)
In the Admin section of your Analytics account, open the Tracking Info menu, then click Tracking Code. Copy the displayed Tracking ID (e.g. UA-XXXXX).
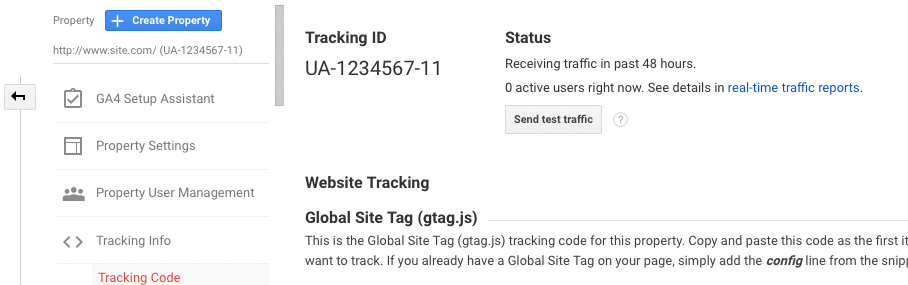
Then integrate this code into the Google Analytics section of your site’s Tools sub-menu.

Set up Google Tag Manager
Google Tag Manager allows for detailed tracking of visitor behavior on your site. It is also compatible with Google Analytics 4. You’ll also learn how to create a simple tag to connect both tools.
Create an account
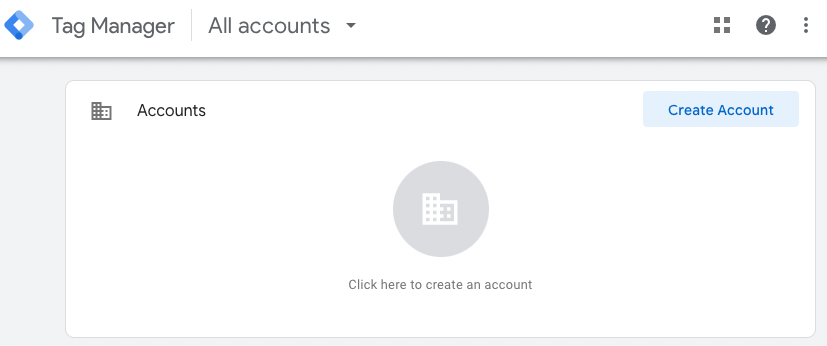
If you don’t have an account yet, go to Google Tag Manager and click Create Account.
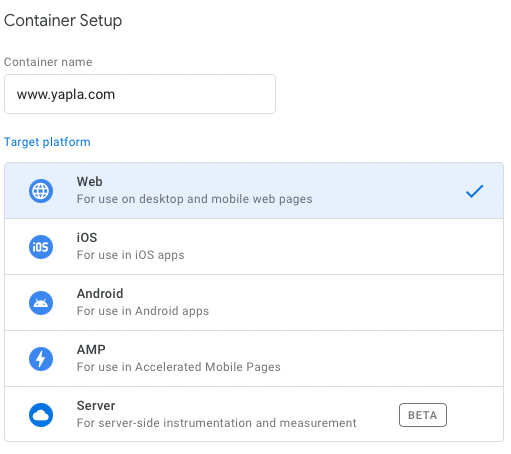
Fill in the account name, your country, your site URL, and select Web as the platform. Click Create and accept the terms.
You’ll get a GTM-XXXXXX code to add in the Tools section of your Yapla site. This code must be in place for testing but will only become active after publication.
Add Google Analytics 4
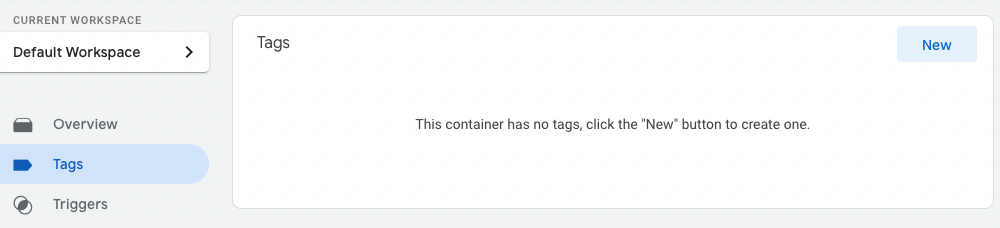
In Tag Manager, open the Tags menu and click New.
Choose the GA4 Configuration tag type and enter your measurement ID (G-XXXXXX). In the Triggering section, select All Pages.
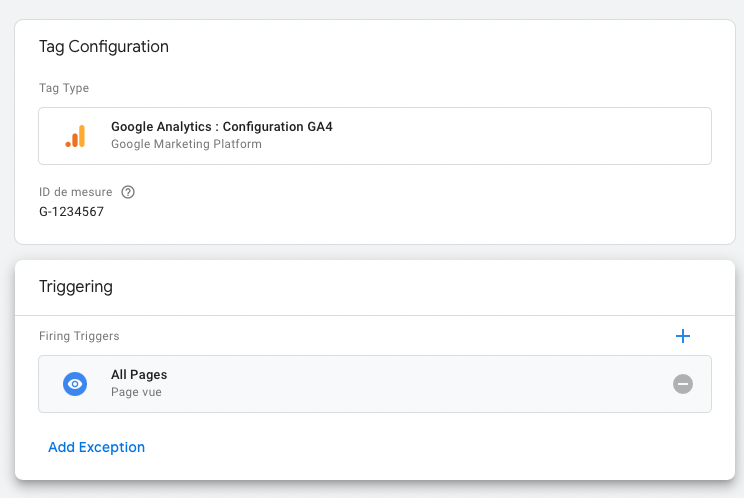
When saving, name the tag or keep the default name.
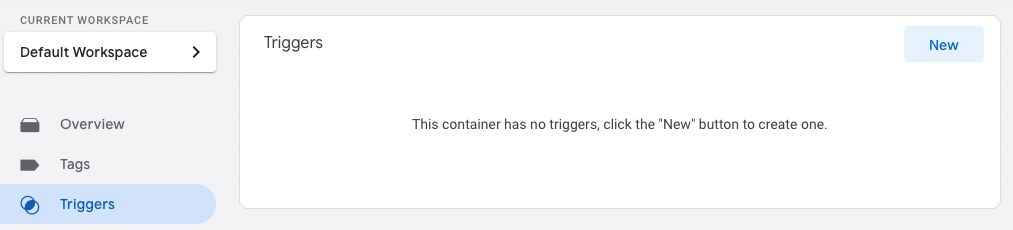
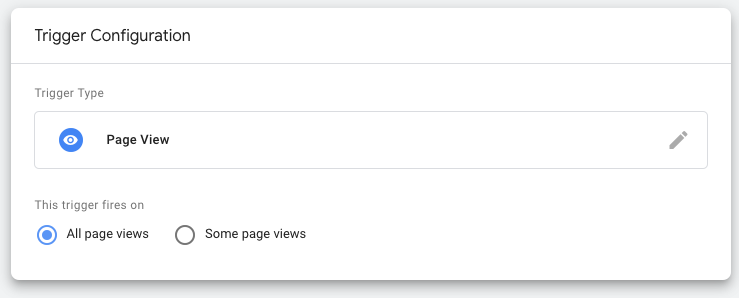
Then open the Triggers menu, click New and choose Page View as the trigger.
Test the configuration
Click Preview, enter your site URL and click Start. A new window will open with a debugging tool. Verify that the connection works properly.
Activate tracking
If the test is successful, click Submit to publish the tag. Important: No data will be collected until the tag is published.