When setting up an event, it's a good idea to define registration periods. For example, you can define a pre-sale period with a preferential price, followed by an open sales period with a standard price. In short, by managing registration periods, you can automatically modify your prices according to specific dates. Here's how.
Define event registration periods
From your Yapla Dashboard, go to the Events feature. Then select the Prices tile, and click on the Registration periods tab.
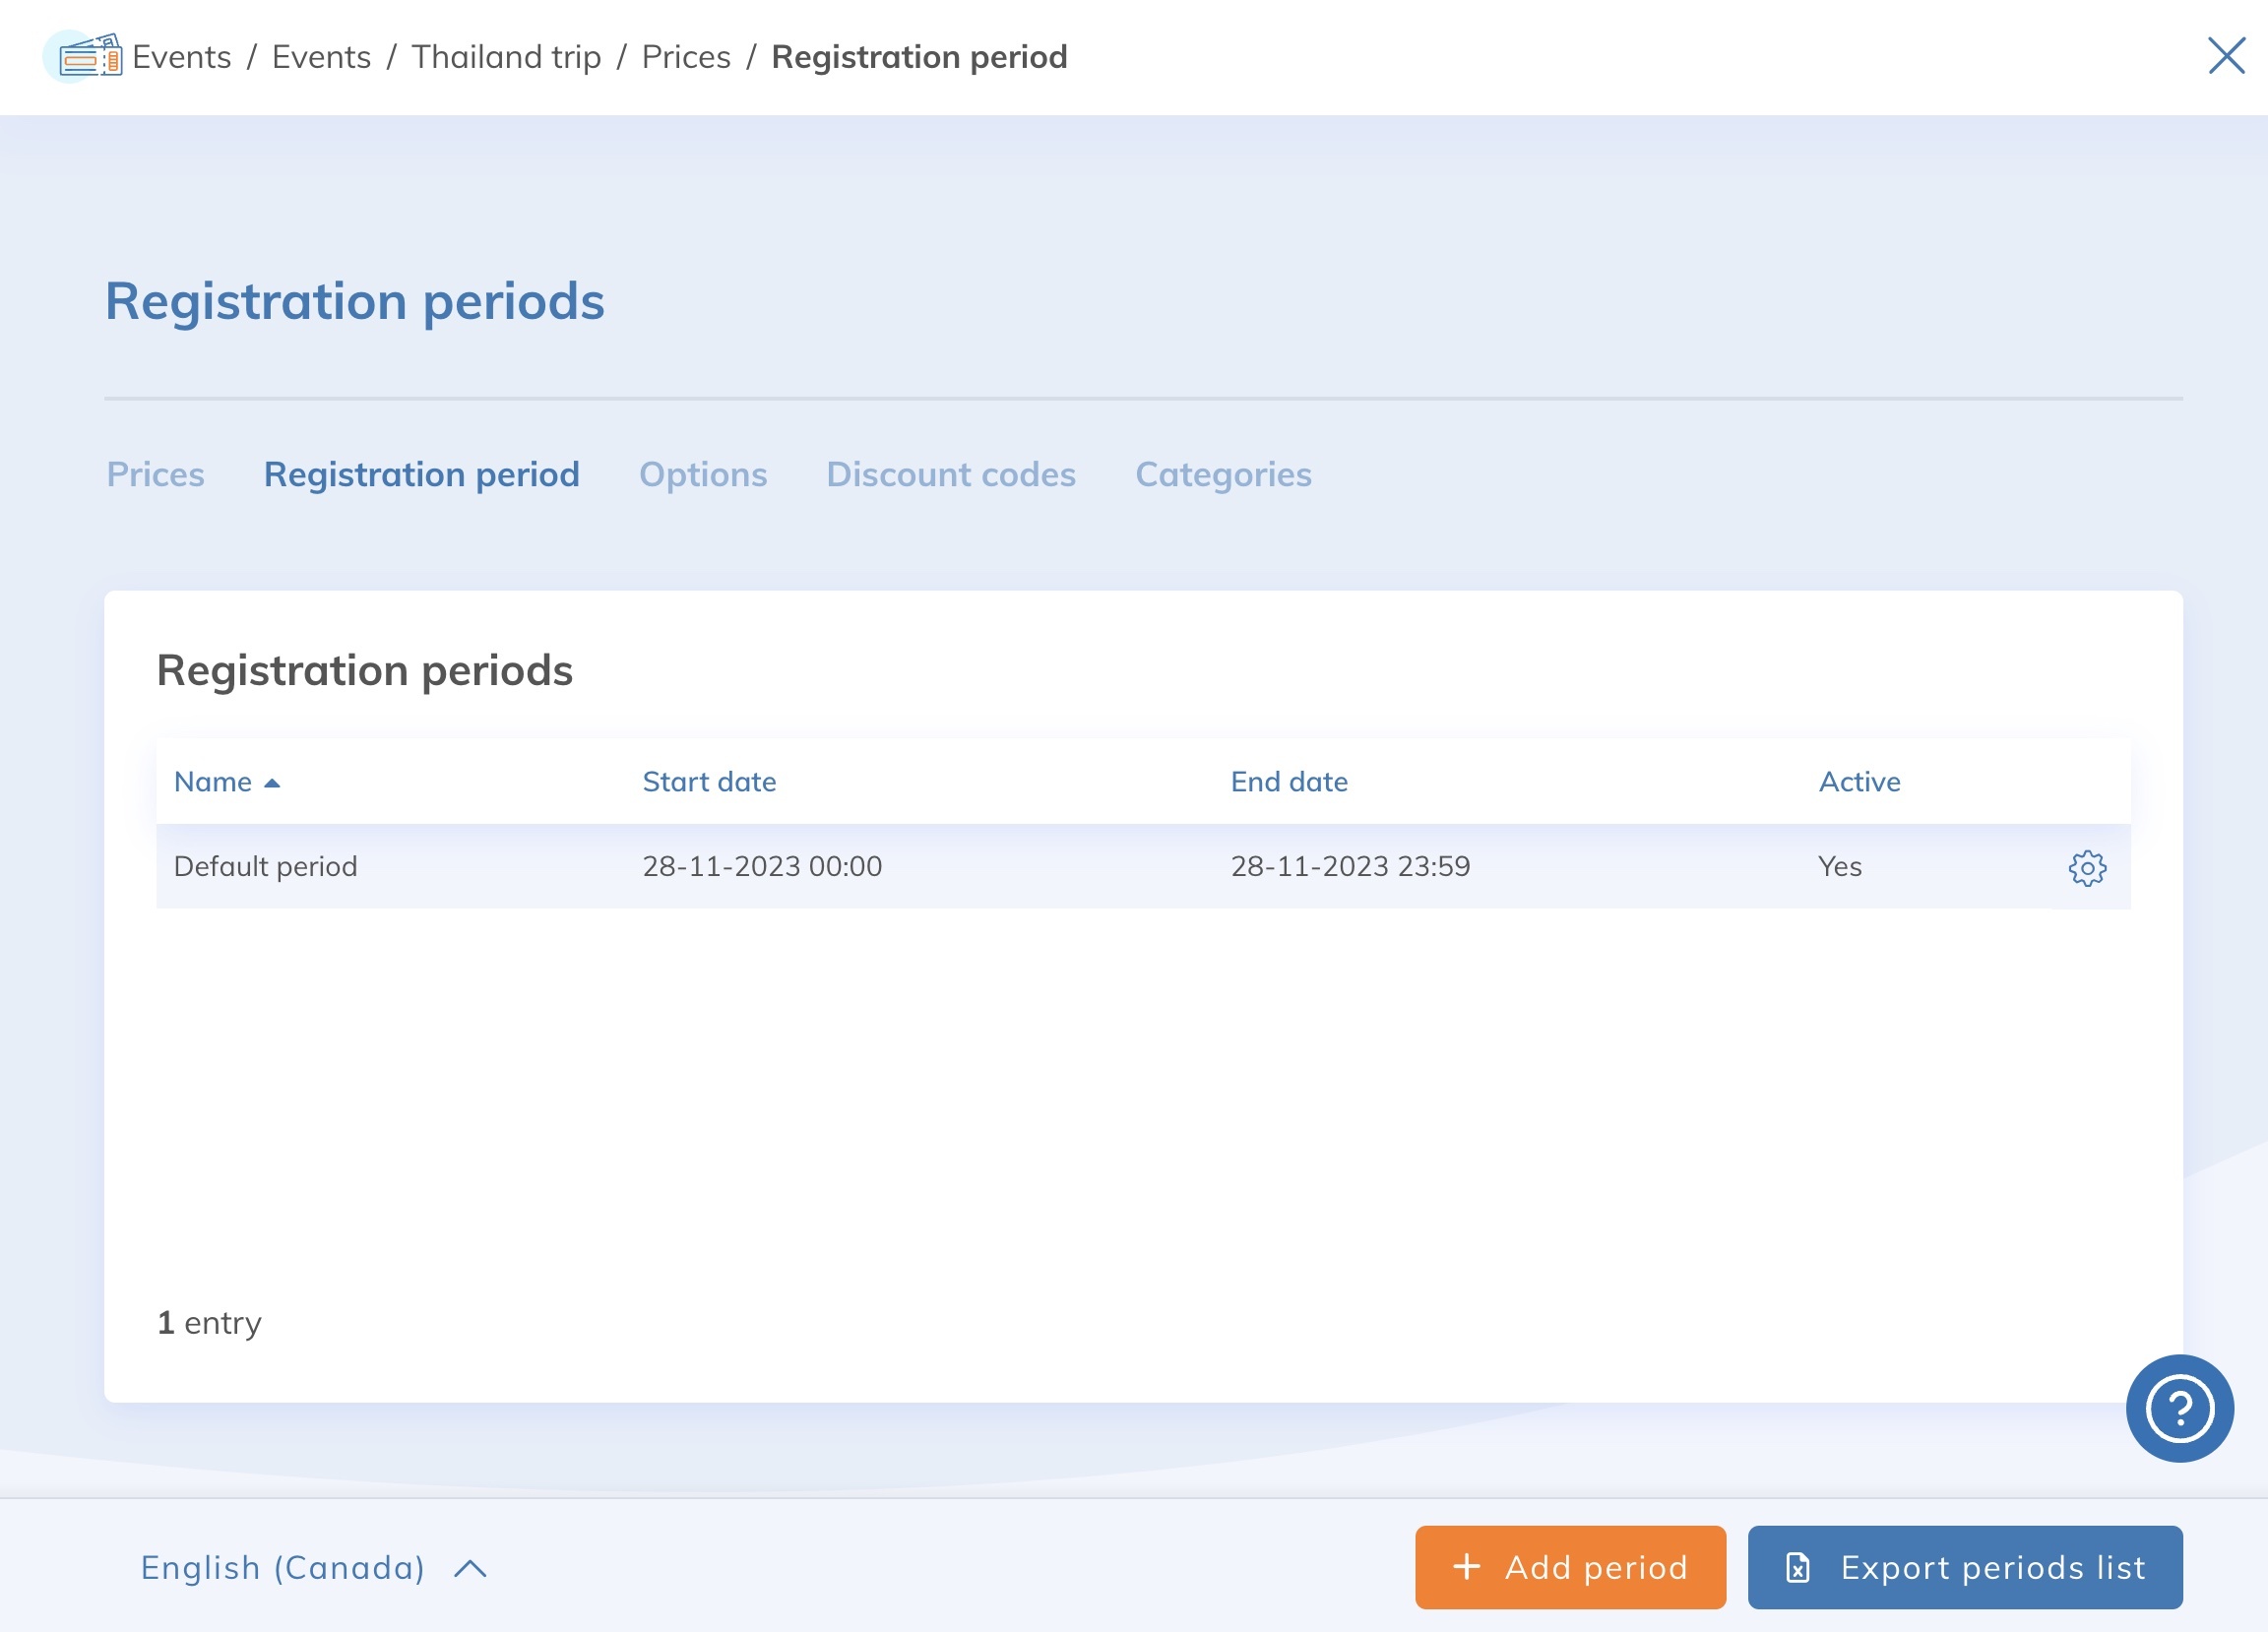
By default, when you create an event, a registration period is automatically created. You can modify it by simply clicking on it.
To add a period, simply click on the Add period button.
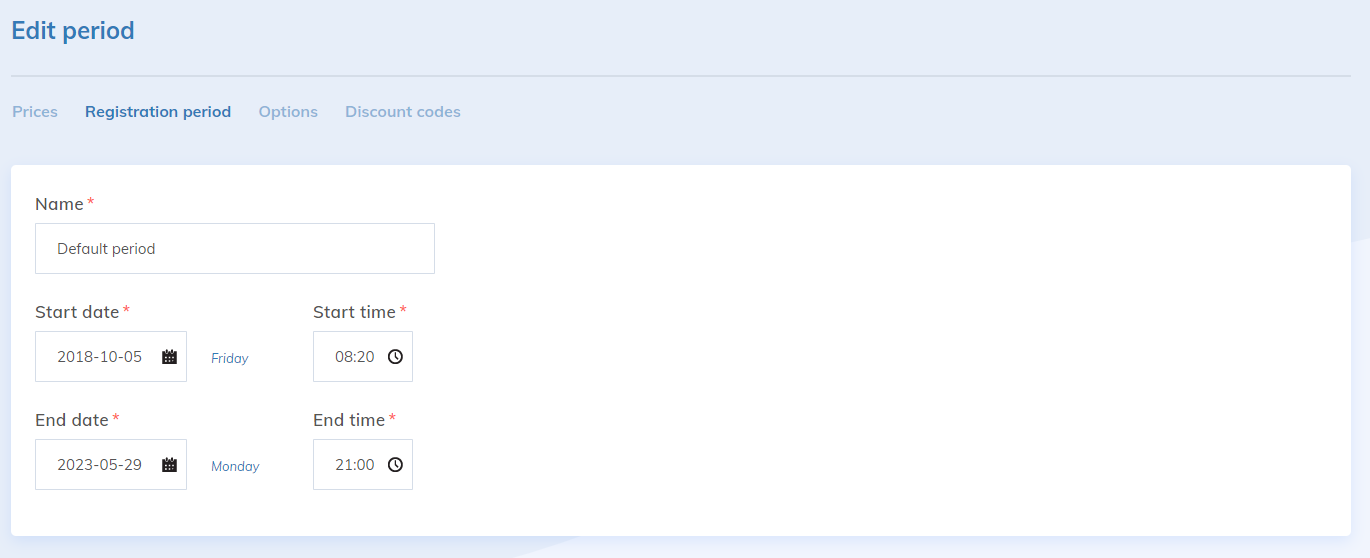
You can name the period as you wish, as the name is not visible to participants. This is mainly used to define the prices associated with this period.
By selecting start and end dates and times, you define an active period. You can create several active periods simultaneously in this way.
When the registration period for your event is over, the registration button will no longer appear on your web page.
To delete a period, click on the cogwheel ![]() to the right, in the list of periods.
to the right, in the list of periods.
Then click on Delete. If the period is used in prices, it will not be possible to delete it.
Going further: manage event prices
When you create an event, you can decide whether it will be paid or free. You can also offer both options simultaneously, depending on the activities planned. To help you manage your prices and display your offer within your event, here's an article to help you: how to manage my prices.